
OP
Thread Starter
#21
Thread Starter
#21
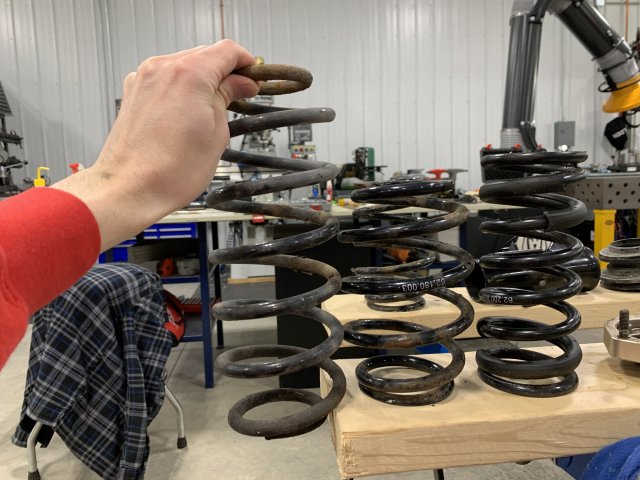
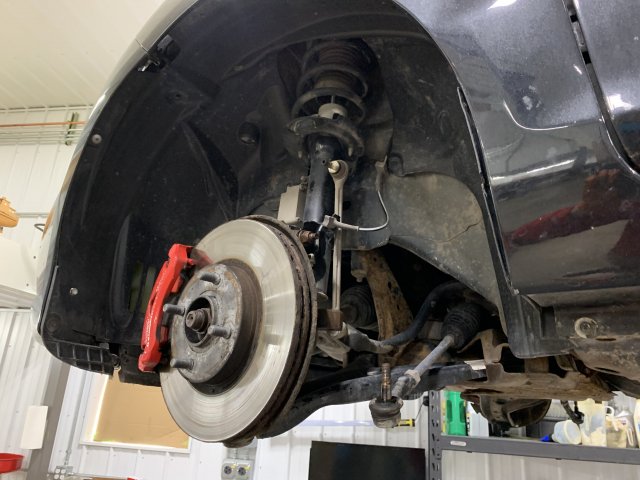
In parallel to my adventures with rust management, I'm experimenting with different suspension setups. I have the 2014MY and the 2014-2016 (up to feb) model years have a stiffer spring rate (around 10% stiffer) than later-model cars (2016 March and beyond). Also, the dampers have a different part number and the later model years have beefier front sway bars and possibly thicker rear beams. Qualitative reports on this forum indicate that the ride is softer and less harsh on the later year models.
I want that better ride quality as I find my 2014 is pretty hardcore. As I'm approaching my 30s this summer, I find myself wanting a more sophisticated ride (less NVH and more compliant). When I got this car at 20, I certainly did not mind the harsh ride, but I'm doing way more daily driving in the city and the roads here in Montréal are pretty bad. As I plan to keep this car for the next five years at least, I don't mind investing in refreshing the suspension all around.
From here on out, I'll refer the early model springs & dampers as 2014 and the later model ones as 2019. It'll be easier to type and to refer to.
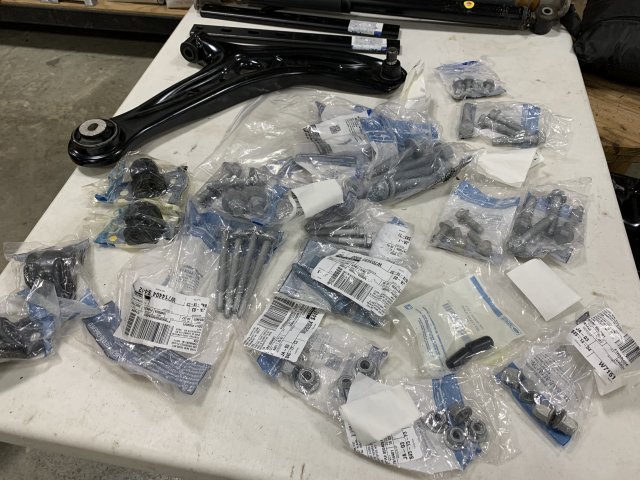
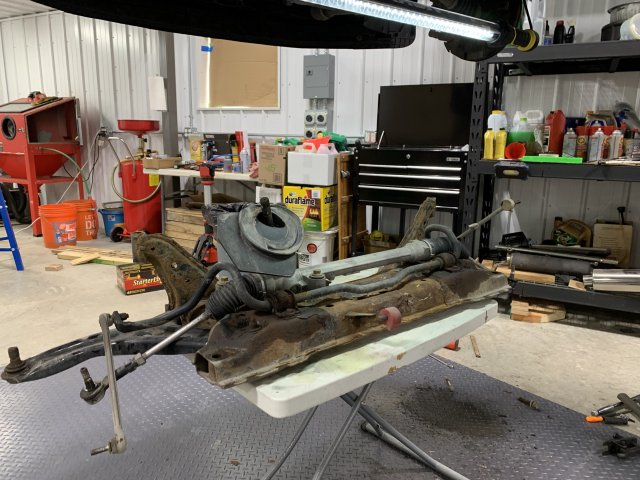
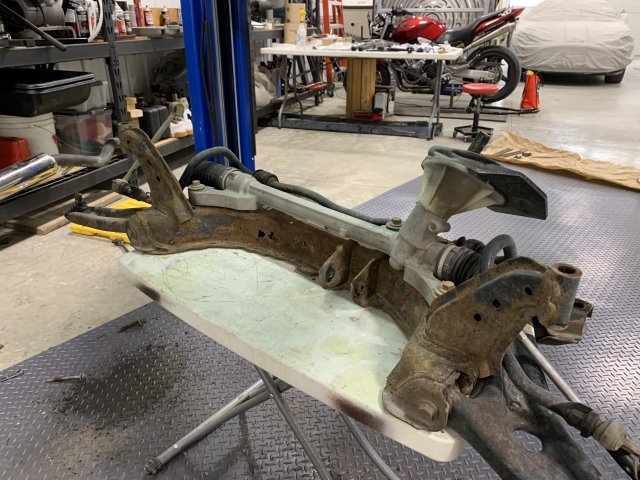
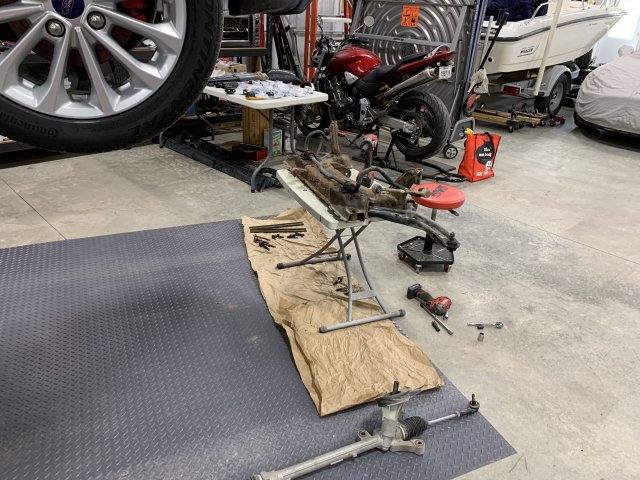
I purchased stock 2019 springs from @Dialcaliper and mounted them at the rear with the stock 2014 dampers. (Here)
Change in ride, almost nothing. What did change was the clunking from the worn bushings was gone, but I could not detect the difference in the rear.
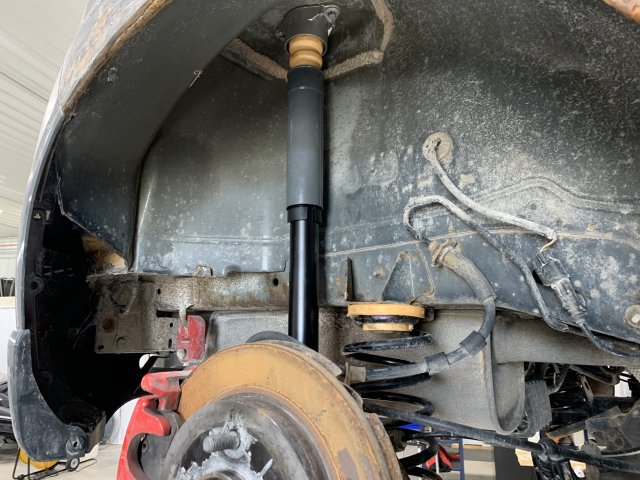
Next up, I bought the OEM 2019 dampers and installed them with the stock OEM foam spring perches.
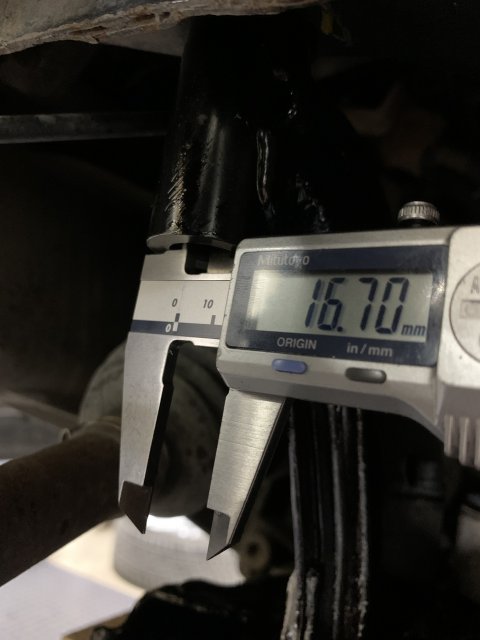
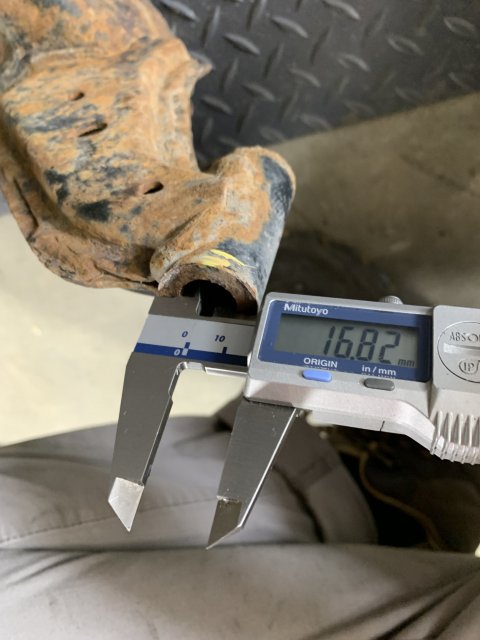
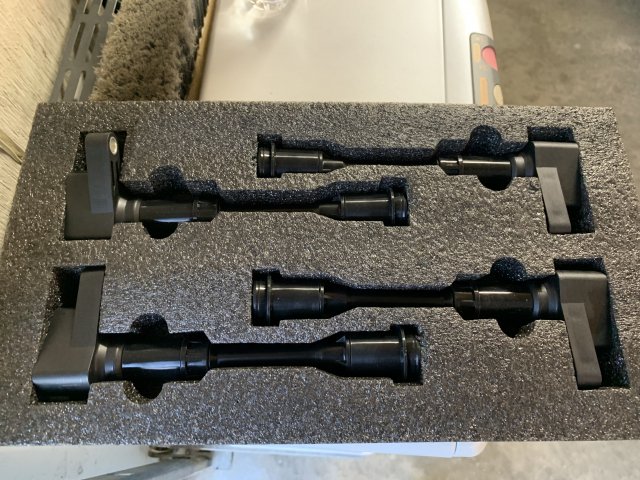
Here are some photos comparing the 2014 and 2019 dampers.
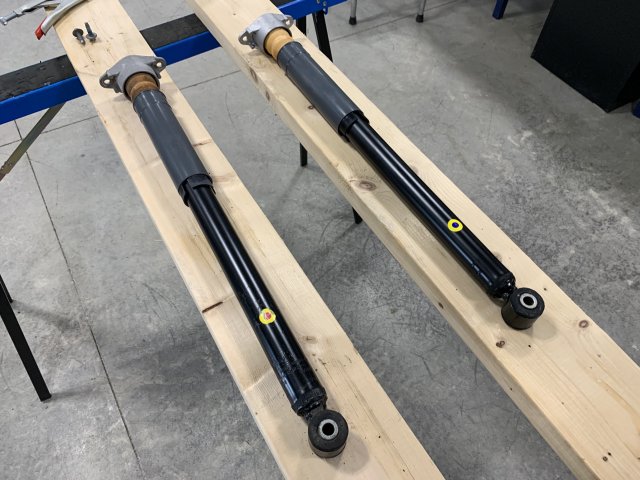
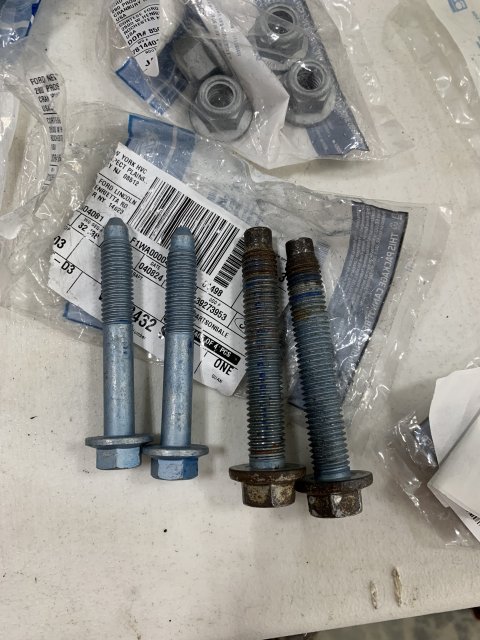
If you notice, the two different colors. Red & yellow indicate 2014 dampers. Blue & yellow indicate 2019 dampers. Anyone else can confirm/infirm this?
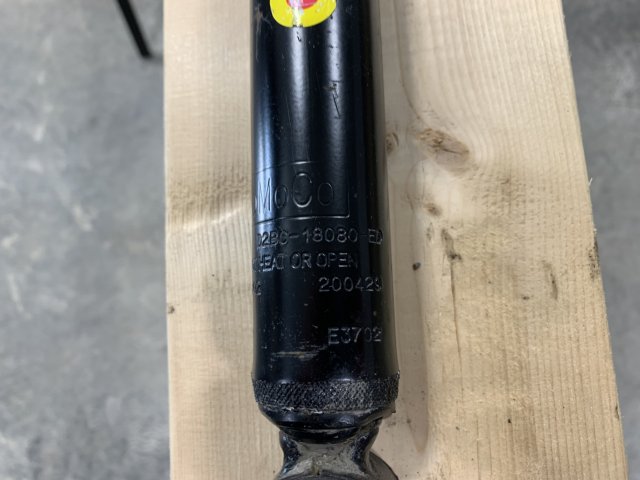
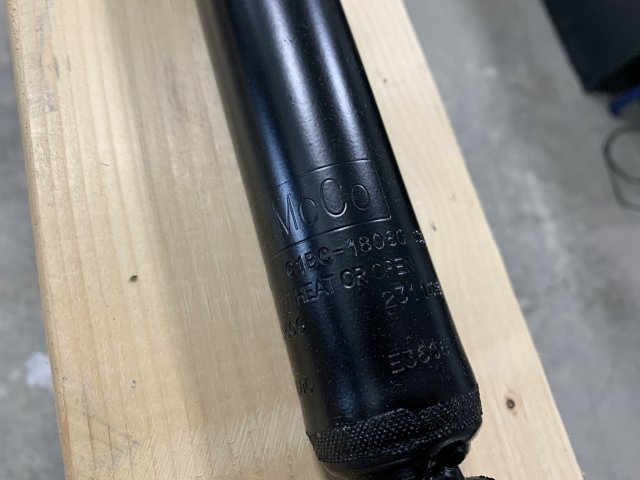
Serial numbers.
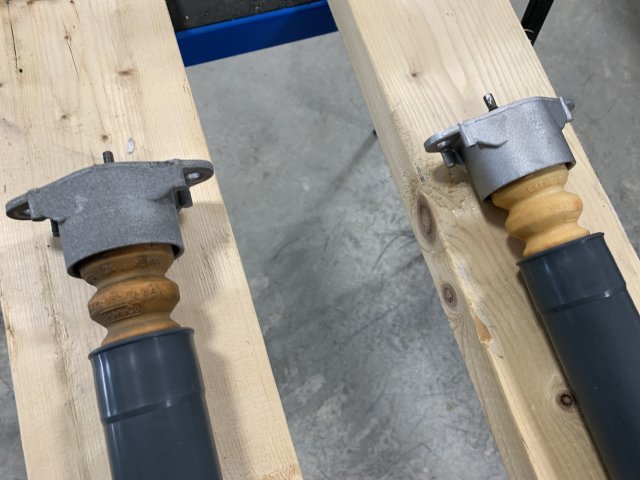
The left dampers have 14500 kms (9k miles). So I would consider them broken in.
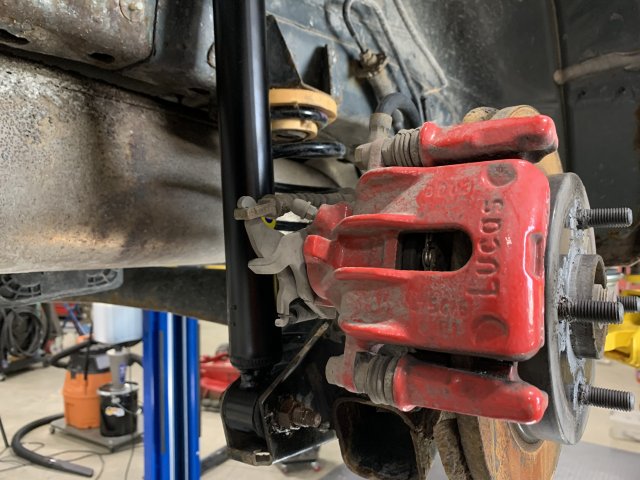
View from the back.
Now I have the full 2019 rear setup (springs + dampers). Since then, I have not been able to feel a difference for the back end. It's still as ''crashy'' and harsh as the 2014 rear setup (good to know).
Up next, I would like to get both the 2014 and 2019 dampers on the shock dyno to compare the curves of both. Now I know this is of little importance as people are manly swapping these out for B6's or coilover adjustable dampers, but this is for my curiosity. I'm also interested in dynoing the front dampers eventually, as my front left one was replaced not too long ago due to a hit & run (gotta love downtown). My goal is to dyno somewhat fresh dampers, but now new new ones. I'd like to see 8-9k miles on them to get them settled and then dyno. I'd be super interested to see the results in comparison to @Fusion Works thread.
If I compress the 2014 rear shocks, they ''almost'' can't extend back out on their own. It takes a good minute to extend back. This is either high rebound damping and/or low gas force if I would guess.
I want that better ride quality as I find my 2014 is pretty hardcore. As I'm approaching my 30s this summer, I find myself wanting a more sophisticated ride (less NVH and more compliant). When I got this car at 20, I certainly did not mind the harsh ride, but I'm doing way more daily driving in the city and the roads here in Montréal are pretty bad. As I plan to keep this car for the next five years at least, I don't mind investing in refreshing the suspension all around.
From here on out, I'll refer the early model springs & dampers as 2014 and the later model ones as 2019. It'll be easier to type and to refer to.
I purchased stock 2019 springs from @Dialcaliper and mounted them at the rear with the stock 2014 dampers. (Here)
Change in ride, almost nothing. What did change was the clunking from the worn bushings was gone, but I could not detect the difference in the rear.
Next up, I bought the OEM 2019 dampers and installed them with the stock OEM foam spring perches.
Here are some photos comparing the 2014 and 2019 dampers.
If you notice, the two different colors. Red & yellow indicate 2014 dampers. Blue & yellow indicate 2019 dampers. Anyone else can confirm/infirm this?
Serial numbers.
The left dampers have 14500 kms (9k miles). So I would consider them broken in.
View from the back.
Now I have the full 2019 rear setup (springs + dampers). Since then, I have not been able to feel a difference for the back end. It's still as ''crashy'' and harsh as the 2014 rear setup (good to know).
Up next, I would like to get both the 2014 and 2019 dampers on the shock dyno to compare the curves of both. Now I know this is of little importance as people are manly swapping these out for B6's or coilover adjustable dampers, but this is for my curiosity. I'm also interested in dynoing the front dampers eventually, as my front left one was replaced not too long ago due to a hit & run (gotta love downtown). My goal is to dyno somewhat fresh dampers, but now new new ones. I'd like to see 8-9k miles on them to get them settled and then dyno. I'd be super interested to see the results in comparison to @Fusion Works thread.
If I compress the 2014 rear shocks, they ''almost'' can't extend back out on their own. It takes a good minute to extend back. This is either high rebound damping and/or low gas force if I would guess.


![[wink]](/images/smilies/wink.gif "Wink [wink]")


![[:(]](/images/smilies/frown.png "Frown [:(]")
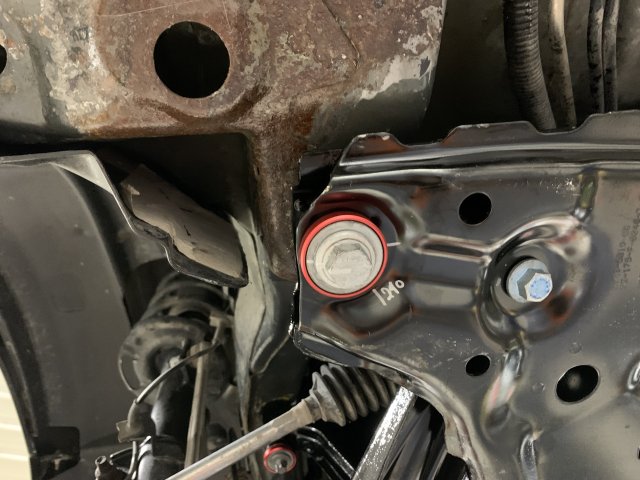
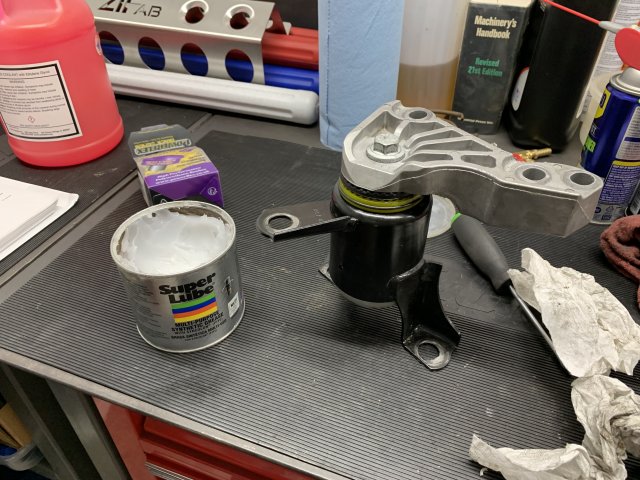
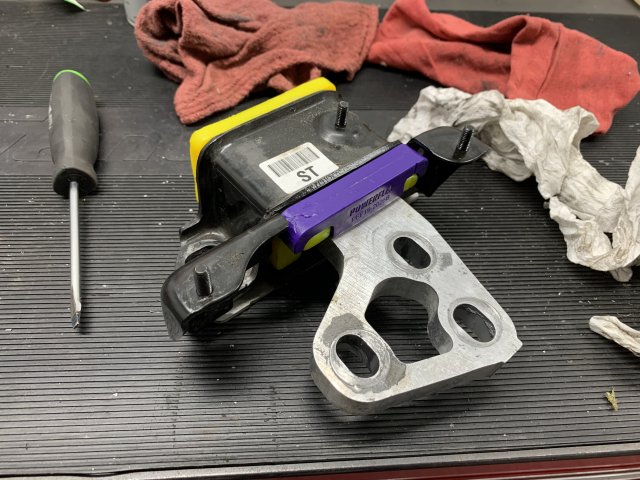
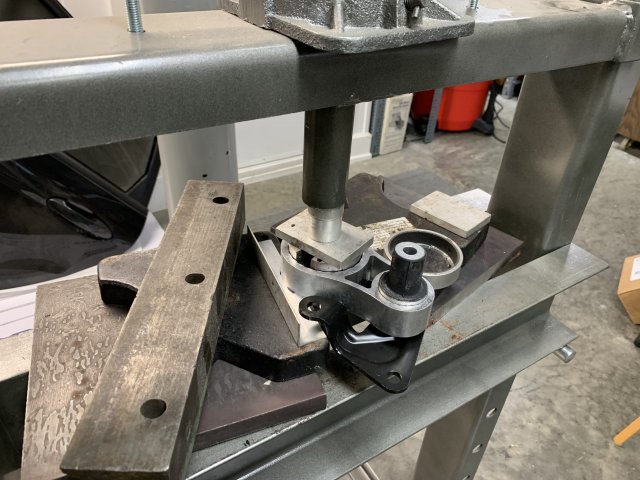
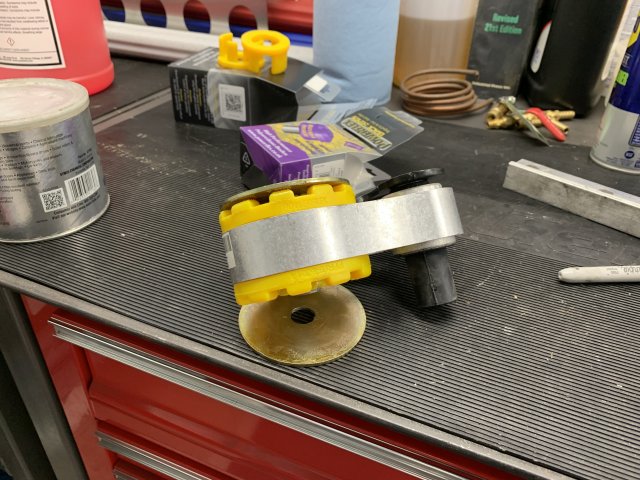
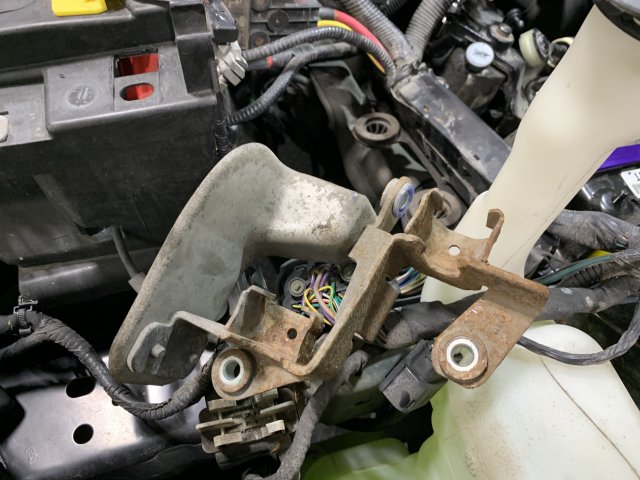
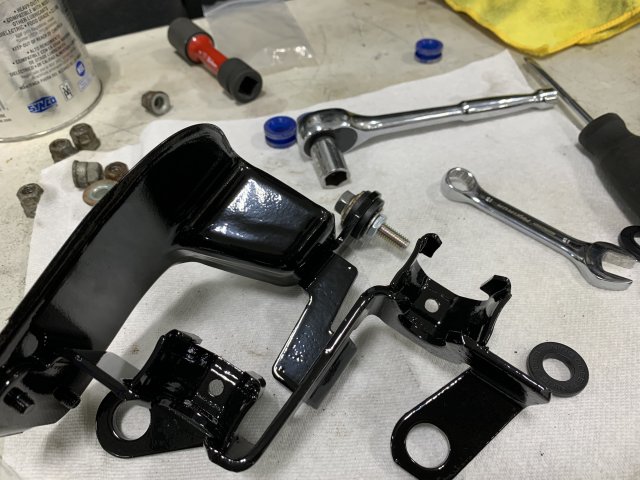
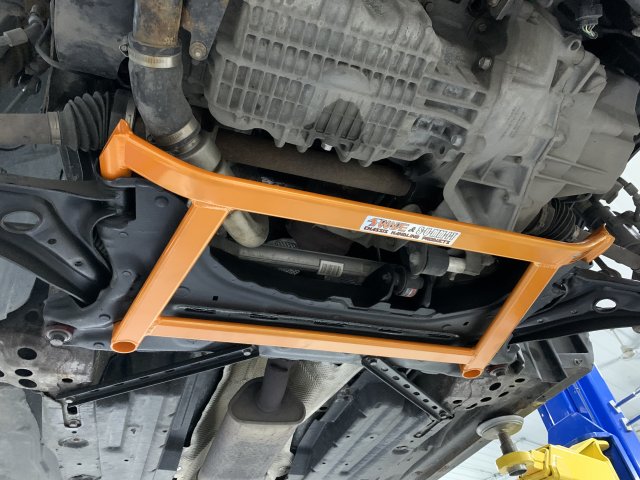
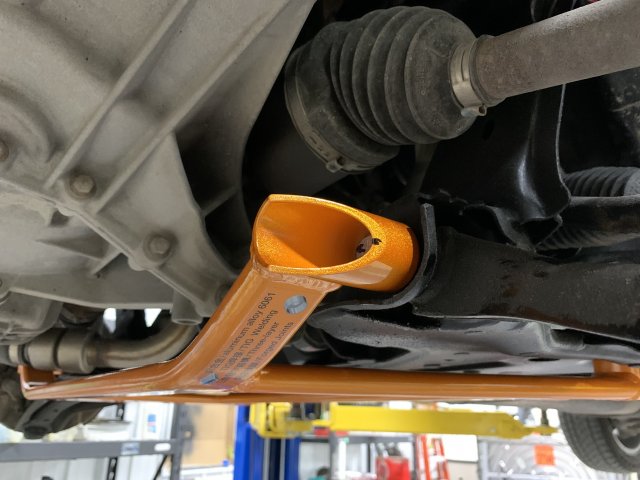
![[mad]](/images/smilies/mad.png "Mad [mad]") ), this is the front brace I will install as well.
), this is the front brace I will install as well.