• Sign Up! To view all forums and unlock additional cool features

    Welcome to the #1 Fiesta ST Forum and Fiesta ST community dedicated to Fiesta ST owners and enthusiasts. Register for an account, it's free and it's easy, so don't hesitate to join the Fiesta ST Forum today!


Pierce 6 point brace Torque specs (and creaking noise)

Messages
104
Likes
53
Location
Vancouver
#1
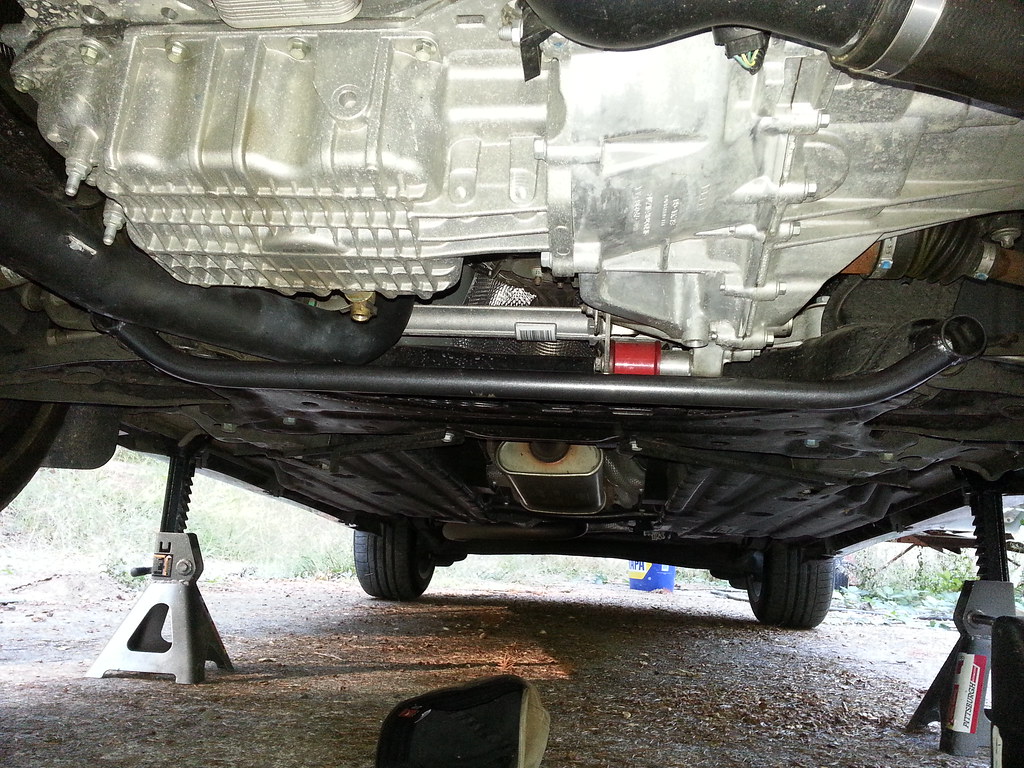
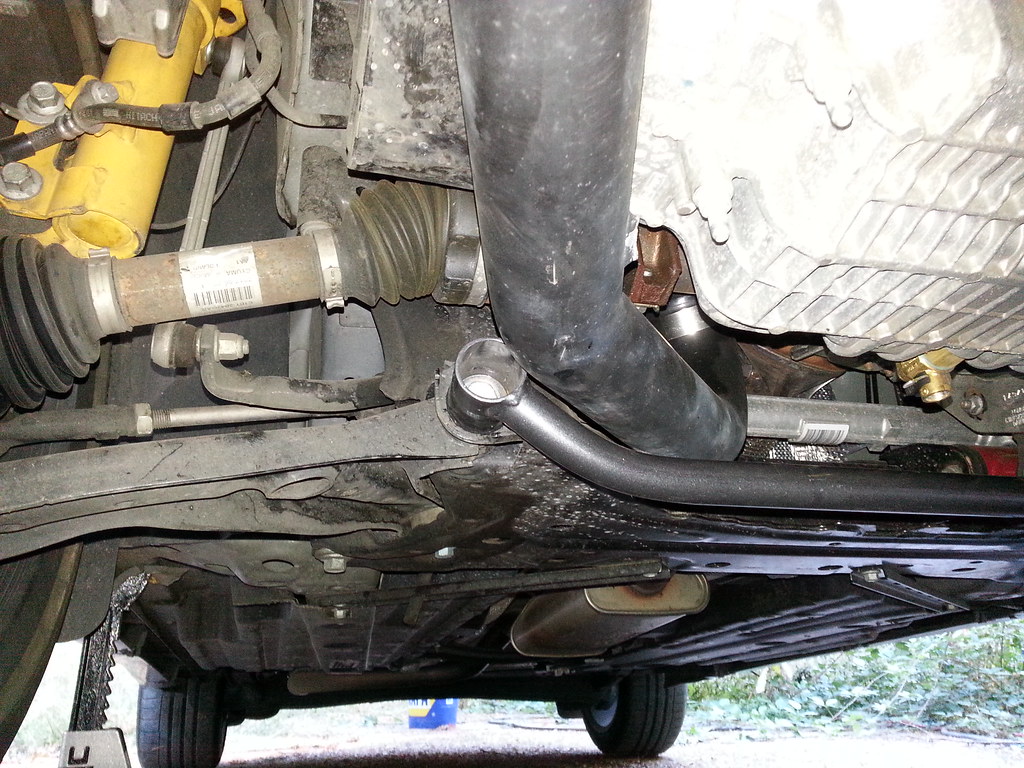
I installed their 6 point brace a few days ago but I was not able to torque the A-arm and subframe bolts all the way to factory specs.

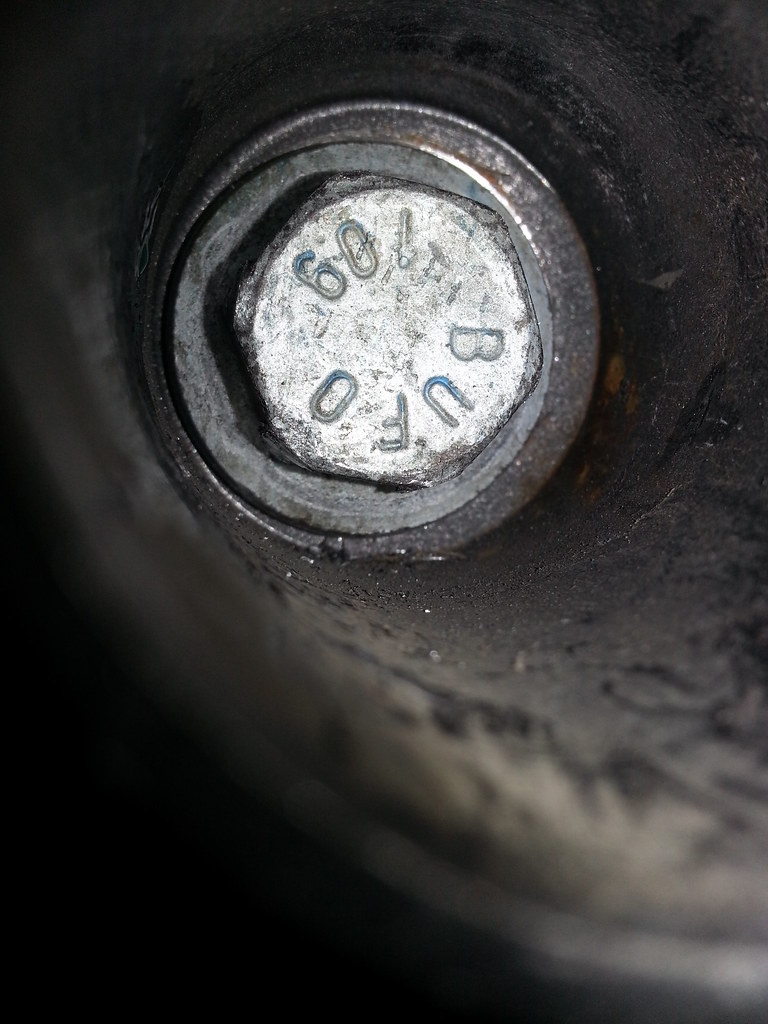
Factory specs being 46 lb-ft +180° for the a-arm (I can only manage 90° with a breaker bar before the socket started slipping off the bolt), and 74 lb-ft +240° (barely 40°). It was extra difficult since I had to use a deep socket.

I heard creaking noises from the front of the car for about 3 to 4 days, checking that the bolts are tight everyday. Today it creaked in the morning but after having lunch and driving the car again, the noises completely disappeared.

Do you guys have any idea what's going on? How should I go about reaching factory specs? My friend has an air wrench I can use next week, will that do the trick? Should I get new TTY bolts from Ford?

Thanks!


Messages
405
Likes
123
Location
Chino Hills
#2
If you had both of the front A arm bolts out at the same time, it will creak no matter what I've noticed. The suspension sagging while doing the install contributes to this. Mine made some groans for about two days, I checked the bolts and all is fine and creaking never persisted.

Sent from my XT1650 using Tapatalk


alexrex20

1000 Post Club
Messages
1,472
Likes
613
Location
Spring
#3
Mine creaked and they were definitely under torqued. See if you can borrow some ramps from someone so you can get it in the air with the suspension still loaded, so you can get in there and really crank those suckers down. I did not do a torque plus angle spec, I just did 120 pound feet on each control arm bolt

Sent from my SM-G950U using Tapatalk


OP
Marco
Messages
104
Likes
53
Location
Vancouver
Thread Starter #4
If you had both of the front A arm bolts out at the same time, it will creak no matter what I've noticed. The suspension sagging while doing the install contributes to this. Mine made some groans for about two days, I checked the bolts and all is fine and creaking never persisted.

Sent from my XT1650 using Tapatalk
Yes... I did take them both off at the same time...

Mine creaked and they were definitely under torqued. See if you can borrow some ramps from someone so you can get it in the air with the suspension still loaded, so you can get in there and really crank those suckers down. I did not do a torque plus angle spec, I just did 120 pound feet on each control arm bolt

Sent from my SM-G950U using Tapatalk
I did jack up the wheel when torquing the a arms but maybe it wasn't enough, I'll try again with ramps and an air wrench.

Thanks guys,


anticon

Active member
Messages
602
Likes
530
Location
Sherwood
#5
I just did the 2-point brace and I had the same problem. I got the driver side torqued to 115 ft-lbs with the car on ramps, but my new Depo hotside charge pipe was in the way on the passenger side, I disconnected the turbo side to push it over a little. I wasn't able to get it to 115 ft-lbs before my impact socket started slipping on the bolt. I'm not sure what the deal was, but there was a lot of slop in the socket and torque wrench.


jeff

2000 Post Club
Messages
2,310
Likes
3,232
Location
Evans
#6
Had the same issues with my 6 point, without air and the right position you can't get it torqued to spec. I did what I could and started driving. It creaked for a short time but the creaking ended at some point, I don't even remember when. Pretty common from what I've read. Things will settle eventually and you'll forget about it.

Watch out where you drive, the brace is LOW!!!! Have fun & be safe.


anticon

Active member
Messages
602
Likes
530
Location
Sherwood
#7
Had the same issues with my 6 point, without air and the right position you can't get it torqued to spec. I did what I could and started driving. It creaked for a short time but the creaking ended at some point, I don't even remember when. Pretty common from what I've read. Things will settle eventually and you'll forget about it.

Watch out where you drive, the brace is LOW!!!! Have fun & be safe.
Yeah, it is definitely low, I am grading the hump in the center my gravel driveway a little now. But I took it for a quick test drive through some tight corners and it was amazing (no creaking), I have the COBB TC set to 3 and I couldn't get it to slip, when I was pretty easily getting the Ford TC to kick in before.


D1JL

7000 Post Club
Staff Member
Premium Account
U.S. Navy Veteran
Messages
7,892
Likes
4,131
Location
SFV, So.Cal.
#8
There a couple of tricks you can do.
I have install all of the Pierce lower braces so I have done it a few times.
For a home install:
First, put the car on stands, remove all the bolts needed to install the brace you are using.
Next, install the new brace but only put the front "A" arm bolts in snuggly not tight.
If you have ramps, remove the stands and place the car on the ramps.
If you do not have ramps, remove the stands from under the pinch rails and place them under the "A" arms.
Now with weight on the wheels (or arms) tighten the front bolts the best you can.
Next raise the car as much as you can.
Here the best is to have help and long socket extensions (I have a 3' one).
Have your helper hold the extension (s) and you in front of the car you should be able to tighten the bolts completely.
Depending on you breaker bar and you own strength you may need a piece of pipe to add leverage to the breaker bar.

Obviously, if you have the use of a shop and lift, you can do the last step with the car on a life and no extensions are required.

If you use an air wrench, after bringing the bolts to the first torque, mark the bolt head so you can see the amount that you have turned it,


I hoped this helped?


Dave


anticon

Active member
Messages
602
Likes
530
Location
Sherwood
#9
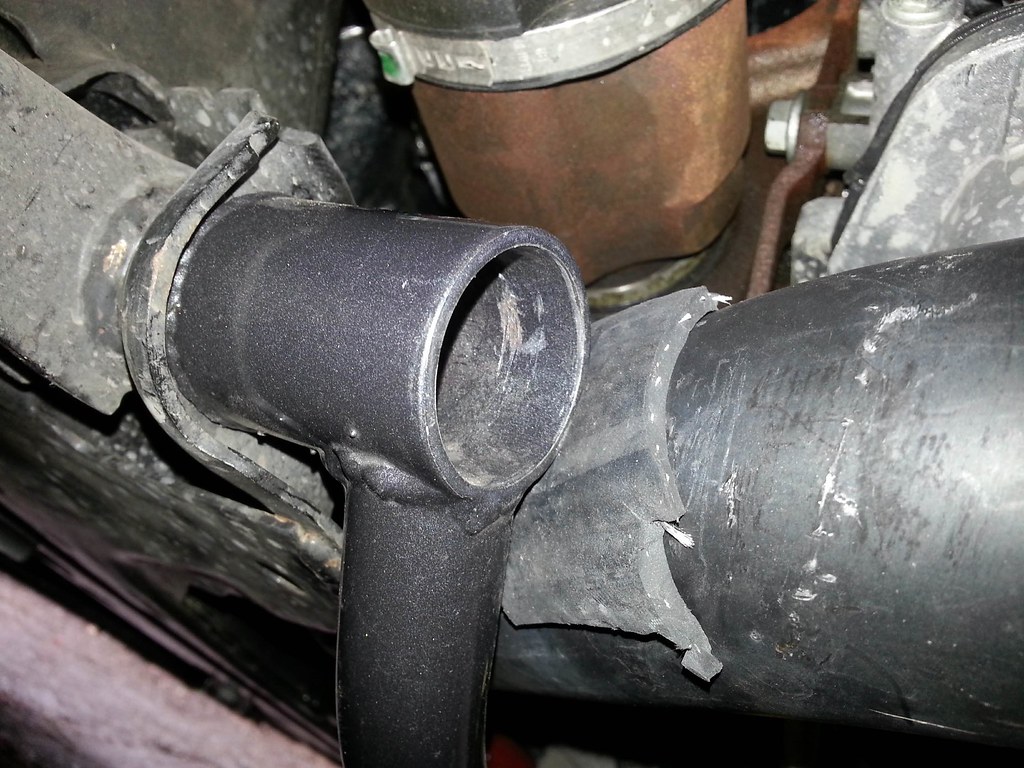
I had to slip some rubber tubing between the brace and Charge pipe, hopefully it stays and stops the rubbing.


alexrex20

1000 Post Club
Messages
1,472
Likes
613
Location
Spring
#10
If I were you, I would pull the brace off and take the angle grinder to it. You can take off quite a bit of material without really affecting strength or durability, etc.


D1JL

7000 Post Club
Staff Member
Premium Account
U.S. Navy Veteran
Messages
7,892
Likes
4,131
Location
SFV, So.Cal.
#11
I had to slip some rubber tubing between the brace and Charge pipe, hopefully it stays and stops the rubbing.
Is it possible to elongate the hole in the mounting of that charge pipe?
You only need about 1/8 of an inch.

I use the Mishimoto pipes myself and they clear just fine.


Dave


anticon

Active member
Messages
602
Likes
530
Location
Sherwood
#12
Is it possible to elongate the hole in the mounting of that charge pipe?
You only need about 1/8 of an inch.

I use the Mishimoto pipes myself and they clear just fine.

Dave
That mounting point is broken off of mine. So it's only mounted by the turbo and FMIC connections. Does anyone know about how hot that charge pipe gets? I was filled with a sense of dread that my car was going to catch fire on the way to work this morning, but I didn't get into the boost much so I don't think it heated up. If it gets hot enough to catch rubber on fire then I am going to have to come up with a different plan (e.g. angle grinder.)


D1JL

7000 Post Club
Staff Member
Premium Account
U.S. Navy Veteran
Messages
7,892
Likes
4,131
Location
SFV, So.Cal.
#13
That mounting point is broken off of mine. So it's only mounted by the turbo and FMIC connections. Does anyone know about how hot that charge pipe gets? I was filled with a sense of dread that my car was going to catch fire on the way to work this morning, but I didn't get into the boost much so I don't think it heated up. If it gets hot enough to catch rubber on fire then I am going to have to come up with a different plan (e.g. angle grinder.)

The rubber will not burn I don't think it would even melt.
On mine the pipe does not even hot enough to burn my hand.

I would fix that tab and if that is not possible, I would make a strap clamp.
You should be able to get a 1 inch (or less) wide by 1 foot or greater length of metal at most hardware stores.
Bend it around the pipe then bend it again so the ends come together, align the ends and drill a hole in them.
If you need more instruction just PM me, I would be happy to help.


Dave


anticon

Active member
Messages
602
Likes
530
Location
Sherwood
#14
The rubber will not burn I don't think it would even melt.
On mine the pipe does not even hot enough to burn my hand.

I would fix that tab and if that is not possible, I would make a strap clamp.
You should be able to get a 1 inch (or less) wide by 1 foot or greater length of metal at most hardware stores.
end it around the pipe then bend it again so the ends come together, align the ends and drill a hole in them.
If you need more instruction just PM me, I would be happy to help.


Dave
That's not a bad idea, it is my understanding that a lot of these mounts have broken off charge pipes with this design due to the movement of the engine. I think this is for the COBB and Depo pipes, not sure about others. I have heard others say it's not a big deal since the pipe is supported at both ends and pretty light. But, a pipe strap with some rubber padding might work great. I was just thinking about just wrapping a ziptie around it and the brace but a pipe strap setup to the engine mount would be nicer and more secure.


alexrex20

1000 Post Club
Messages
1,472
Likes
613
Location
Spring
#15
Yeah the charge pipe will never get close to hot enough to melt that rubber. A simple Worm Drive hose clamp would be an easy fix if you don't want the rubber to fall off.

Sent from my SM-G950U using Tapatalk


Ford ST

2000 Post Club
Messages
2,925
Likes
3,064
Location
Pleasant Garden
#16
Don't worry about the charge pipe lighting your car on fire it will be okay I promise.

Sent from my LG-LS997 using Tapatalk


D1JL

7000 Post Club
Staff Member
Premium Account
U.S. Navy Veteran
Messages
7,892
Likes
4,131
Location
SFV, So.Cal.
#17
BTW: for that strap clamp, you could use "Plumber's Tape".
It is very easy to bend, cheap, already has the holes, and you could just paint it black so you would almost not see it.


Dave


PunkST

2000 Post Club
Messages
2,239
Likes
1,414
Location
Menasha
#19
I never got any creaking. I loaded up the bikts with antisieze, got every bolt in and snug before giving them a good blast with the big bad milwaukee cordless impact. That was at 20k miles though.


OP
Marco
Messages
104
Likes
53
Location
Vancouver
Thread Starter #20
So 6 months since install the creaking is no longer present.

It creaked a lot in Winter and less in Spring, maybe the brace was shrinking at a slightly different rate than the subframe and everything else?

It continued to creak until I replaced my leaky oem shocks with coilovers two months ago. There's definitely less movement in the lower arms now that it's properly damped. I'm also back up at stock height.

As a side note, Whoosh now sells the torque to yield bolts


Similar threads


Top