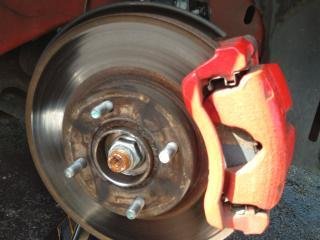
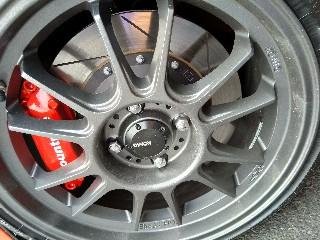
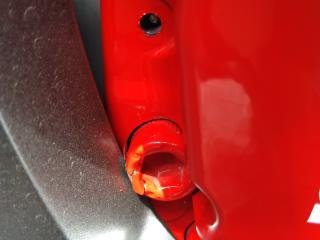
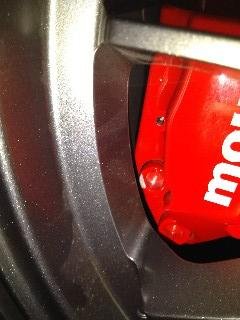
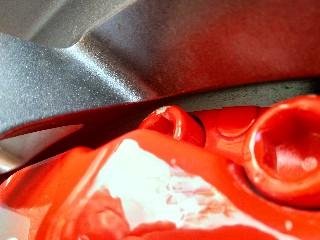
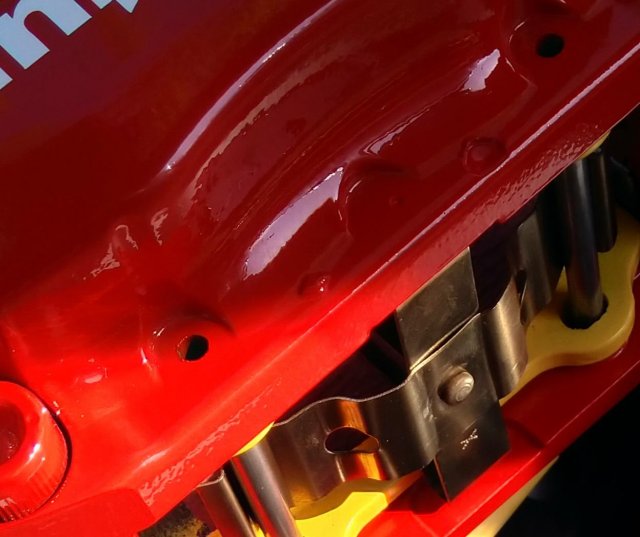
(front) 4 piston calipers with 330mm slotted rotors
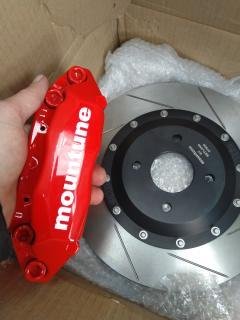
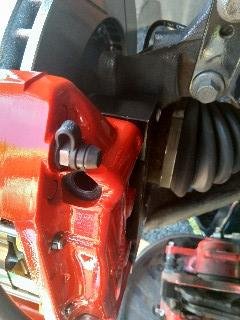
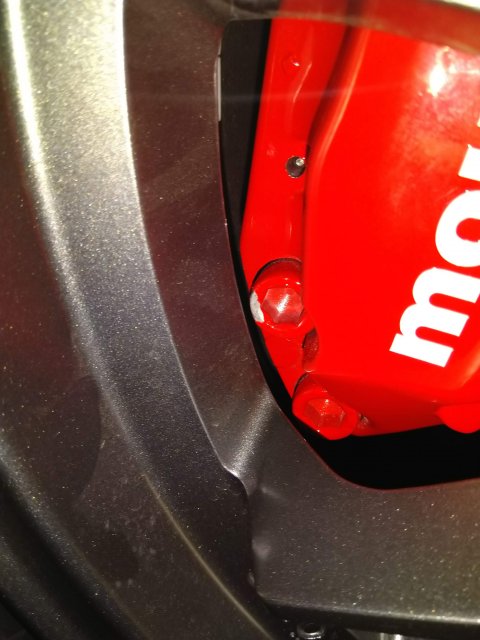
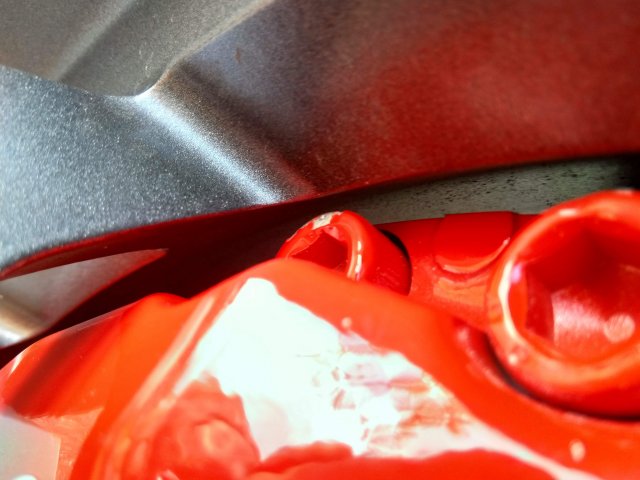
Brembo / Mountune Calipers
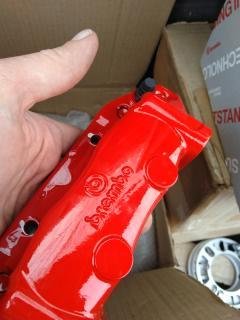
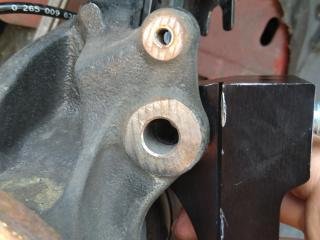
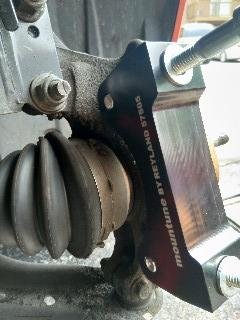
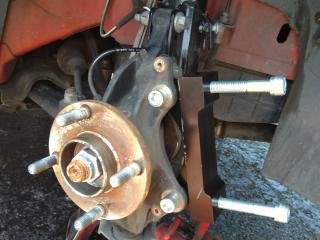
Adapter bracket
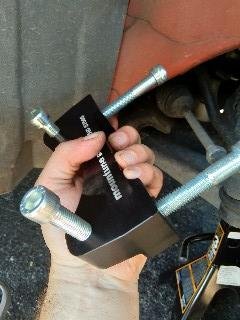
Be sure to place the screws on exactly as show due to the length of the screws and mounting points on the hub and caliper.
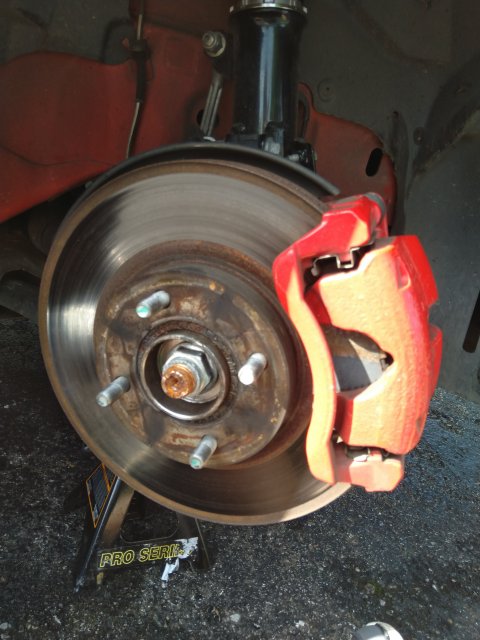
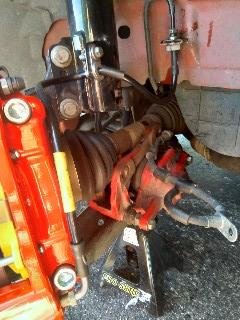
First things first take off all of that.
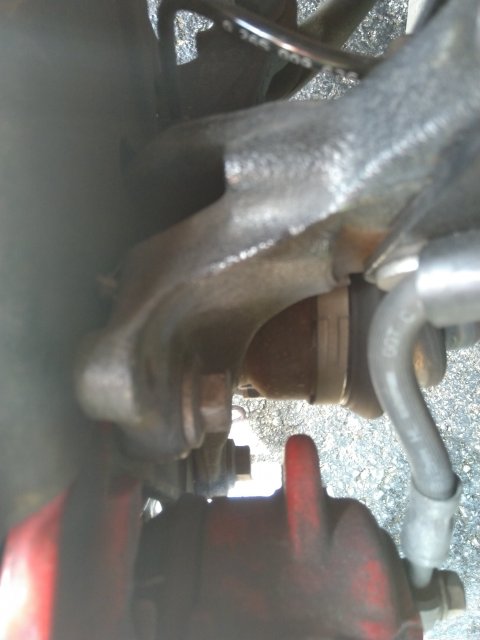
Notice how these bolts are placed because when your installing the adapter plate bracket the bolts will need to go in the opposite direction screwing themselves into the unit itself.
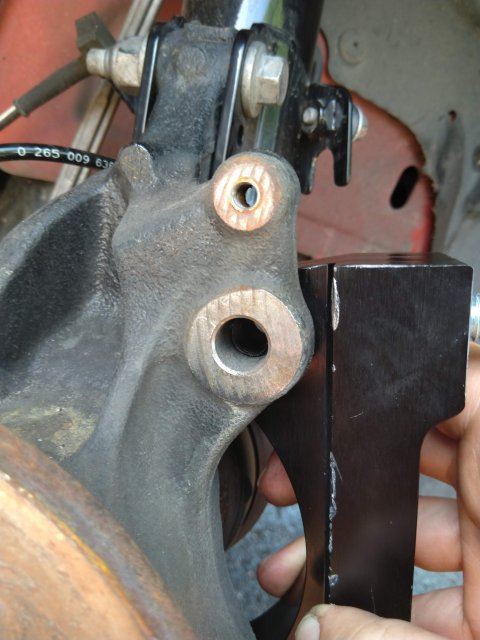
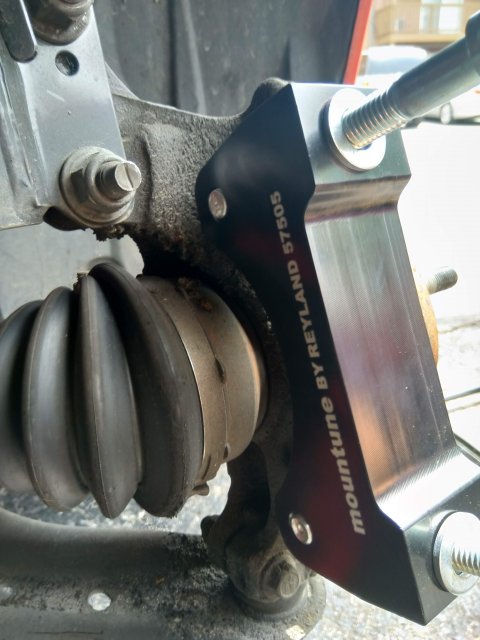
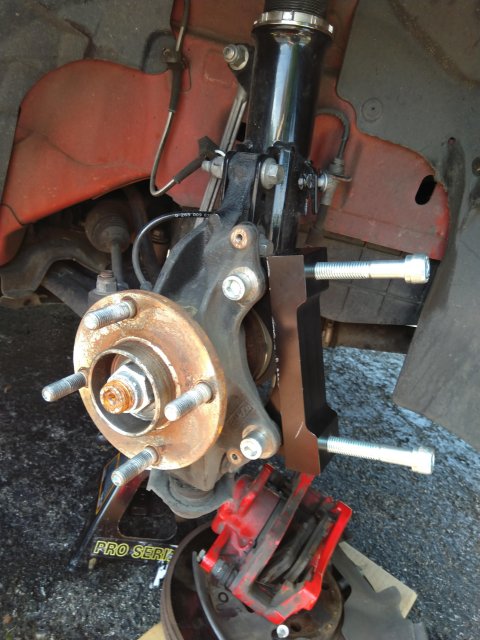
Do not reinstall the dust shields they just get in the way. Be sure to tighten the adapter plate bracket unit before adding the rotor.
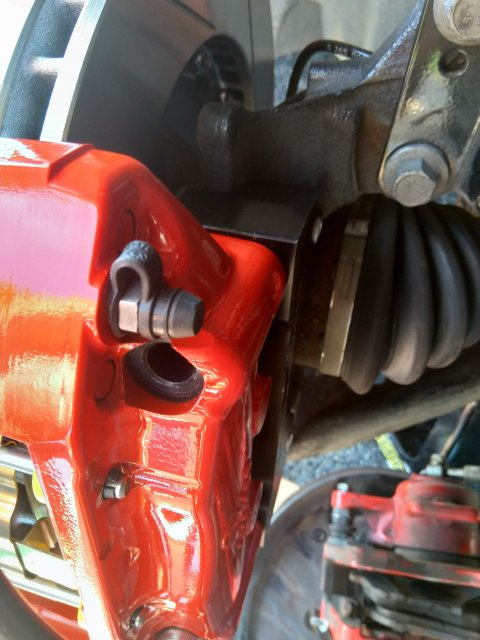
After you place the rotors in location (floating) you then install the calipers which keep the rotors in place.
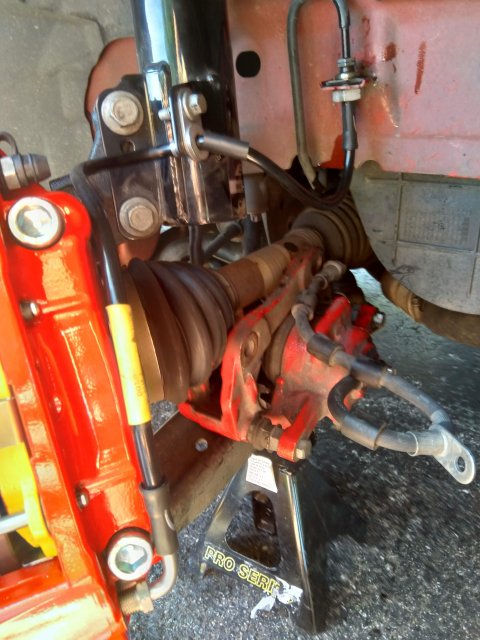
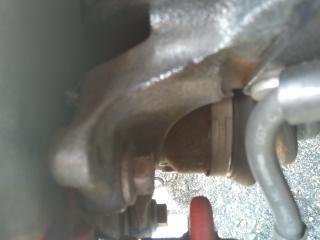
Swap out the O.E. brake lines with an upgraded pair.
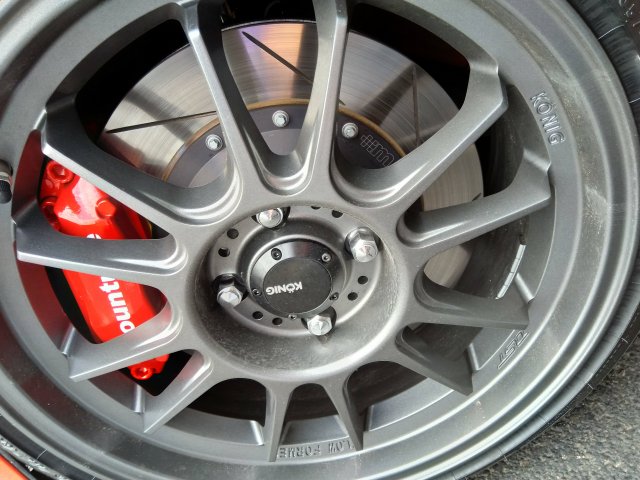
If you completed the job correctly it should look like this.
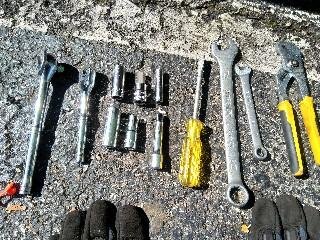
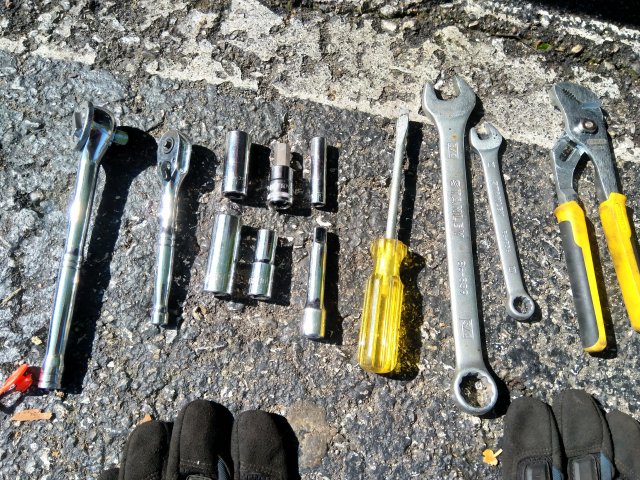
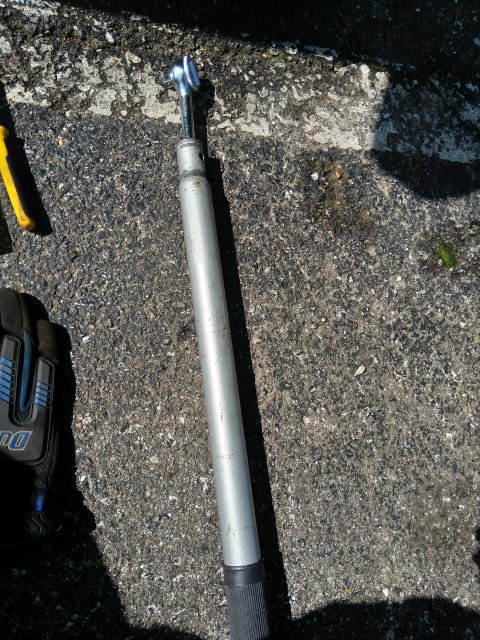
Here are the tools used on this install.
Sockets 8, 10, 13, 15 wrench 3/4, 11 and a Flathead screwdriver.
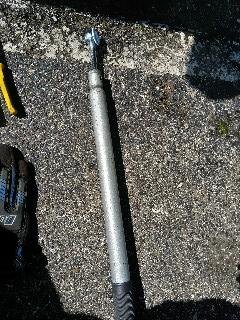
Don't forget to torque everything to O.E. spec with your trusty torque wrench.
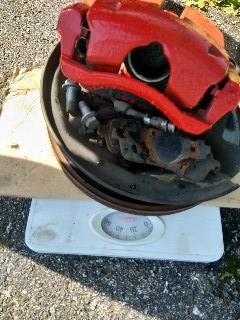
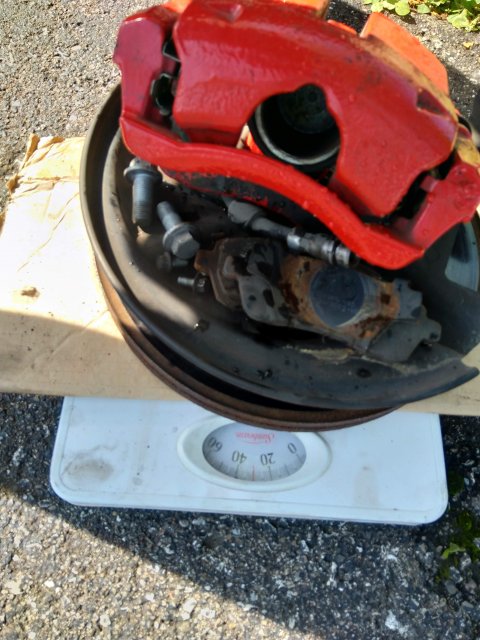
Here is the weight difference. the old setup with rotor, caliper, pads bolts and dust shield is 30lbs
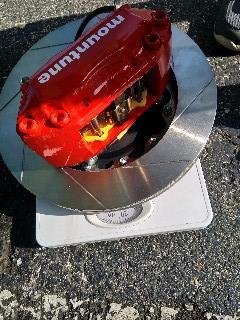
The new setup with everything including hardware weighs only 28lbs
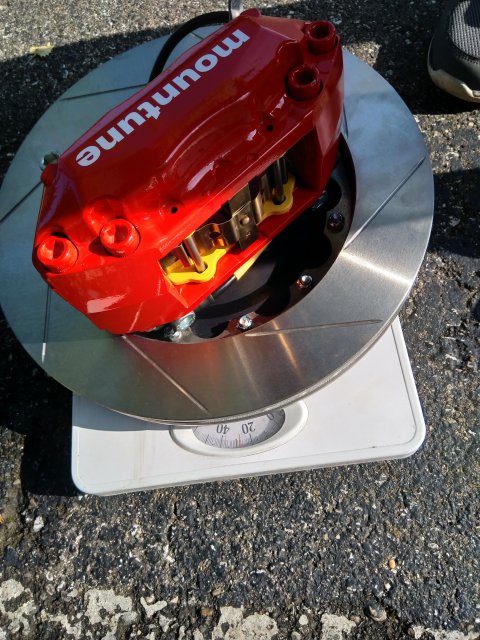
Huge upgrade in stopping power (110%) and a a loss of 2lbs on each side.
Stock wheels (rims) wont fit i would suggest going 16x9 as a minimum or you may have a problem fitting your wheels with a brake kit this large.
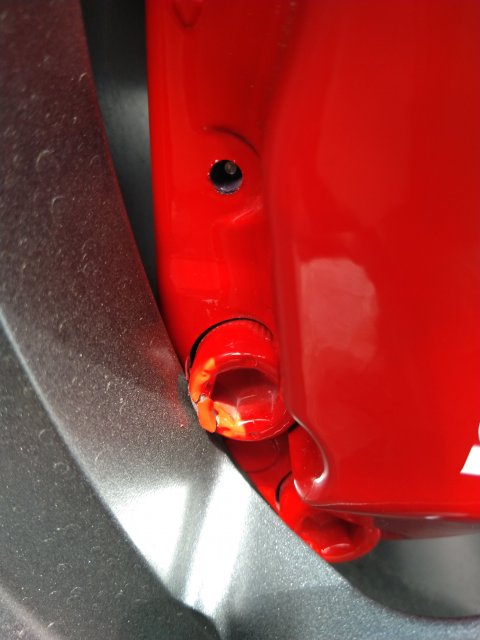
Spacers or longer studs maybe all you need to help.

Brembo / Mountune Calipers

Adapter bracket

Be sure to place the screws on exactly as show due to the length of the screws and mounting points on the hub and caliper.

First things first take off all of that.

Notice how these bolts are placed because when your installing the adapter plate bracket the bolts will need to go in the opposite direction screwing themselves into the unit itself.


Do not reinstall the dust shields they just get in the way. Be sure to tighten the adapter plate bracket unit before adding the rotor.

After you place the rotors in location (floating) you then install the calipers which keep the rotors in place.

Swap out the O.E. brake lines with an upgraded pair.
If you completed the job correctly it should look like this.

Here are the tools used on this install.
Sockets 8, 10, 13, 15 wrench 3/4, 11 and a Flathead screwdriver.

Don't forget to torque everything to O.E. spec with your trusty torque wrench.

Here is the weight difference. the old setup with rotor, caliper, pads bolts and dust shield is 30lbs

The new setup with everything including hardware weighs only 28lbs

Huge upgrade in stopping power (110%) and a a loss of 2lbs on each side.
Stock wheels (rims) wont fit i would suggest going 16x9 as a minimum or you may have a problem fitting your wheels with a brake kit this large.

Spacers or longer studs maybe all you need to help.


Attachments
-
13.8 KB Views: 87
-
9.2 KB Views: 87
-
12.7 KB Views: 88
-
16 KB Views: 87
-
15.9 KB Views: 86
-
17.4 KB Views: 86
-
20.6 KB Views: 93
-
20.1 KB Views: 97
-
35.6 KB Views: 97
-
31.9 KB Views: 89
-
20.7 KB Views: 89
-
25 KB Views: 87
-
9.1 KB Views: 86
-
13.8 KB Views: 85
-
13.7 KB Views: 86
Last edited:

