Introduction and the Stock Downpipe

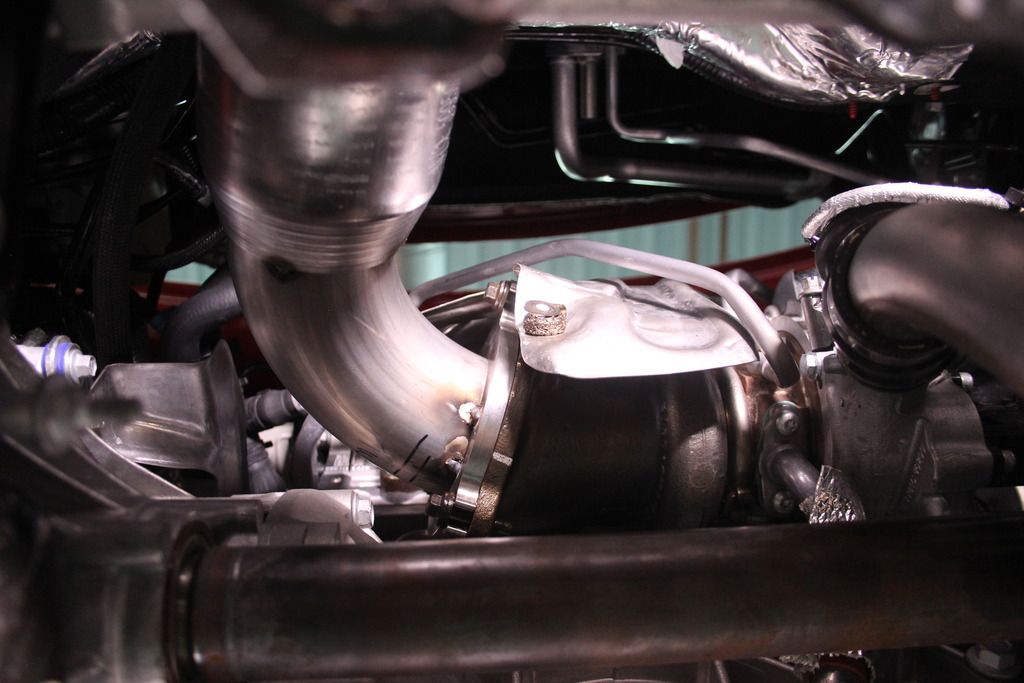
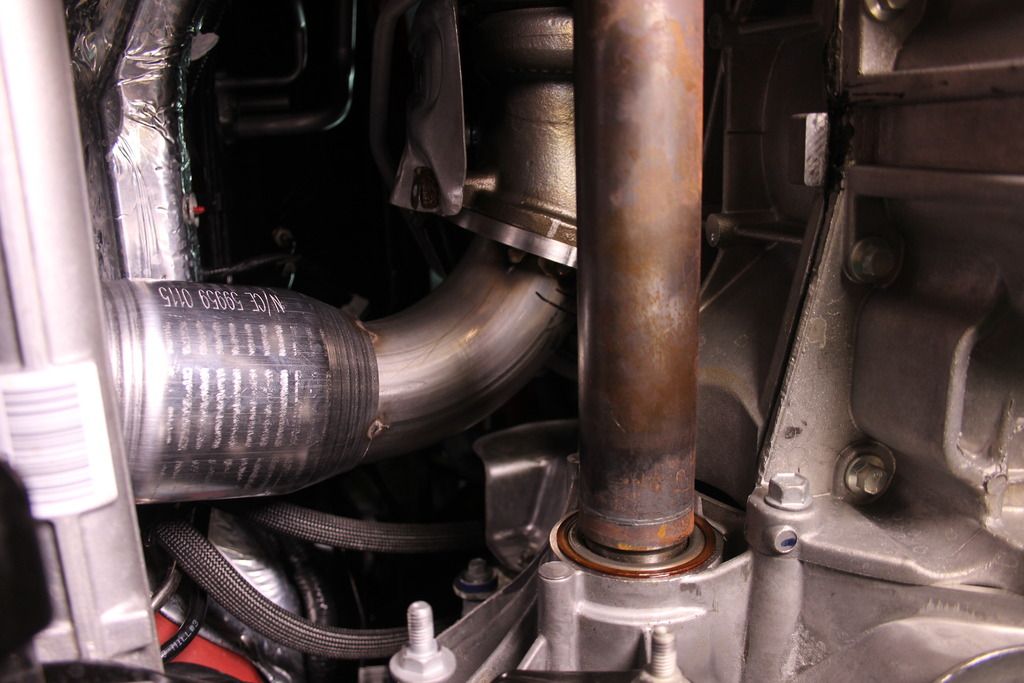
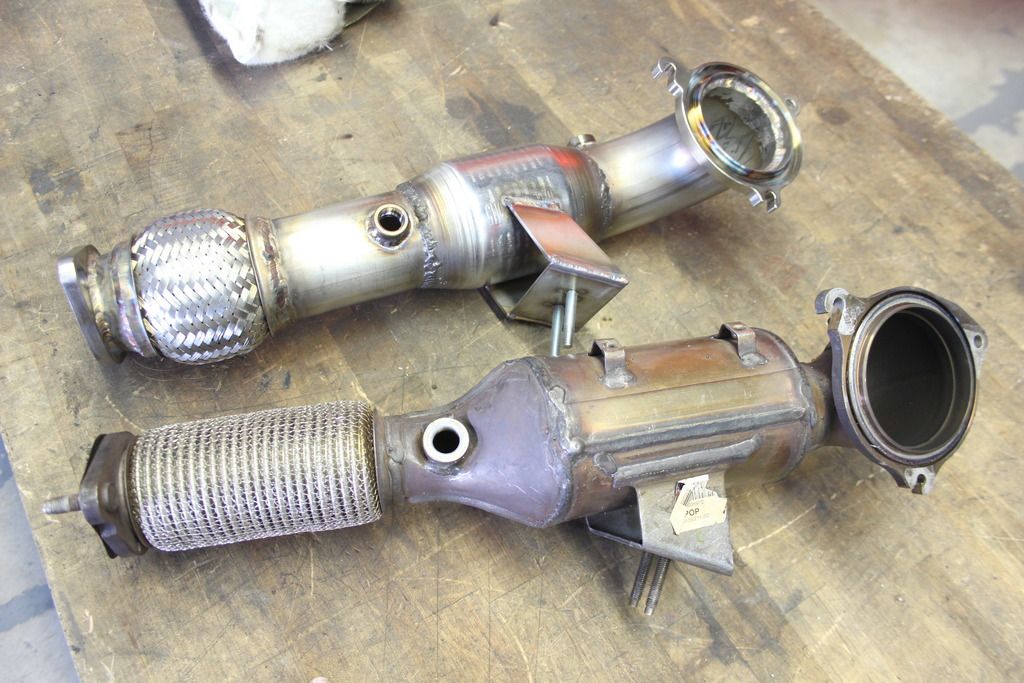
Another addition to the Fiesta ST collection! Our Fiesta build is coming along nicely, and I am happy to announce some progress on our downpipe project. As with any R&D undertaking the first step is to take a look at the stock setup and see how it can be improved.

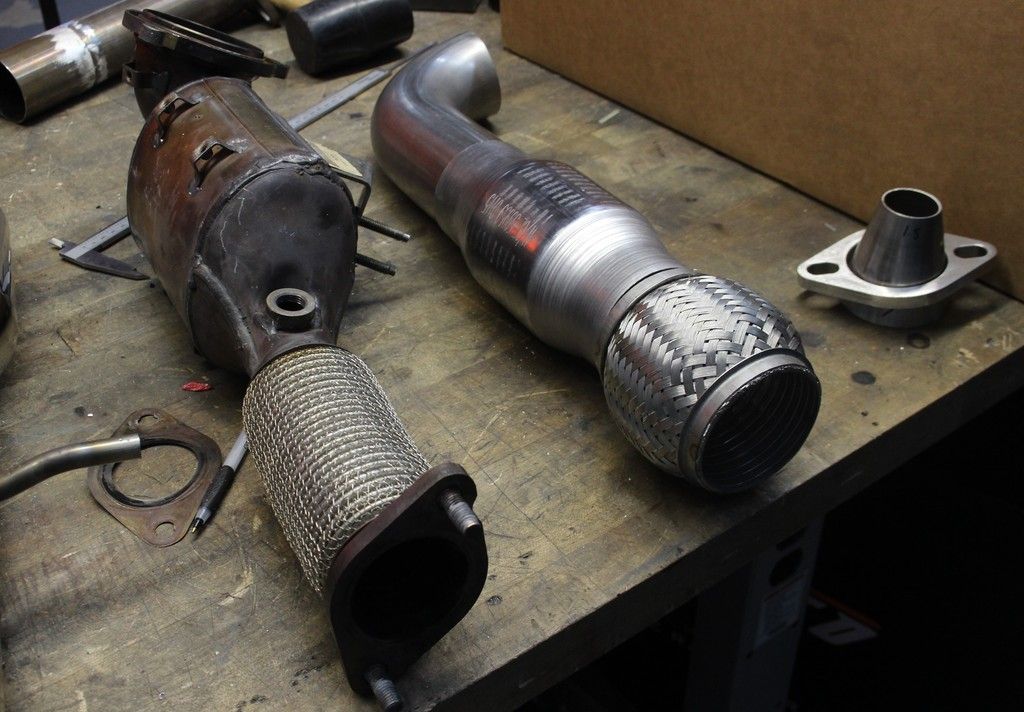
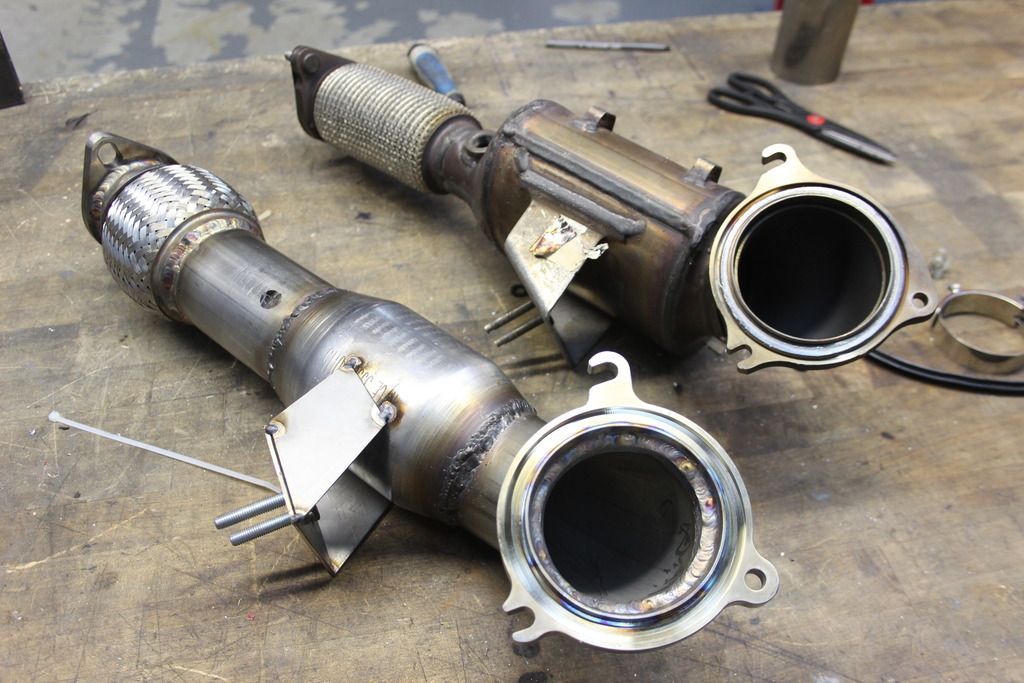
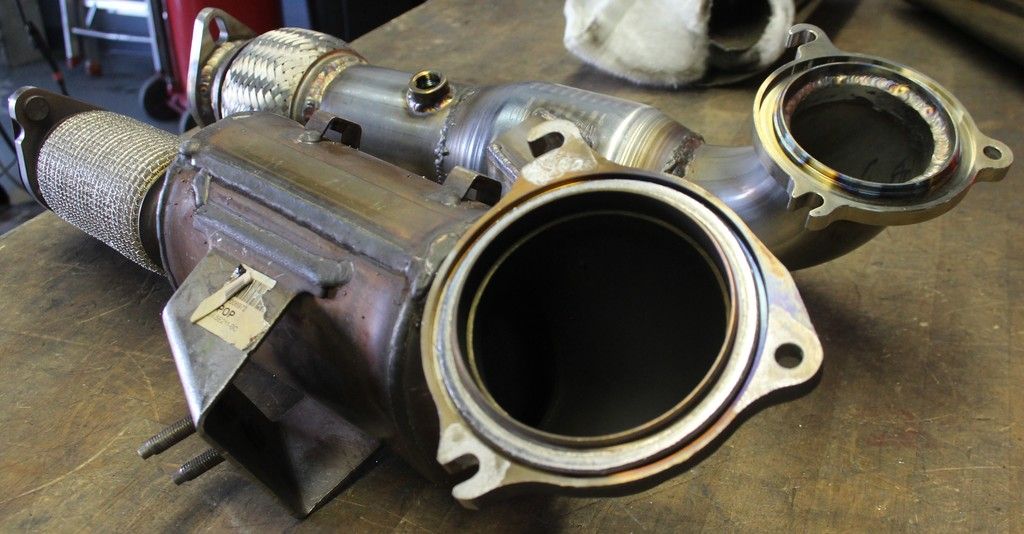
Stock Fiesta ST downpipe
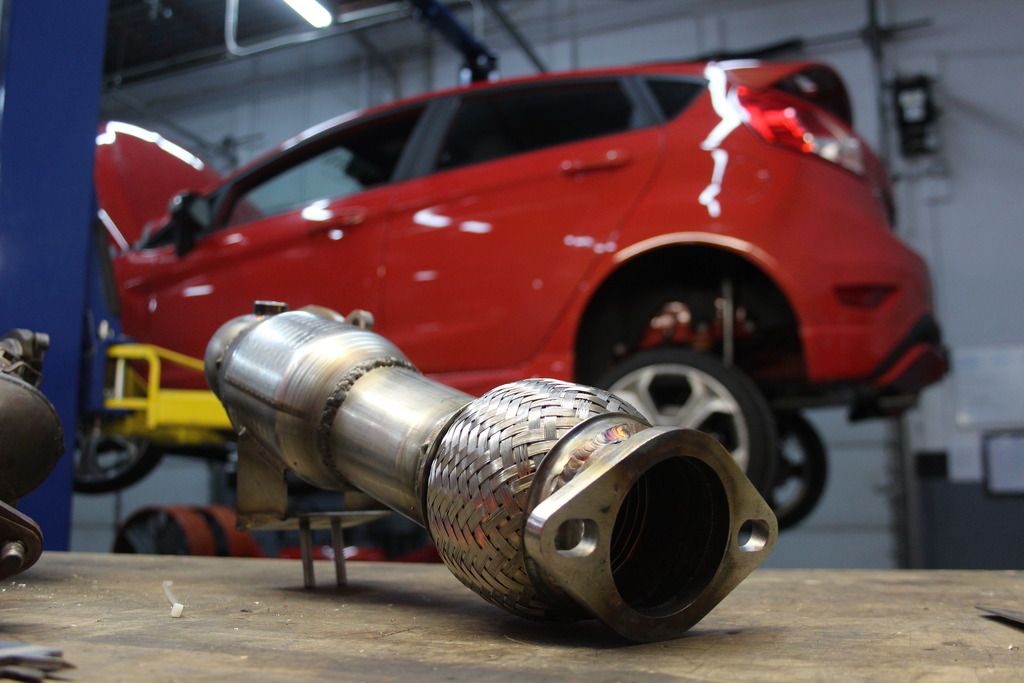
Although Ford has a pretty nice design, we are planning to make it a bit better by increasing the diameter of the downpipe to 3? throughout. As opposed to the stock unit which features 3? pipe only where the downpipe meets the turbo. In order to achieve excellent fitment with the turbo, we will keep the flange as similar to stock as possible. To collect the most accurate measurements of the flange, and other Fiesta ST parts, we placed it on our courdinate measuring machine (CMM) to collect some data about the downpipe.

Stock Fiesta ST downpipe on the CMM

Stock Fiesta ST downpipe on the CMM
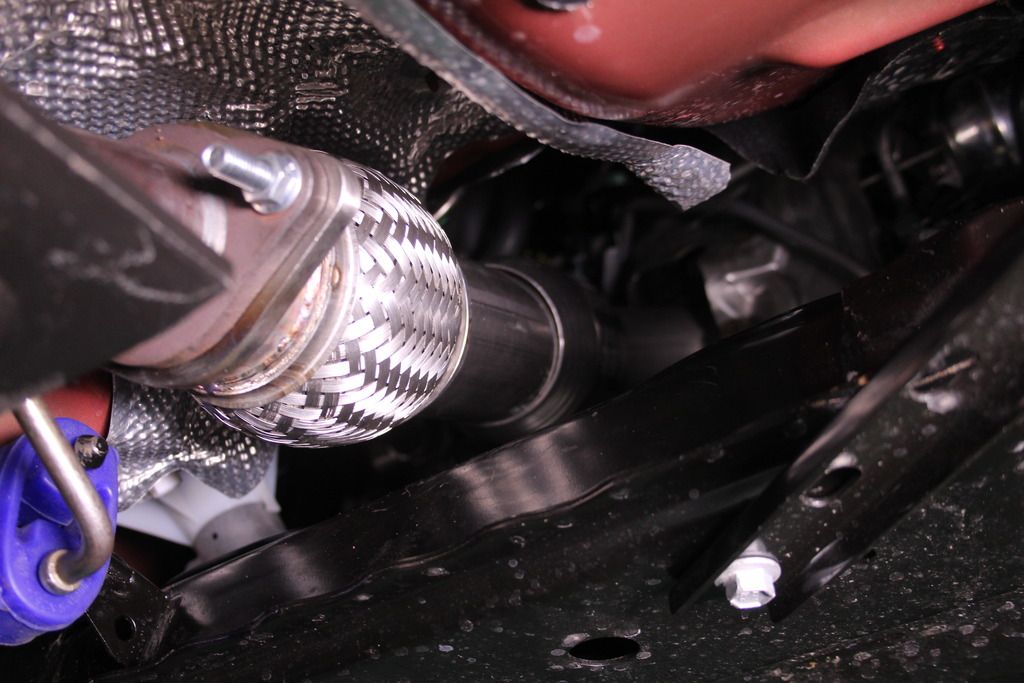
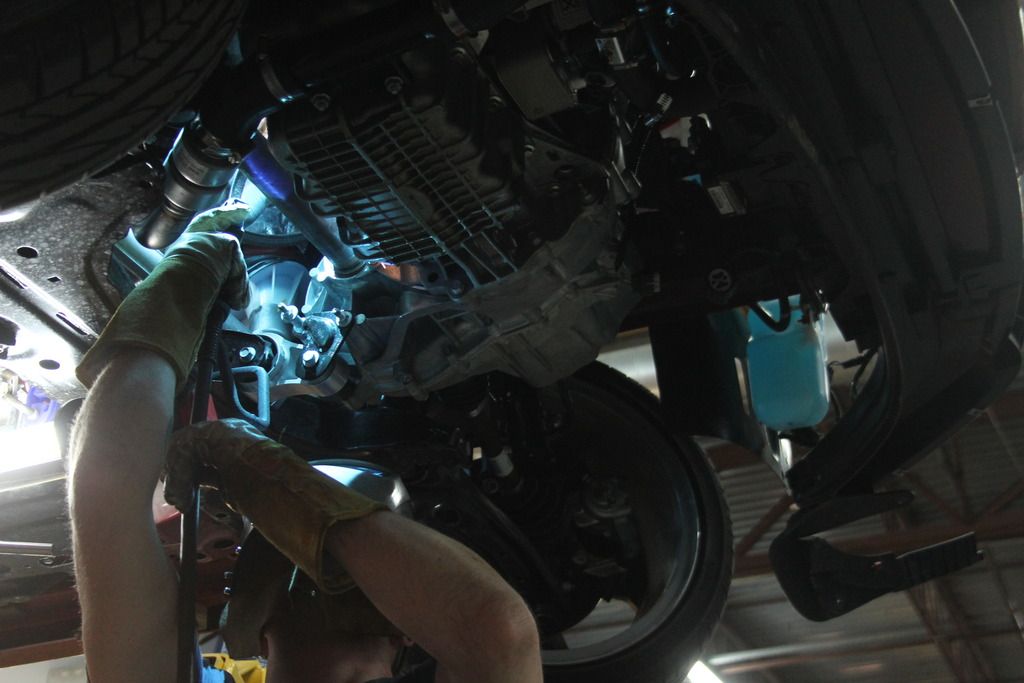
We began with the most important component for fitment, the flange. As you can see in the photograph earlier in this post, it needs to be slotted so it can be installed properly. Both of our downpipe designs will feature the slotted flange for ease of install and fitment. Removal and installation of the stock downpipe is more like solving a puzzle than replacing a part. The downpipe needs to be twisted in just the right way to coax it out from behind the engine. That said, the downpipe has proven to be one of the more difficult of the Fiesta ST parts to design, based on where it is located. After we had our measurements, we printed a model of the flange with our 3D printer. Check out some shots as it?s being made!

The flange for the Fiesta ST downpipe being printed
You can also see my fellow blogger John?s modeling debut reflected in the printer. Way to go John! Our 3D model was test-fitted for accuracy on our Fiesta. After fitment was confirmed, we received our machined flanges for creating our prototypes. Check out some shots of the finished flange compared to our model below!

Comparison of the 3D printed flange and the machined flange

The machined flange being fitted with the turbo
The machined flange fits nicely with the turbo! Time to get started creating the rest of the downpipe.
Project Goals
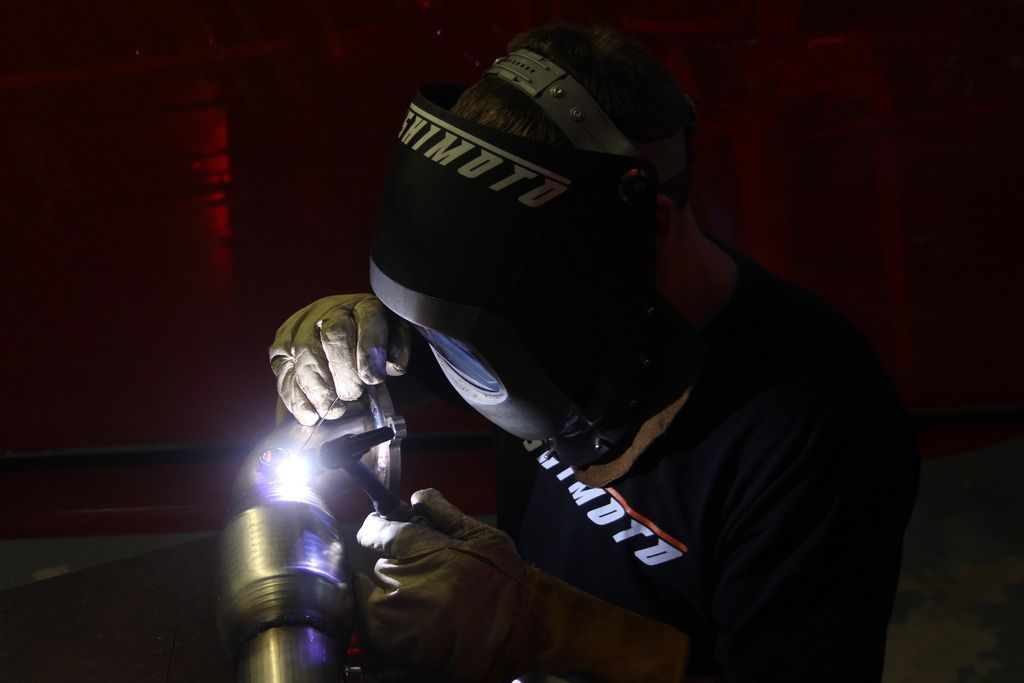
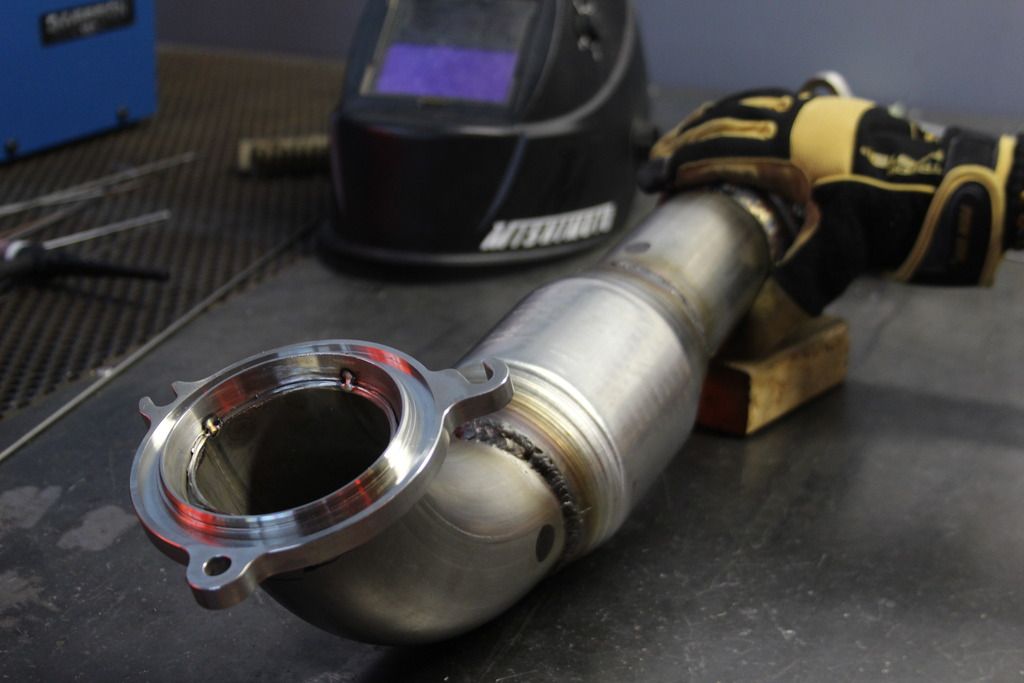
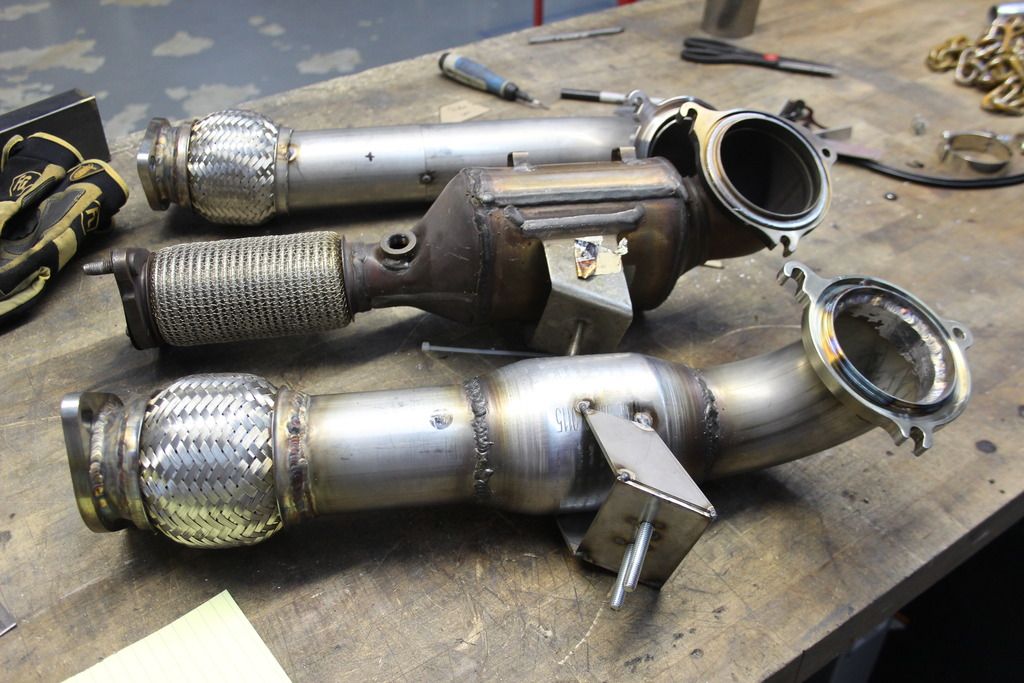
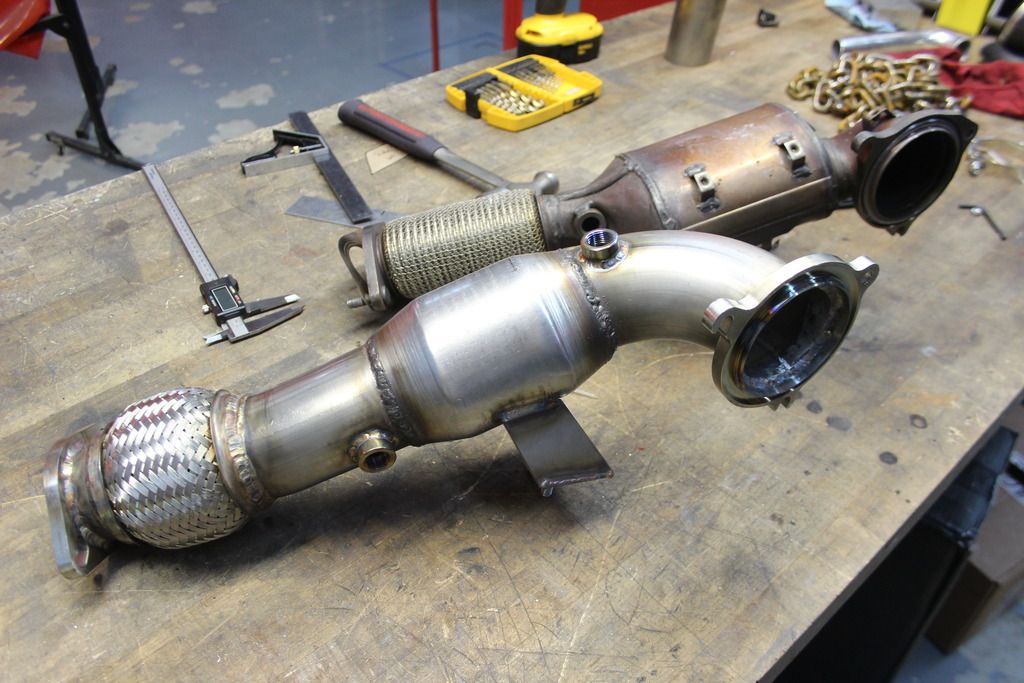
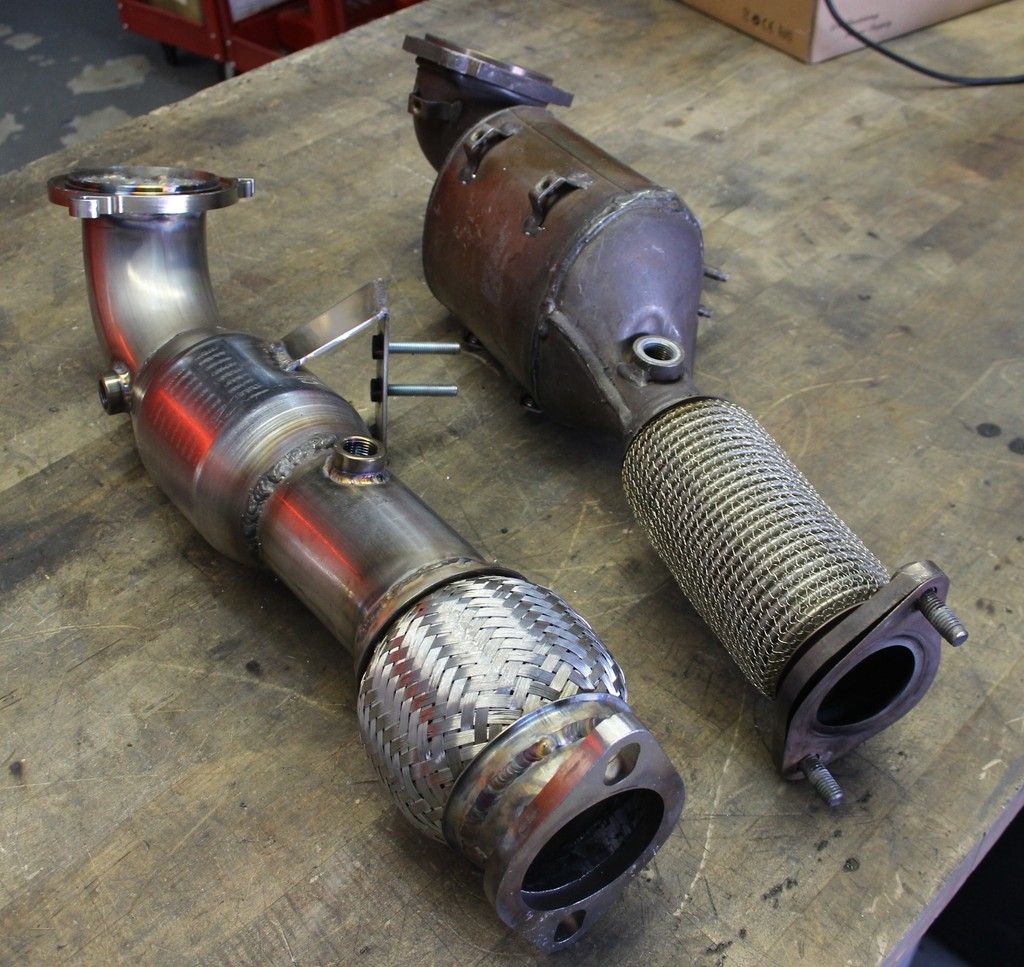
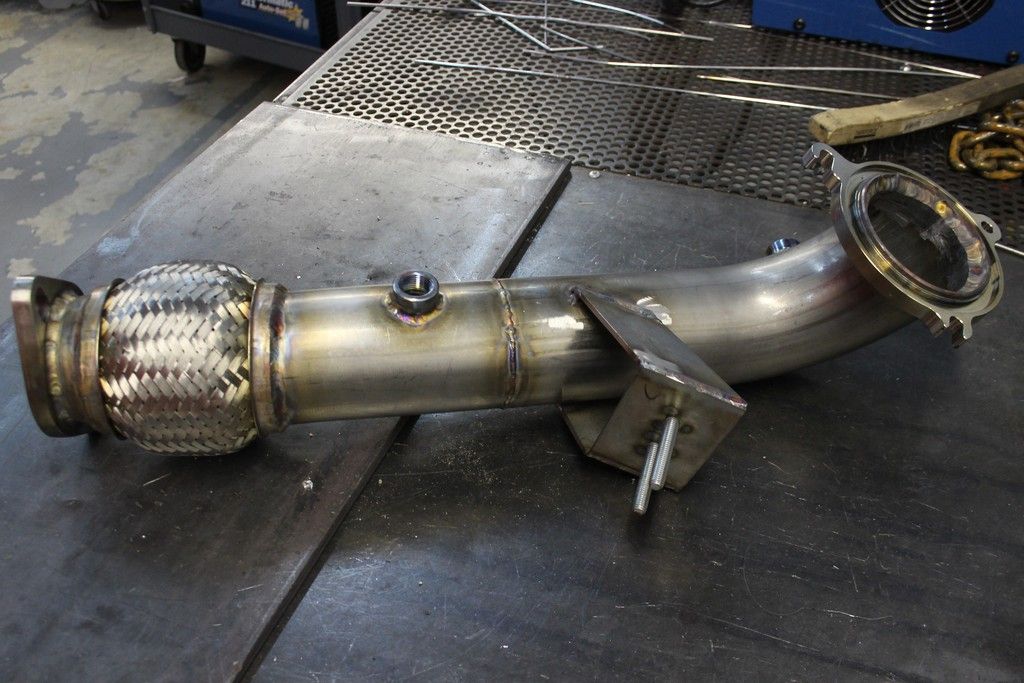
We are planning to fabricate two prototypes for testing; a catted downpipe and a non-catted downpipe for race applications. Both will have similar designs coming off the turbo and meeting with the exhaust. Our designs begin with a 3? diameter (similar to the stock downpipe) and continue with 3? pipe all the way through to the flex pipe. A small step down after the flex pipe allows the downpipe to mate with a stock exhaust setup. Our downpipes will work with both the stock exhaust and our Mishimoto cat-back exhaust, which is also in the works!

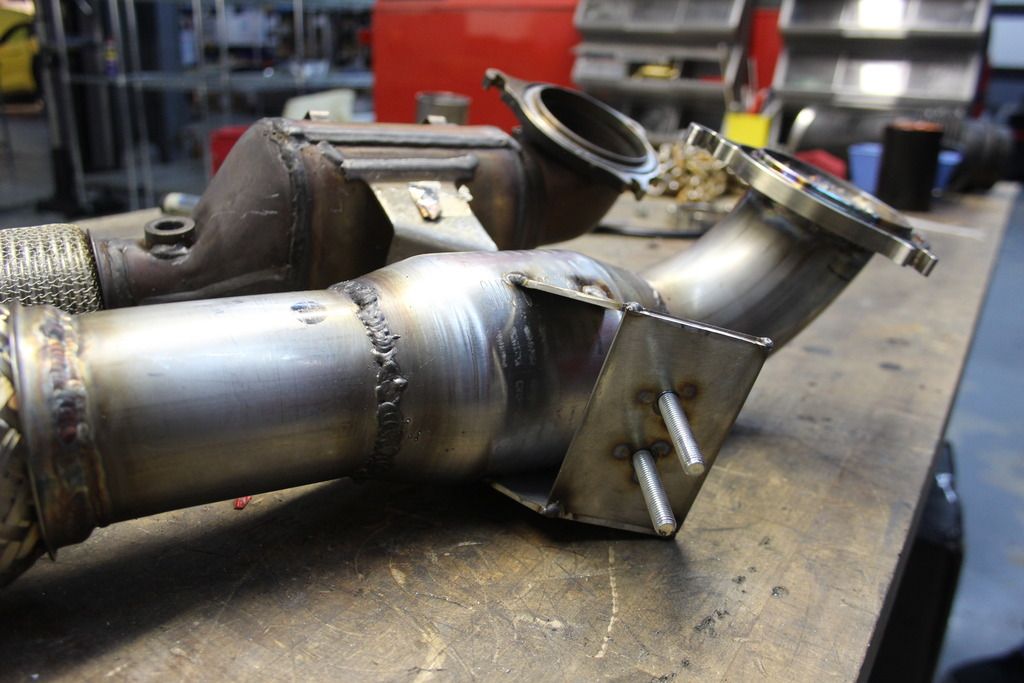
Stock Fiesta ST downpipe next to Fiesta ST parts for the new downpipe
Coming Up!
Check back for more about the development of our downpipe setup. We?ll get a closer look into the design and fabrication of both our catted and non-catted downpipes!
Thanks for Reading!
-Sara

Another addition to the Fiesta ST collection! Our Fiesta build is coming along nicely, and I am happy to announce some progress on our downpipe project. As with any R&D undertaking the first step is to take a look at the stock setup and see how it can be improved.

Stock Fiesta ST downpipe
Although Ford has a pretty nice design, we are planning to make it a bit better by increasing the diameter of the downpipe to 3? throughout. As opposed to the stock unit which features 3? pipe only where the downpipe meets the turbo. In order to achieve excellent fitment with the turbo, we will keep the flange as similar to stock as possible. To collect the most accurate measurements of the flange, and other Fiesta ST parts, we placed it on our courdinate measuring machine (CMM) to collect some data about the downpipe.

Stock Fiesta ST downpipe on the CMM

Stock Fiesta ST downpipe on the CMM
We began with the most important component for fitment, the flange. As you can see in the photograph earlier in this post, it needs to be slotted so it can be installed properly. Both of our downpipe designs will feature the slotted flange for ease of install and fitment. Removal and installation of the stock downpipe is more like solving a puzzle than replacing a part. The downpipe needs to be twisted in just the right way to coax it out from behind the engine. That said, the downpipe has proven to be one of the more difficult of the Fiesta ST parts to design, based on where it is located. After we had our measurements, we printed a model of the flange with our 3D printer. Check out some shots as it?s being made!

The flange for the Fiesta ST downpipe being printed
You can also see my fellow blogger John?s modeling debut reflected in the printer. Way to go John! Our 3D model was test-fitted for accuracy on our Fiesta. After fitment was confirmed, we received our machined flanges for creating our prototypes. Check out some shots of the finished flange compared to our model below!

Comparison of the 3D printed flange and the machined flange

The machined flange being fitted with the turbo
The machined flange fits nicely with the turbo! Time to get started creating the rest of the downpipe.
Project Goals
We are planning to fabricate two prototypes for testing; a catted downpipe and a non-catted downpipe for race applications. Both will have similar designs coming off the turbo and meeting with the exhaust. Our designs begin with a 3? diameter (similar to the stock downpipe) and continue with 3? pipe all the way through to the flex pipe. A small step down after the flex pipe allows the downpipe to mate with a stock exhaust setup. Our downpipes will work with both the stock exhaust and our Mishimoto cat-back exhaust, which is also in the works!

Stock Fiesta ST downpipe next to Fiesta ST parts for the new downpipe
Coming Up!
Check back for more about the development of our downpipe setup. We?ll get a closer look into the design and fabrication of both our catted and non-catted downpipes!
Thanks for Reading!
-Sara

![Popcorn [popcorn] [popcorn]](/images/smilies/popcorn.gif)
