-
Sign Up! To view all forums and unlock additional cool features
Welcome to the #1 Fiesta ST Forum and Fiesta ST community dedicated to Fiesta ST owners and enthusiasts. Register for an account, it's free and it's easy, so don't hesitate to join the Fiesta ST Forum today!
CG's daily fun ride
- Thread starter CanadianGuy
- Start date
For those that don't like the holes when using a wing riser kit a 2 1/4 npt plug is just about the right size. Soft enough to easily cut and drill a hole to pass the wire. Now if you have not cut your wire to install a 3rd light flasher you will need a bigger hole or cut a slot to push the wire in. Also put the hole to one side as the tube and wires are not dead center. To be honest this is not required as the holes are there before the riser anyway. If you do this make sure to have long needle nose to drag (carefully) the wire and hose while you push.
View attachment 14317
View attachment 14315
View attachment 14319
View attachment 14316
View attachment 14318
View attachment 14314
View attachment 14317
View attachment 14315
View attachment 14319
View attachment 14316
View attachment 14318
View attachment 14314
I found this useful, but there's a discrepancy. 2 1/4 converts to 57.1mm. I measured it at 50mm on the dot. So I bought some 51.3mm and it's a super tight fit. Not sure if it's an EU vs US difference or just different manufacturer for the wing.
I also took apart the connector for the brake light so I don't have to poke an oversized hole for better and snug fit to ensure nothing gets in.

Thread Starter
#323
Thread Starter
#323
I found this useful, but there's a discrepancy. 2 1/4 converts to 57.1mm. I measured it at 50mm on the dot. So I bought some 51.3mm and it's a super tight fit. Not sure if it's an EU vs US difference or just different manufacturer for the wing.
I also took apart the connector for the brake light so I don't have to poke an oversized hole for better and snug fit to ensure nothing gets in.

I also took apart the connector for the brake light so I don't have to poke an oversized hole for better and snug fit to ensure nothing gets in.

Using the Forscan software I was able to activate the reverse camera feature of the Sync unit. Connected an eBay $30 licence camera camera and could not be happier. It took about 4 hours. but that was due to me re-verifying the cabling/connection at every stage and taking my time. Taking the trim from the interior and exterior of the hatch was actually very easy. to make your life easier find a stiff 1/4" tube about 2 feet. Helps guide wire without scratching. I wired the camera power to the reverse light (easy to pick up the power is the hatch) and since the camera has a built in light for the licence plate I destroyed a LED light and used it to wedge the wires in. Using a liberal amount of silicon grease to keep moisture away. To pass the cables into the hatch I cut a slit in the plug removed some material and greased it up to prevent moisture to get in. To be honest there are tons of other holes so water does get in. I used the driver side rubber channel that I have used before for getting the wires into the main body (that channel is now full). Used the same trick of large blunt screw driver and lots of plastic safe grease. Fed the wires in the dash (again with the tube) and closed everything up. When using the forscan software before the camera is connected it does take almost a minute to detect it is not working so be patient.
View attachment 14307
View attachment 14296
View attachment 14305
View attachment 14303
View attachment 14302
View attachment 14300
View attachment 14301
View attachment 14299
View attachment 14298
View attachment 14297
View attachment 14304
View attachment 14306
View attachment 14307
View attachment 14296
View attachment 14305
View attachment 14303
View attachment 14302
View attachment 14300
View attachment 14301
View attachment 14299
View attachment 14298
View attachment 14297
View attachment 14304
View attachment 14306
Thread Starter
#328
Thread Starter
#328
I would like to do the camera mod. Would you mind sharing the links to buy the camera (or newer model) plus the OBD (or newer model)?
https://www.ebay.com/itm/ELM327-USB...can-ScanneS-/142763611222?hash=item213d5fd456
https://www.ebay.com/itm/Rearview-R...Fiesta-Kuga-/263072790623?hash=item3d405c385f
Thread Starter
#329
Thread Starter
#329
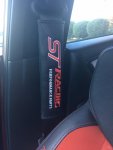
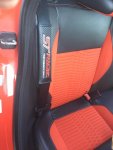
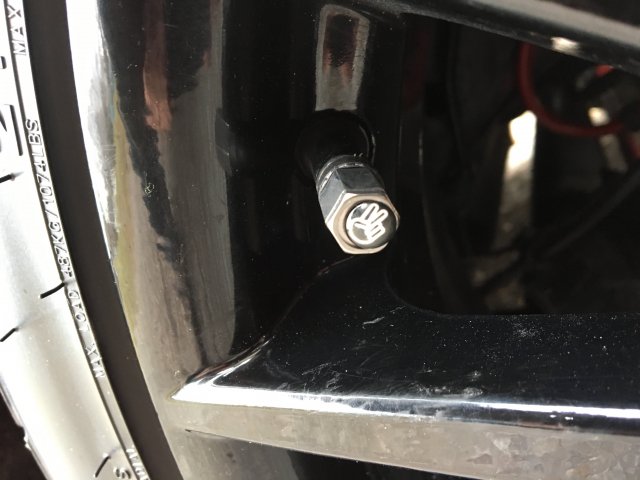
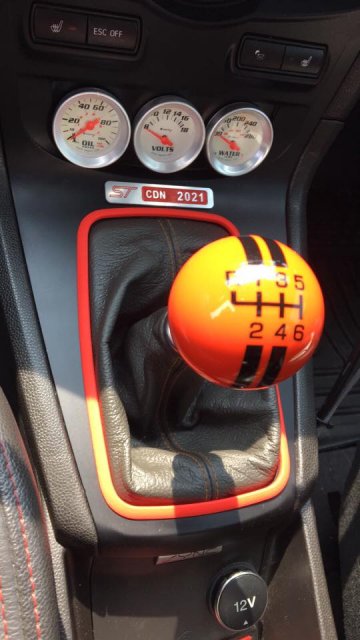
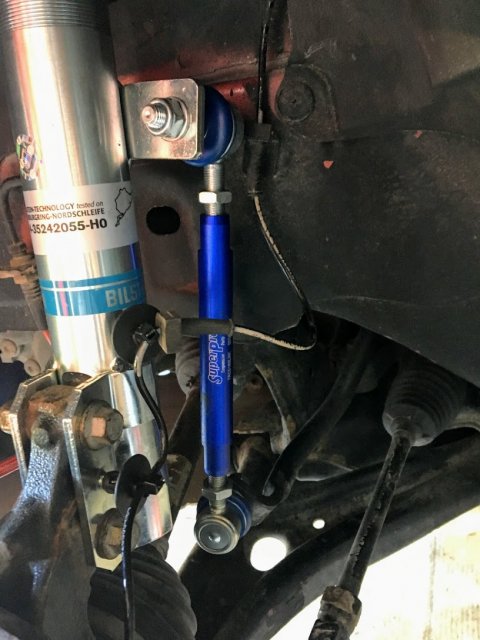
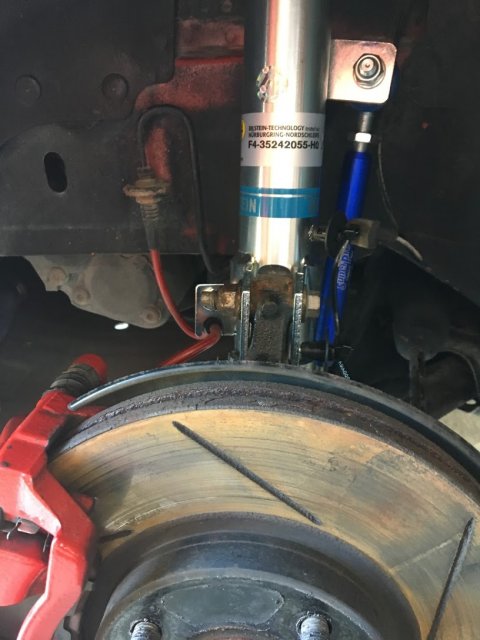
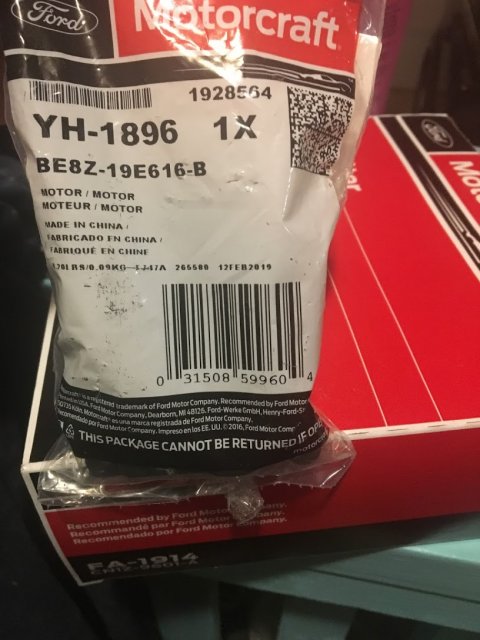
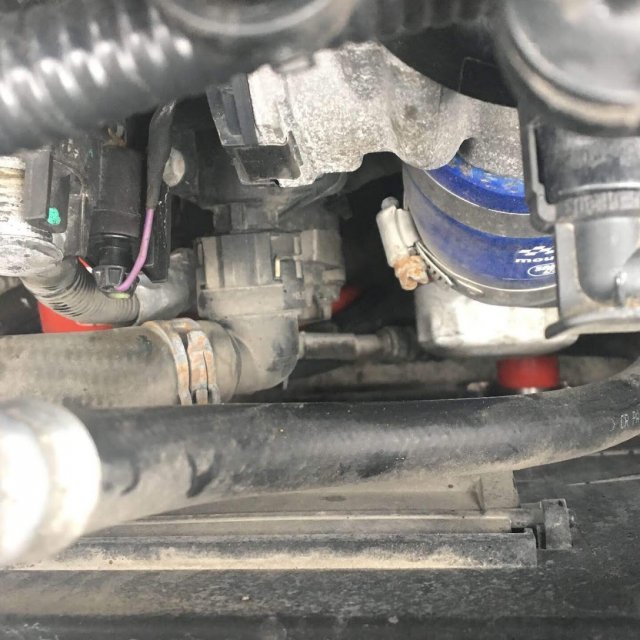
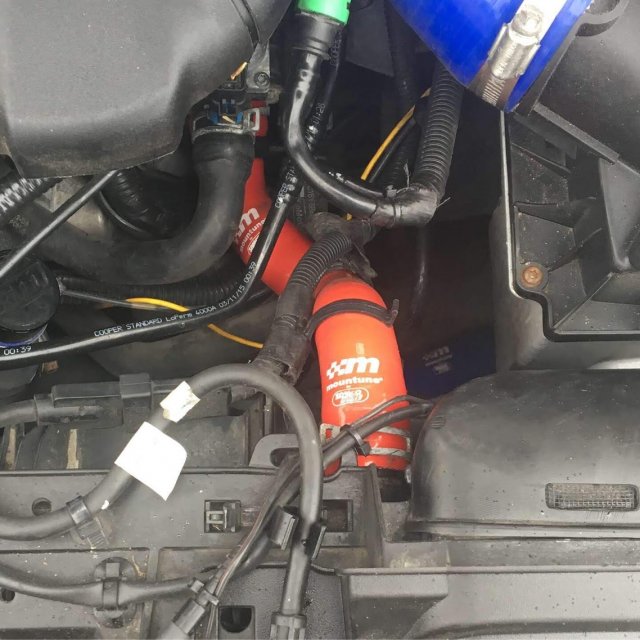
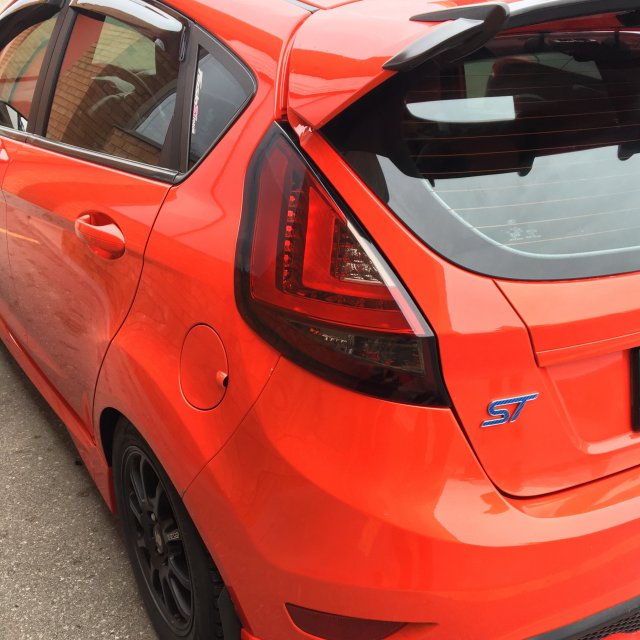
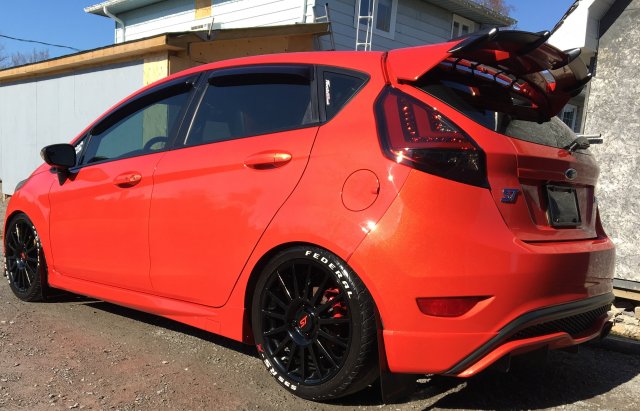
Been awhile since I posted. Life seems to have gotten in the way and been busy. Still have the FiST and still doing things. I have added a Raptor Racing Downpipe, Mountune MR230, Bilstein B14 coilovers, SpecD tailights, Mountune Radiator hoses, custom gauge for oil temp and pressure, hood struts. No major repairs other than the blend door actuator.

Attachments
-
1,012.7 KB Views: 37
-
60.4 KB Views: 36
Great to see you back my friend.
Been awhile since I posted. Life seems to have gotten in the way and been busy. Still have the FiST and still doing things. I have added a Raptor Racing Downpipe, Mountune MR230, Bilstein B14 coilovers, SpecD tailights, Mountune Radiator hoses, custom gauge for oil temp and pressure, hood struts. No major repairs other than the blend door actuator.
View attachment 20358
View attachment 20358
Thread Starter
#333
Thread Starter
#333
here is a quick sound clip of the new Raptor Racing Downpipe with Mountune CBE love the burbles
View: https://www.youtube.com/watch?v=PyHZReS4oRo
Thread Starter
#337
Thread Starter
#337
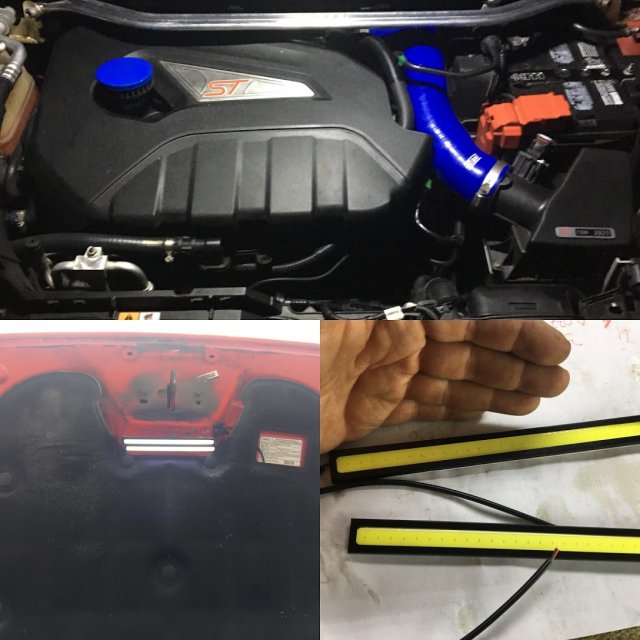
I use those same lights you have under the hood in the hatch. Careful with leaving them on too long. The attached wires are undersized for the current they draw and will easily overheat if left on for 10+ minutes and will start melting.
Don't ask how I know...
Sent from my OnePlus 6T using Tapatalk
Don't ask how I know...
Sent from my OnePlus 6T using Tapatalk
I checked the current and the ones I have seem to have the correct gauge (18).
Thread Starter
#340
Thread Starter
#340
Dark Ice Fiesta ST Hood Struts. These are a nice mod for the hood.
View: https://www.youtube.com/watch?v=SbgeKDOhwiM&feature=youtu.be
Similar threads
-
-
-
-
-
-
-
WRX to FiST? (for autocross and daily)
- Started by AriaFury
- Replies: 5
-
-
2015 Daily driver build project (first project car) -
- Started by TalkToTheFiST
- Replies: 18
-

