Badge overlay install
- Thread starter bobjob
- Start date
- Member ID
- #1007
- Messages
- 71
- Likes
- 3
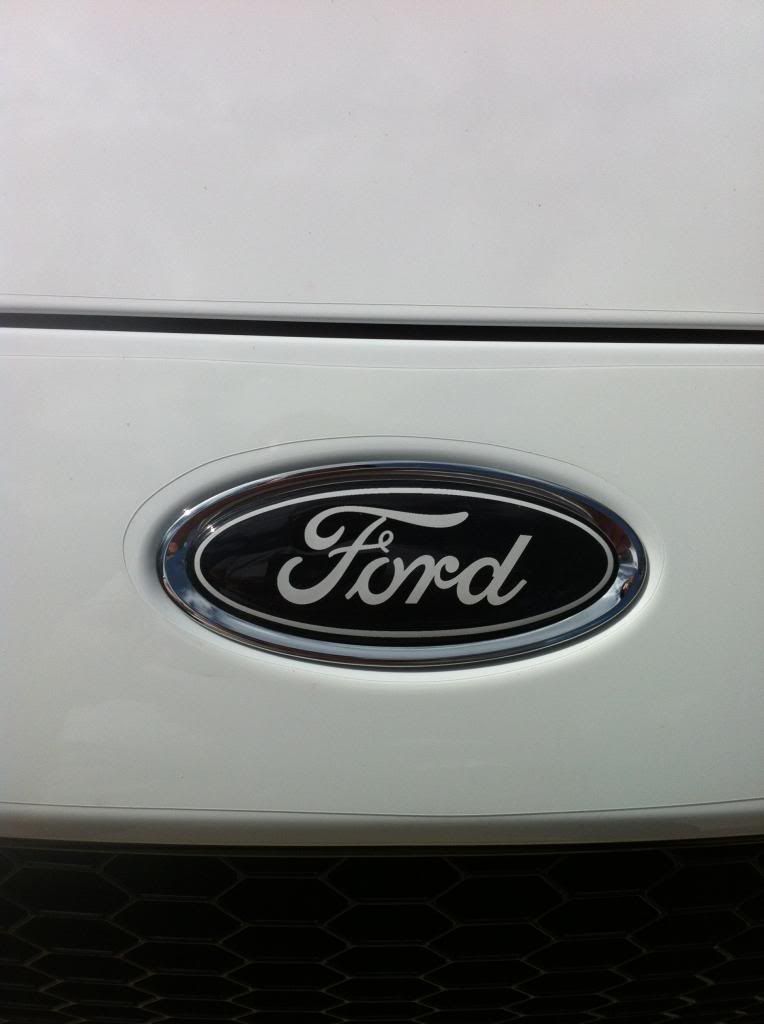
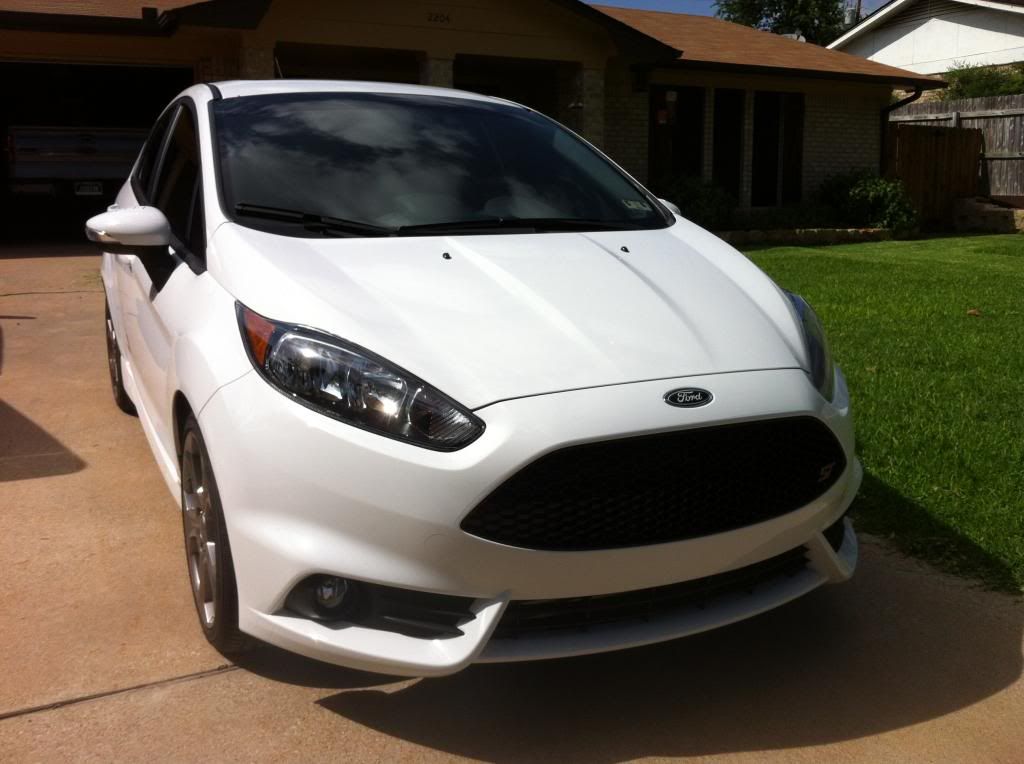
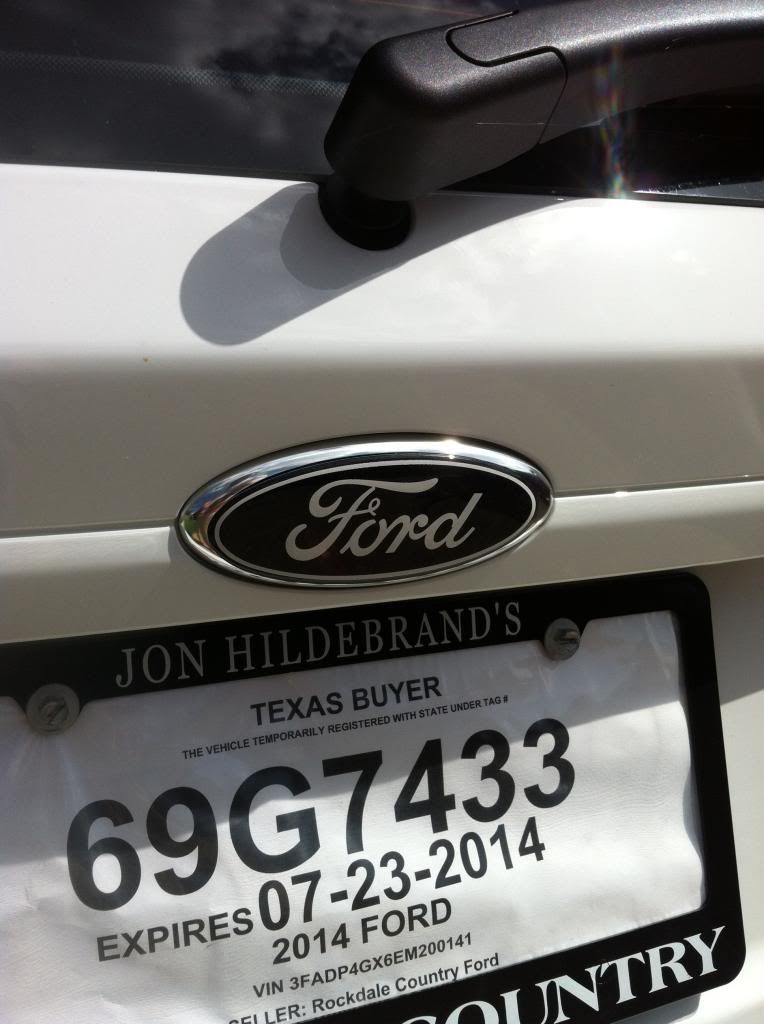
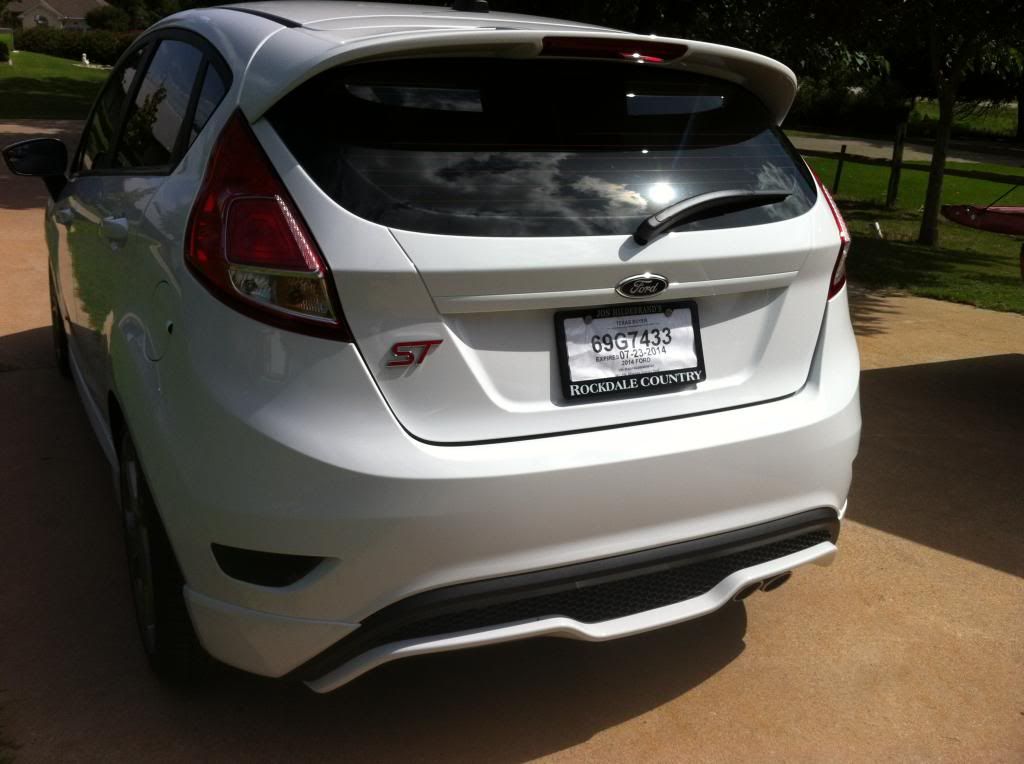
Just put my overlays on the car about 30 mins ago. I cleaned the OEM "Ford" badges with glass cleaner, allowed them to dry and then went over both very thoroughly with a rubbing alcohol soaked cotton swab, allowed that to try and then heated both the OEM "Ford" badge and the back of the overlay before applying it. That thing stuck AWESOME! For the record, I also cleaned my hands very thoroughly with the rubbing alcohol (to remove skin oils) prior to removing the overlay from its backing.
Just put my overlays on the car about 30 mins ago. I cleaned the OEM "Ford" badges with glass cleaner, allowed them to dry and then went over both very thoroughly with a rubbing alcohol soaked cotton swab, allowed that to try and then heated both the OEM "Ford" badge and the back of the overlay before applying it. That thing stuck AWESOME! For the record, I also cleaned my hands very thoroughly with the rubbing alcohol (to remove skin oils) prior to removing the overlay from its backing.
- Member ID
- #2224
- Messages
- 326
- Likes
- 50
Lol i just installed mine and have the same car color as you but opposed emblem
View attachment 1264
I made there almost 6 months ago.

Dave

Dave
- Member ID
- #1007
- Messages
- 71
- Likes
- 3
Where did you guys get your overlays at?
Similar threads
-
Motul Has Entrusted Us to Reprint Their Discontinued Round Motul Badge Stickers For 2025
- Started by FlordPerformance
- Replies: 0
-
-
-
Gel Badge overlays GROUP BUY 3 piece set & 7 piece sets available
- Started by ron@whoosh
- Replies: 110
-
ST and Ford Badge overlays? Help?
- Started by MGrizzard
- Replies: 0
-
-
-
DMB Graphics Carbon Fiber ST Overlay and M Logo Engine Start Gel Badge - Review
- Started by SirusMX2
- Replies: 12
-
What colour badge overlays?
- Started by duncanwhiteford
- Replies: 14
-


