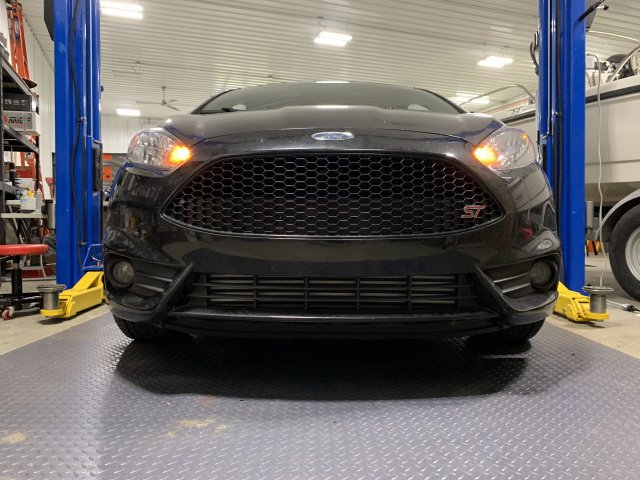
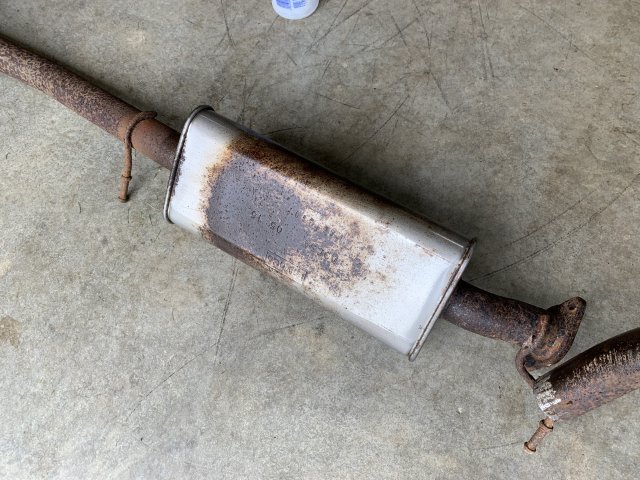
Continuing my rust overhaul adventures, the next stop was the exhaust. The car has started to develop this sound when cold started. It really sounds like an exhaust leak. So I found an exhaust semi-locally (2hr drive) that had ''only'' 80k kms, but was in much better shape than mine.
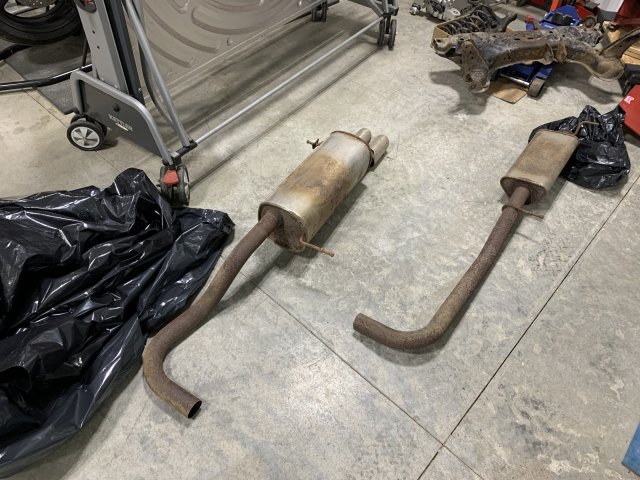
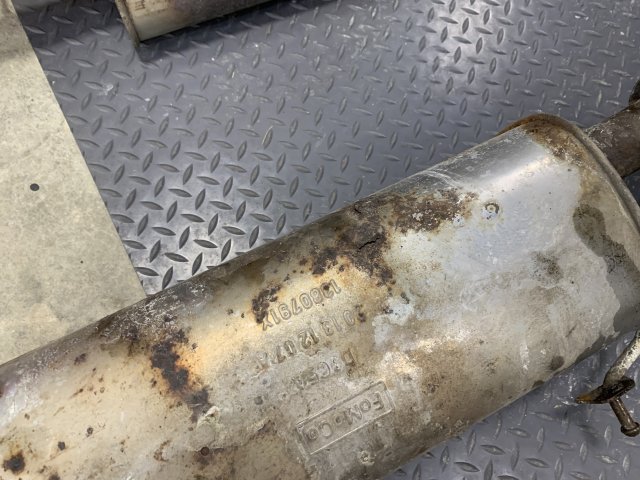
Exhaust in question. The main things I was looking for was intact front hanger and clean-ish boxes.
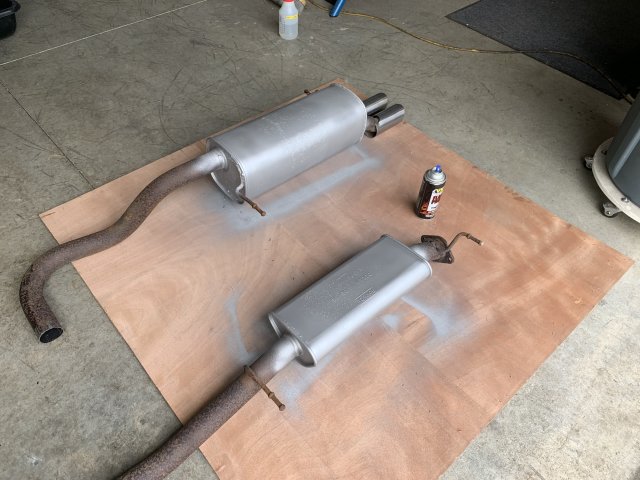
I'm using a mix of acid to clean and passivate the rust on the boxes and on the pipes leading up to them. It worked really well. I also treated a good portion of the underside of the car. It produces a white stain occasionally. Here is the recipe :
View: https://www.youtube.com/watch?v=7ZVSMQLPHNo
I really spent a long time brushing the rust with various metal brushes, and applying the acid. It's not perfect, but you'll see, it's much, much better.
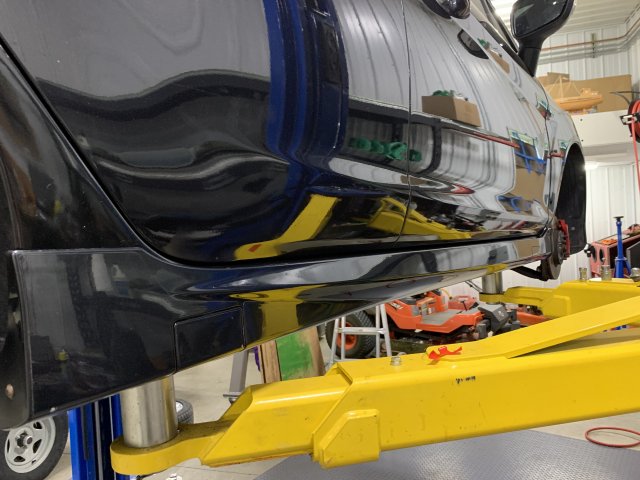
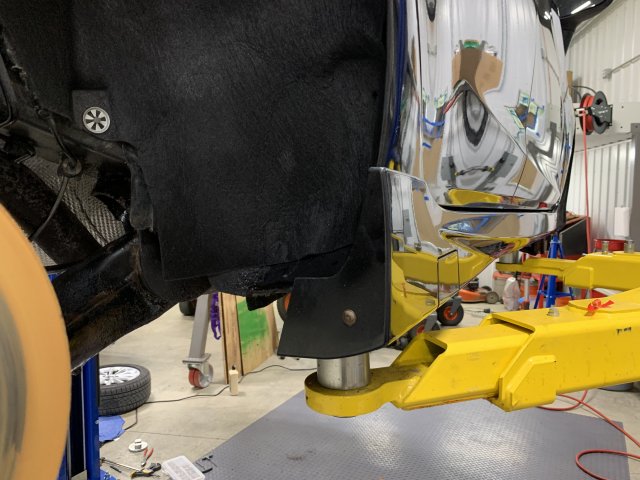
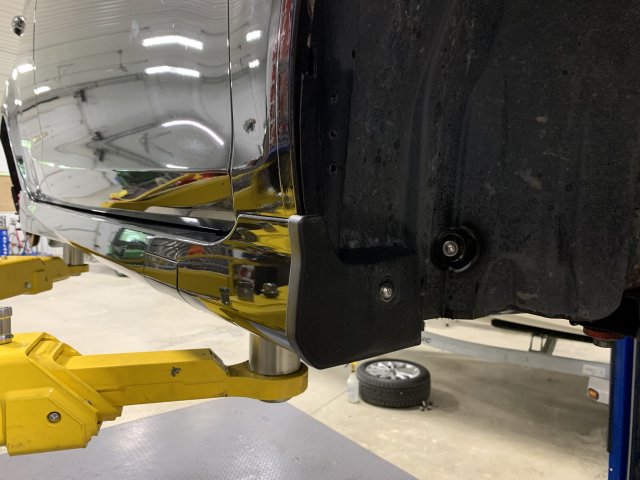
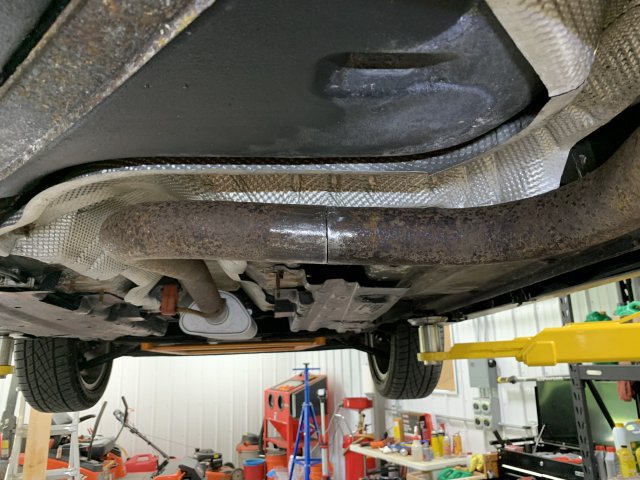
The side exposed to the road is not bad as well.
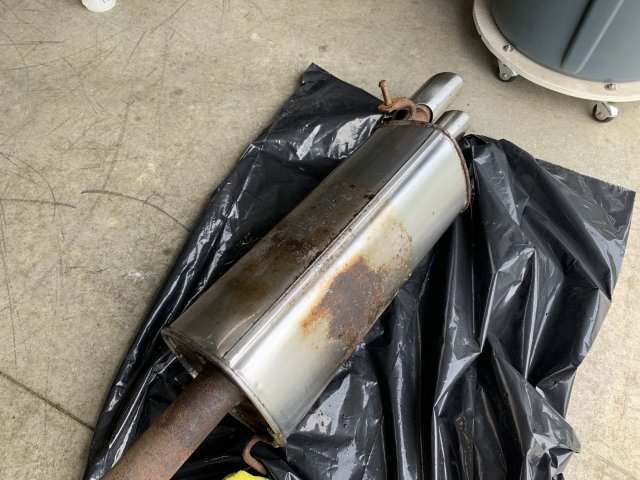
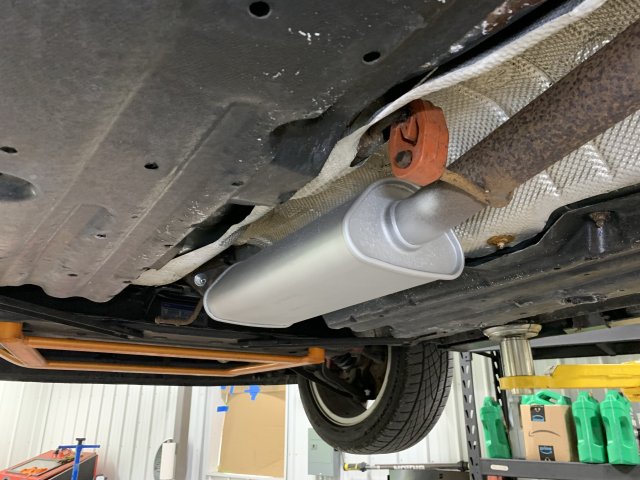
After a couple of passes of VHT Flameproof header paint. I only had a small portion of the paint can left, unfortunately.
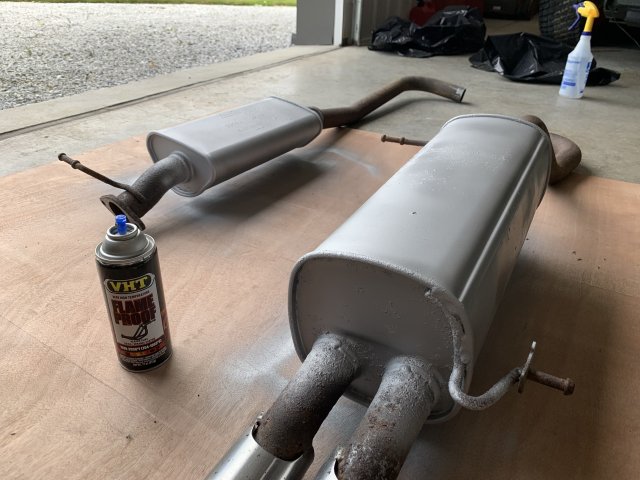
I did take the time to spray extra paint into the folded seams of the resonator and the muffler. Also on the side panels where rust can infiltrate.
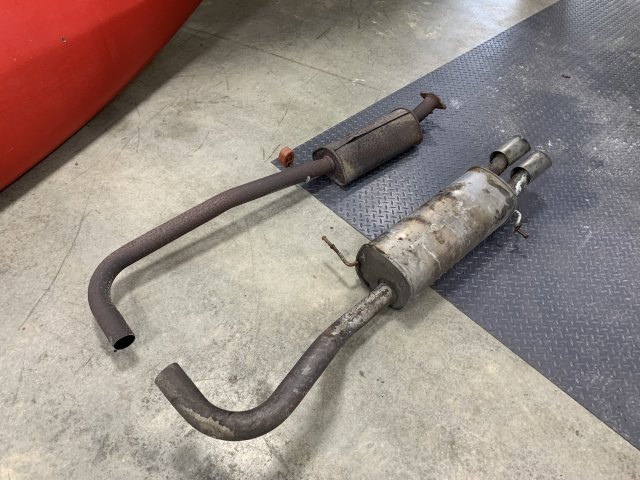
Here is the old, original 140k kms, 10yo exhaust. Wow!
Life was not easy for this bad boy.
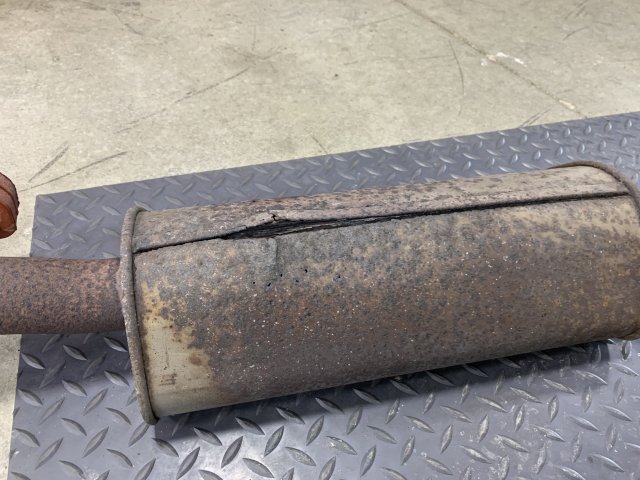
The resonator was absolutely COOKED. This is why I thought I had an exhaust leak.

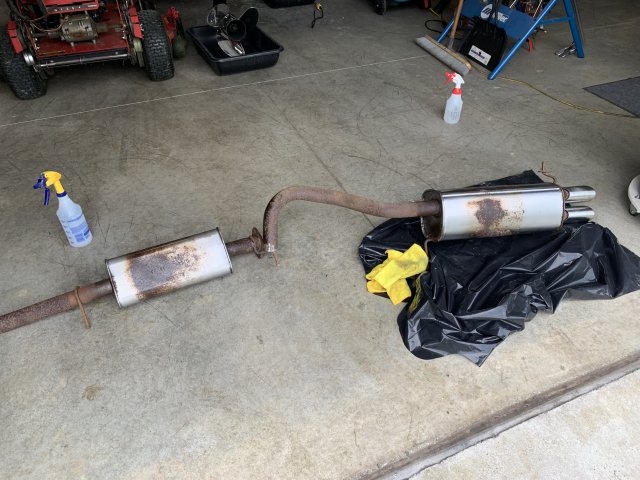
Here are the two side by side. I decided to cut at the same spot.
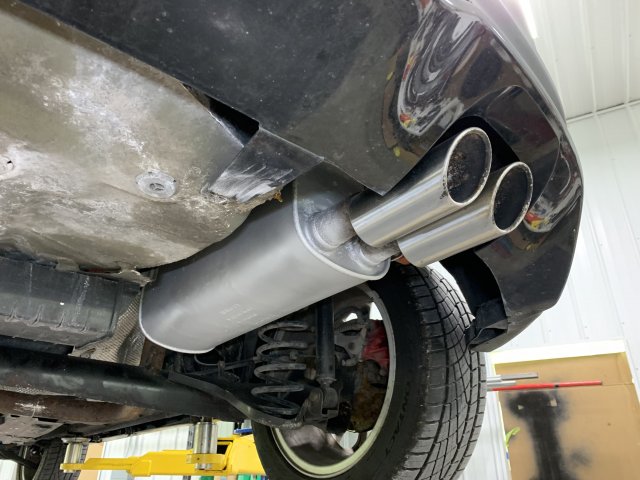
Rear portion installed. I did this alone without help and it was a struggle.
Cleaned up the cut surface.
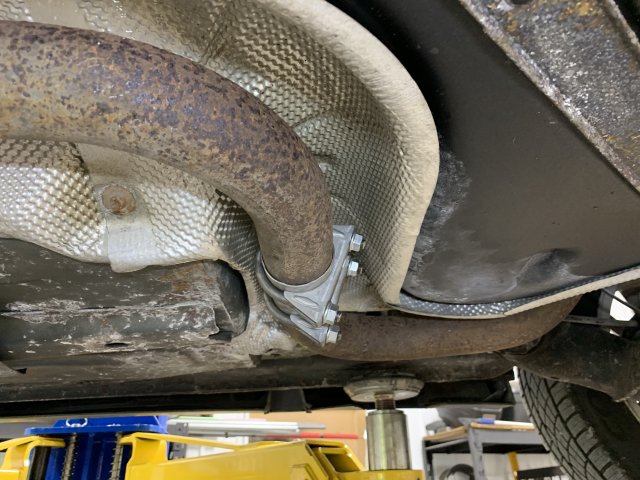
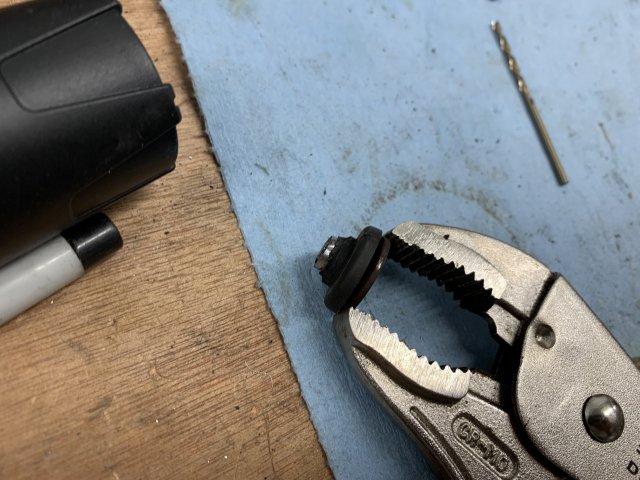
I only had these clamps available locally, but I ordered a better version that will replace this. I trimmed the bolts in the mean time.
Only thing missing is the front exhaust rubber isolator. Since the original exhaust's one had fallen off, I did not have one on hand. However, it should arrive soon.
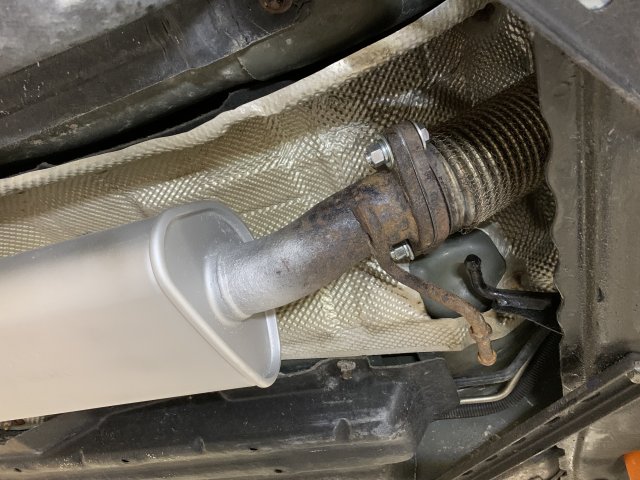
New bolts, new gasket.
Now, for the most important part... Did it solve my exhaust leak? No it did not. When I started up the car after this 3h endeavor, I was met with the same sound. I am happy with the work I was able to do alone within about three hours, but it was not a cathartic ending, unfortunately. Some of you may have seen my other post when I have two videos of the sound on cold starts.
I'm bringing the car to the dealership tomorrow for a (surely pricey) estimation of what is wrong. I've been let down by local garages. I'd rather fork up 100-200$ to have the issue diagnosed correctly and make the repair myself. Updates on this soon!

![[:(]](/images/smilies/frown.png "Frown [:(]")
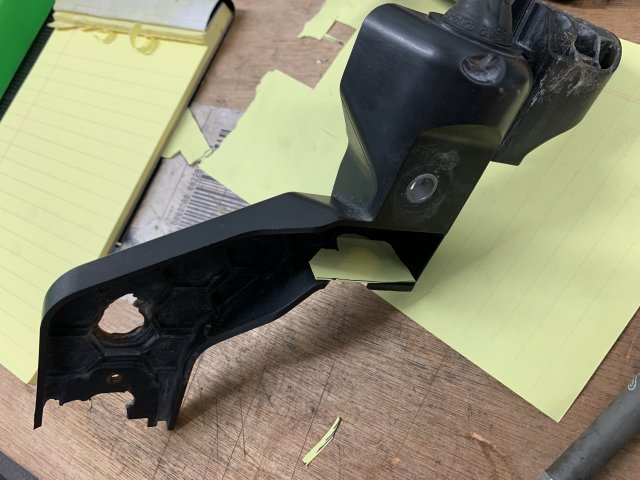
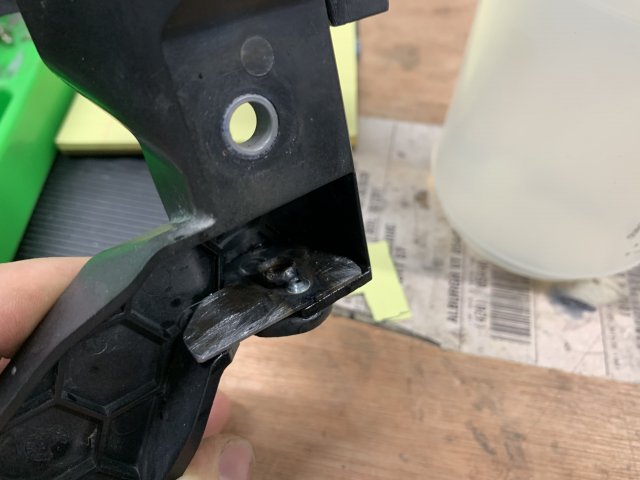
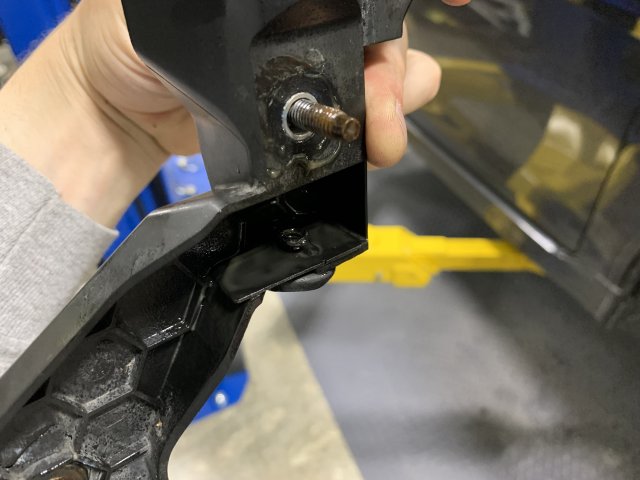
![[mad]](/images/smilies/mad.png "Mad [mad]") ), this is the front brace I will install as well.
), this is the front brace I will install as well. ![[thumb]](/images/smilies/icon_smile_thumb.gif "Thumbs Up [thumb]")