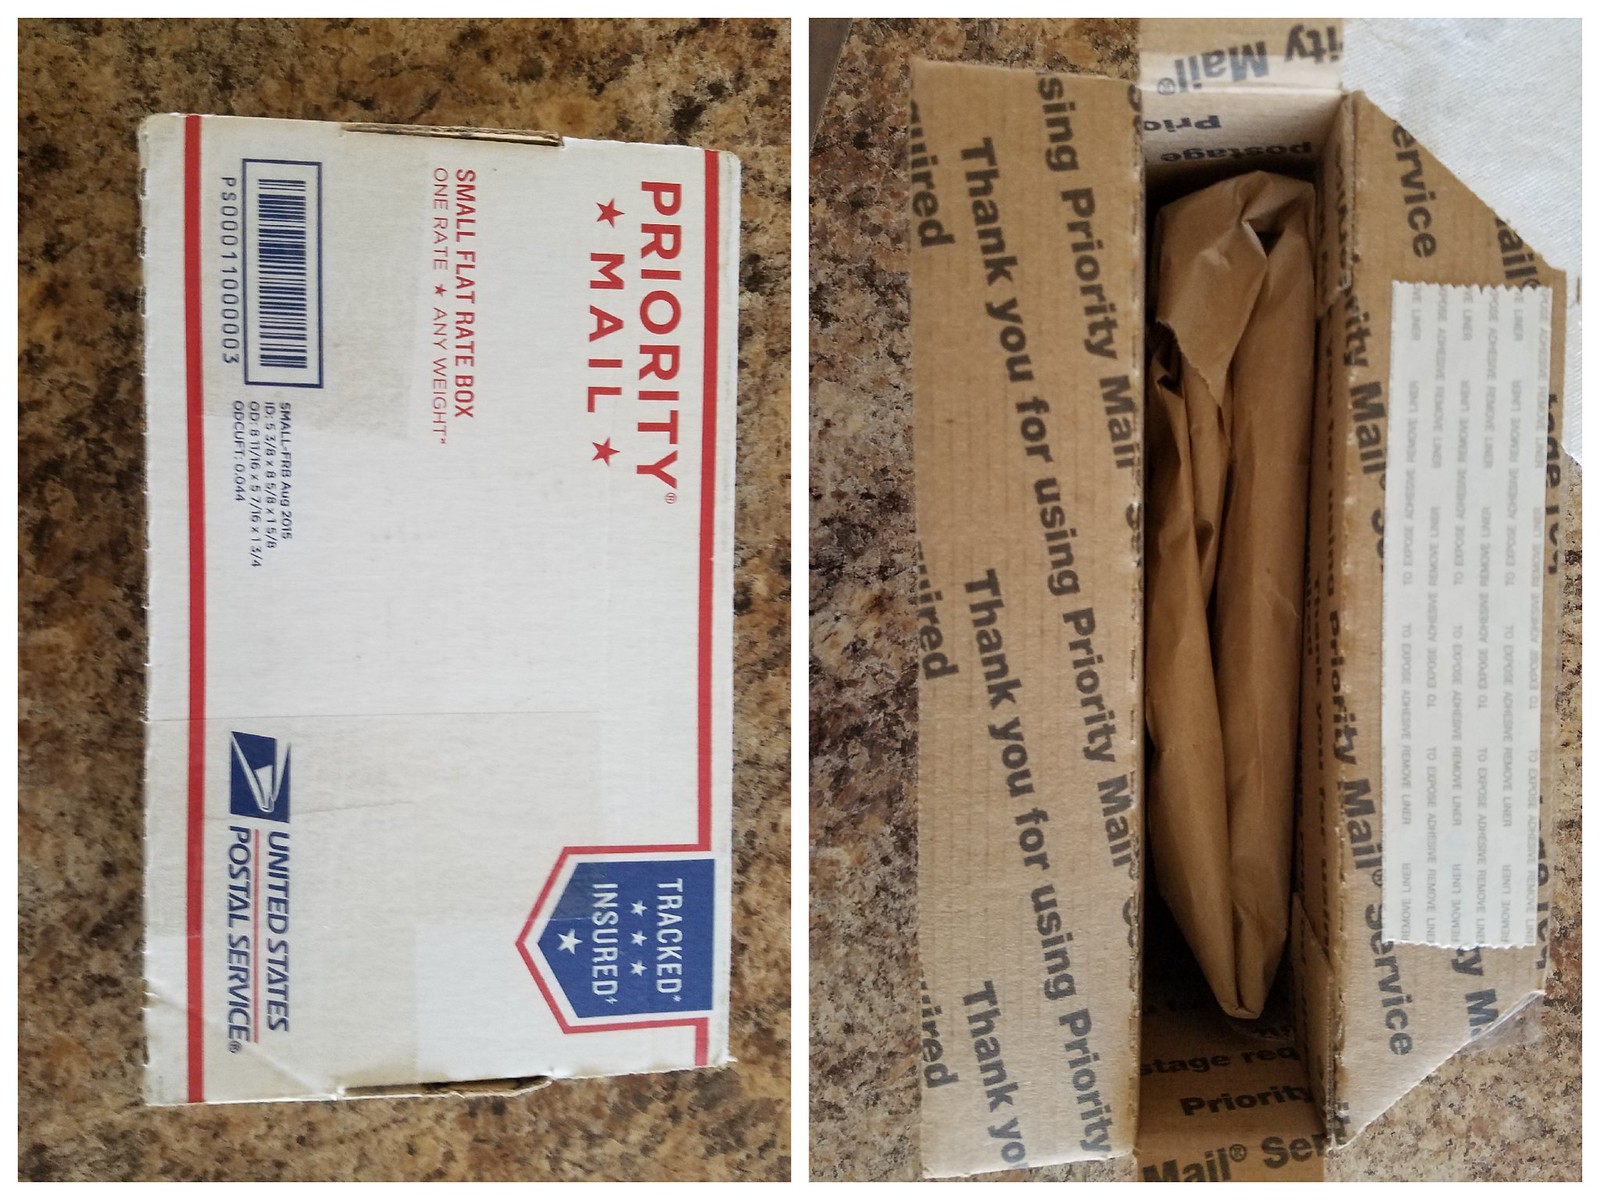
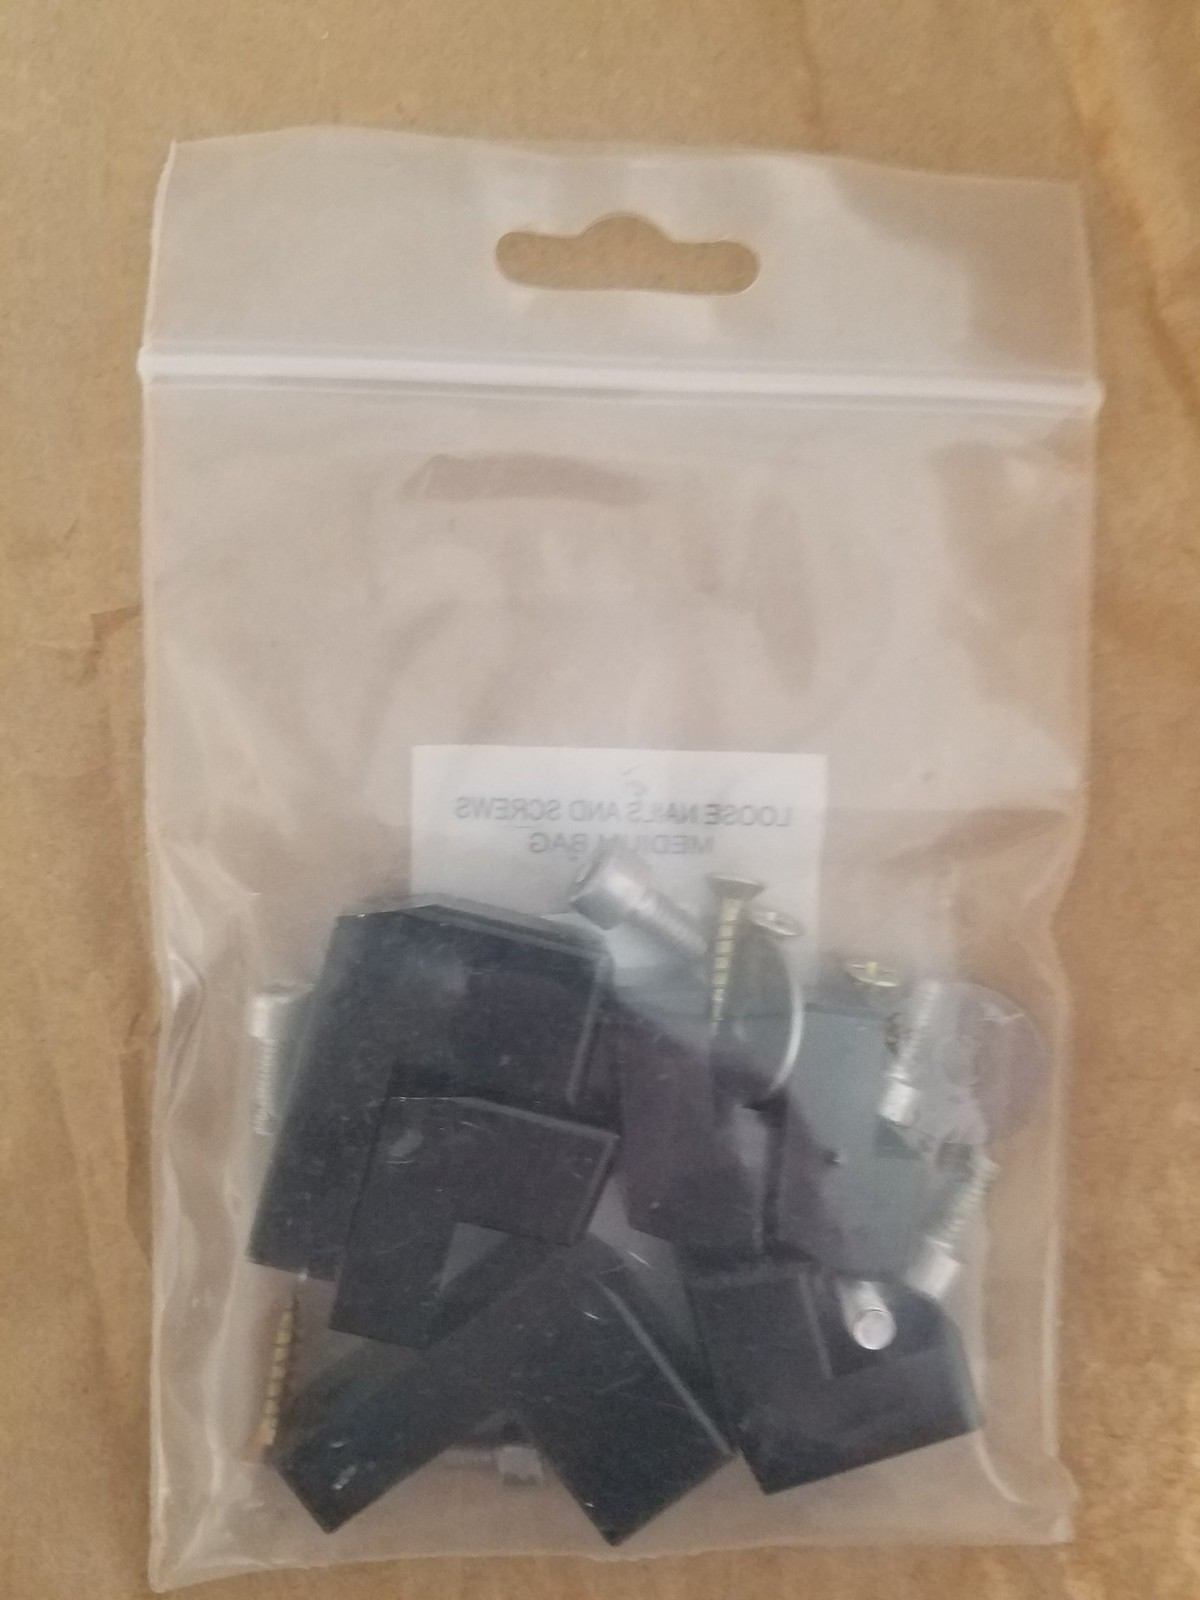
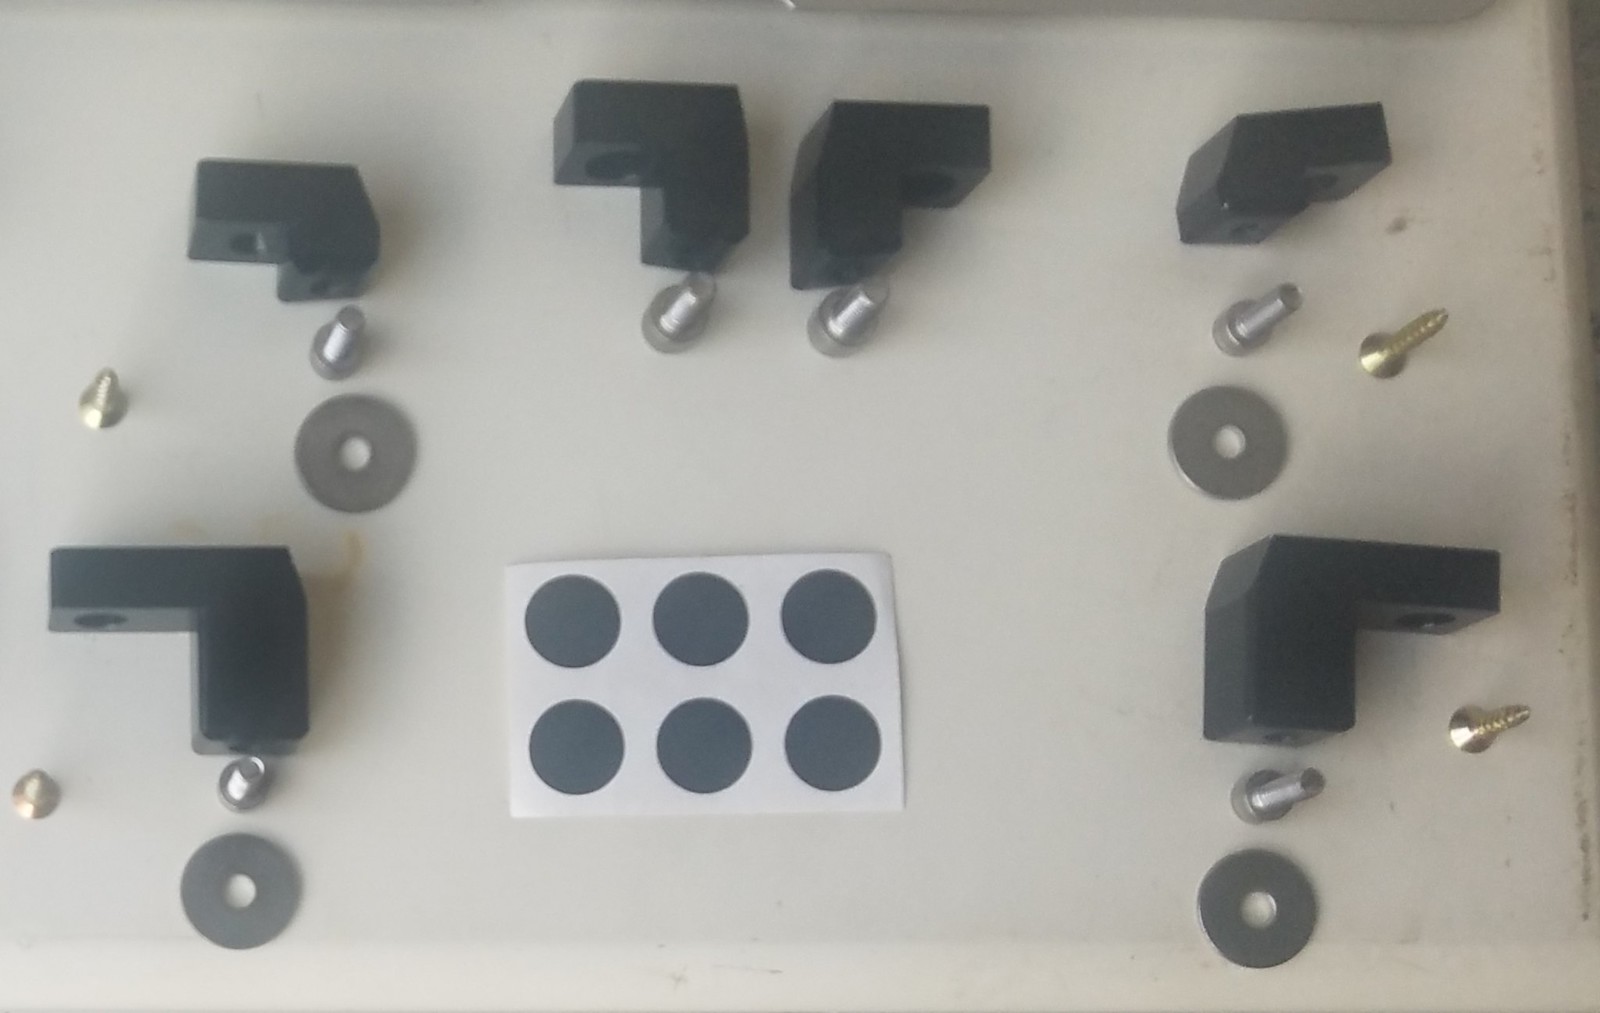
I recently arranged with ron@whoosh to test and evaluate his new wing riser kit. I received it yesterday (Saturday) and installed it in the afternoon. To start, packaging was very good. Even though it was something that would not be damaged if it rattled around in the box, Ron took care and packed the USPS small flat rate box with packing paper (not this annoying peanuts) to ensure it would shift in transit. I also love the fact that it was shipped in a USPS small flat rate box. USPS has taken the most care of all my packages over UPS and FedEx, and the small box was not only cheaper on shipping on his end but fits in my mailbox securely. The actual risers came in a zip lock bag with all the hardware, no instructions were included. I personally did not see a problem with this, as there are many videos and instructions online and on the forums here, so why reinvent the wheel? What really matters to me is quality, and these risers are billet aluminum and feel very solid in the hand. The finish was even all the way around, and there were no sharp edges or burrs on the risers to speak of. Included in the kit is the six risers (three different sizes for the different locations), two 5mm hex bolts, four 4mm hex bolts with washers, two short screws, two long screws, and six pieces of vinyl tape to cover the holes for the clips (that get removed from the spoiler) that hold it in position when the risers are not installed.
 1 by Nik Sweger, on Flickr
 2 by Nik Sweger, on Flickr
 3 by Nik Sweger, on Flickr
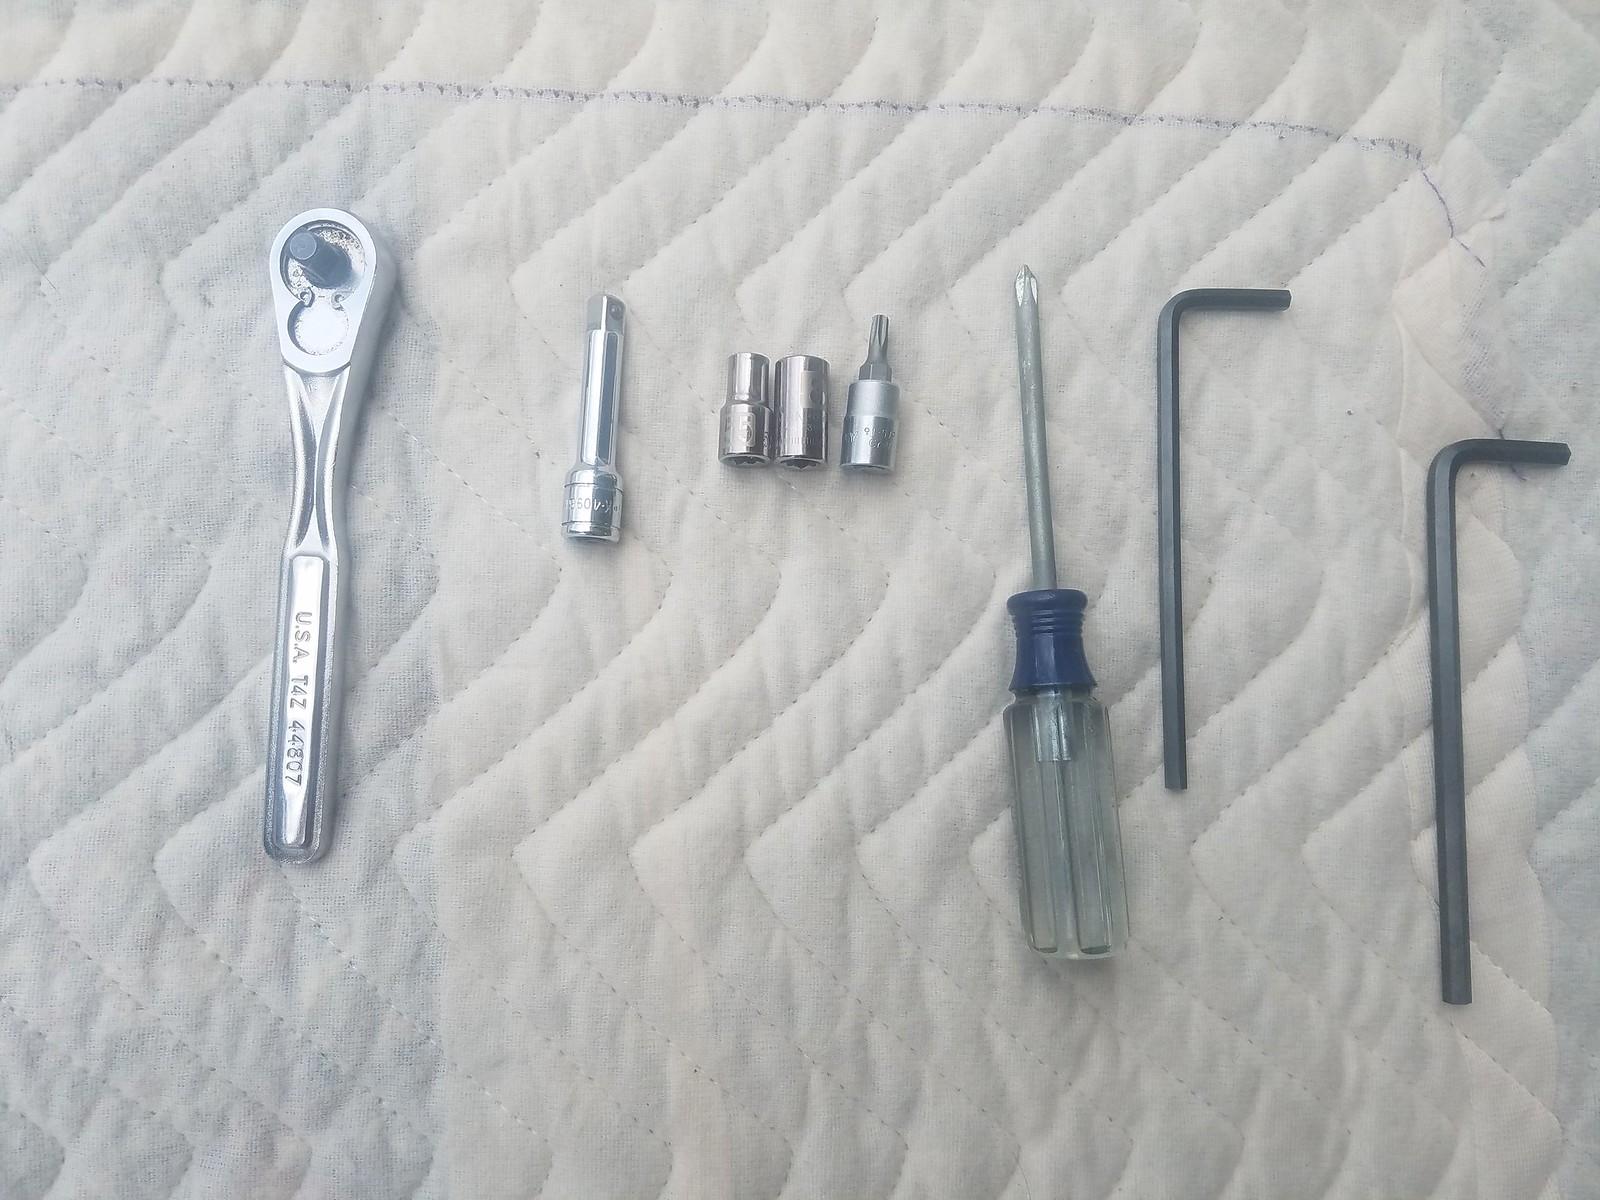
First, gather all the tools you need:
1/4" drive ratchet
5.5mm socket
8mm socket
T20 torx bit or driver
4mm allen wrench
5mm allen wrench
Phillips screwdriver
Some type of pad to lay the spoiler on
 4 by Nik Sweger, on Flickr
Steps for installation:
1. Remove the antenna.
2. Remove the third brake light with the T20, then disconnect the wiring harness and washer fluid hose.
3. Open the hatch. Using the 5.5mm socket, remove the four (two on left and two on right) outer bolts for the spoiler.
4. Remove the black trim plugs from the center of the hatch. Using the 8mm socket, unscrew the last two bolts holding the spoiler on.
Be careful not to drop the bolts inside the hatch, it's a pain in the butt to retrieve them if you do. Ask me how I know.
5. Close the hatch. Grab the spoiler and pull it towards the rear of the car, removing the spoiler from the car.
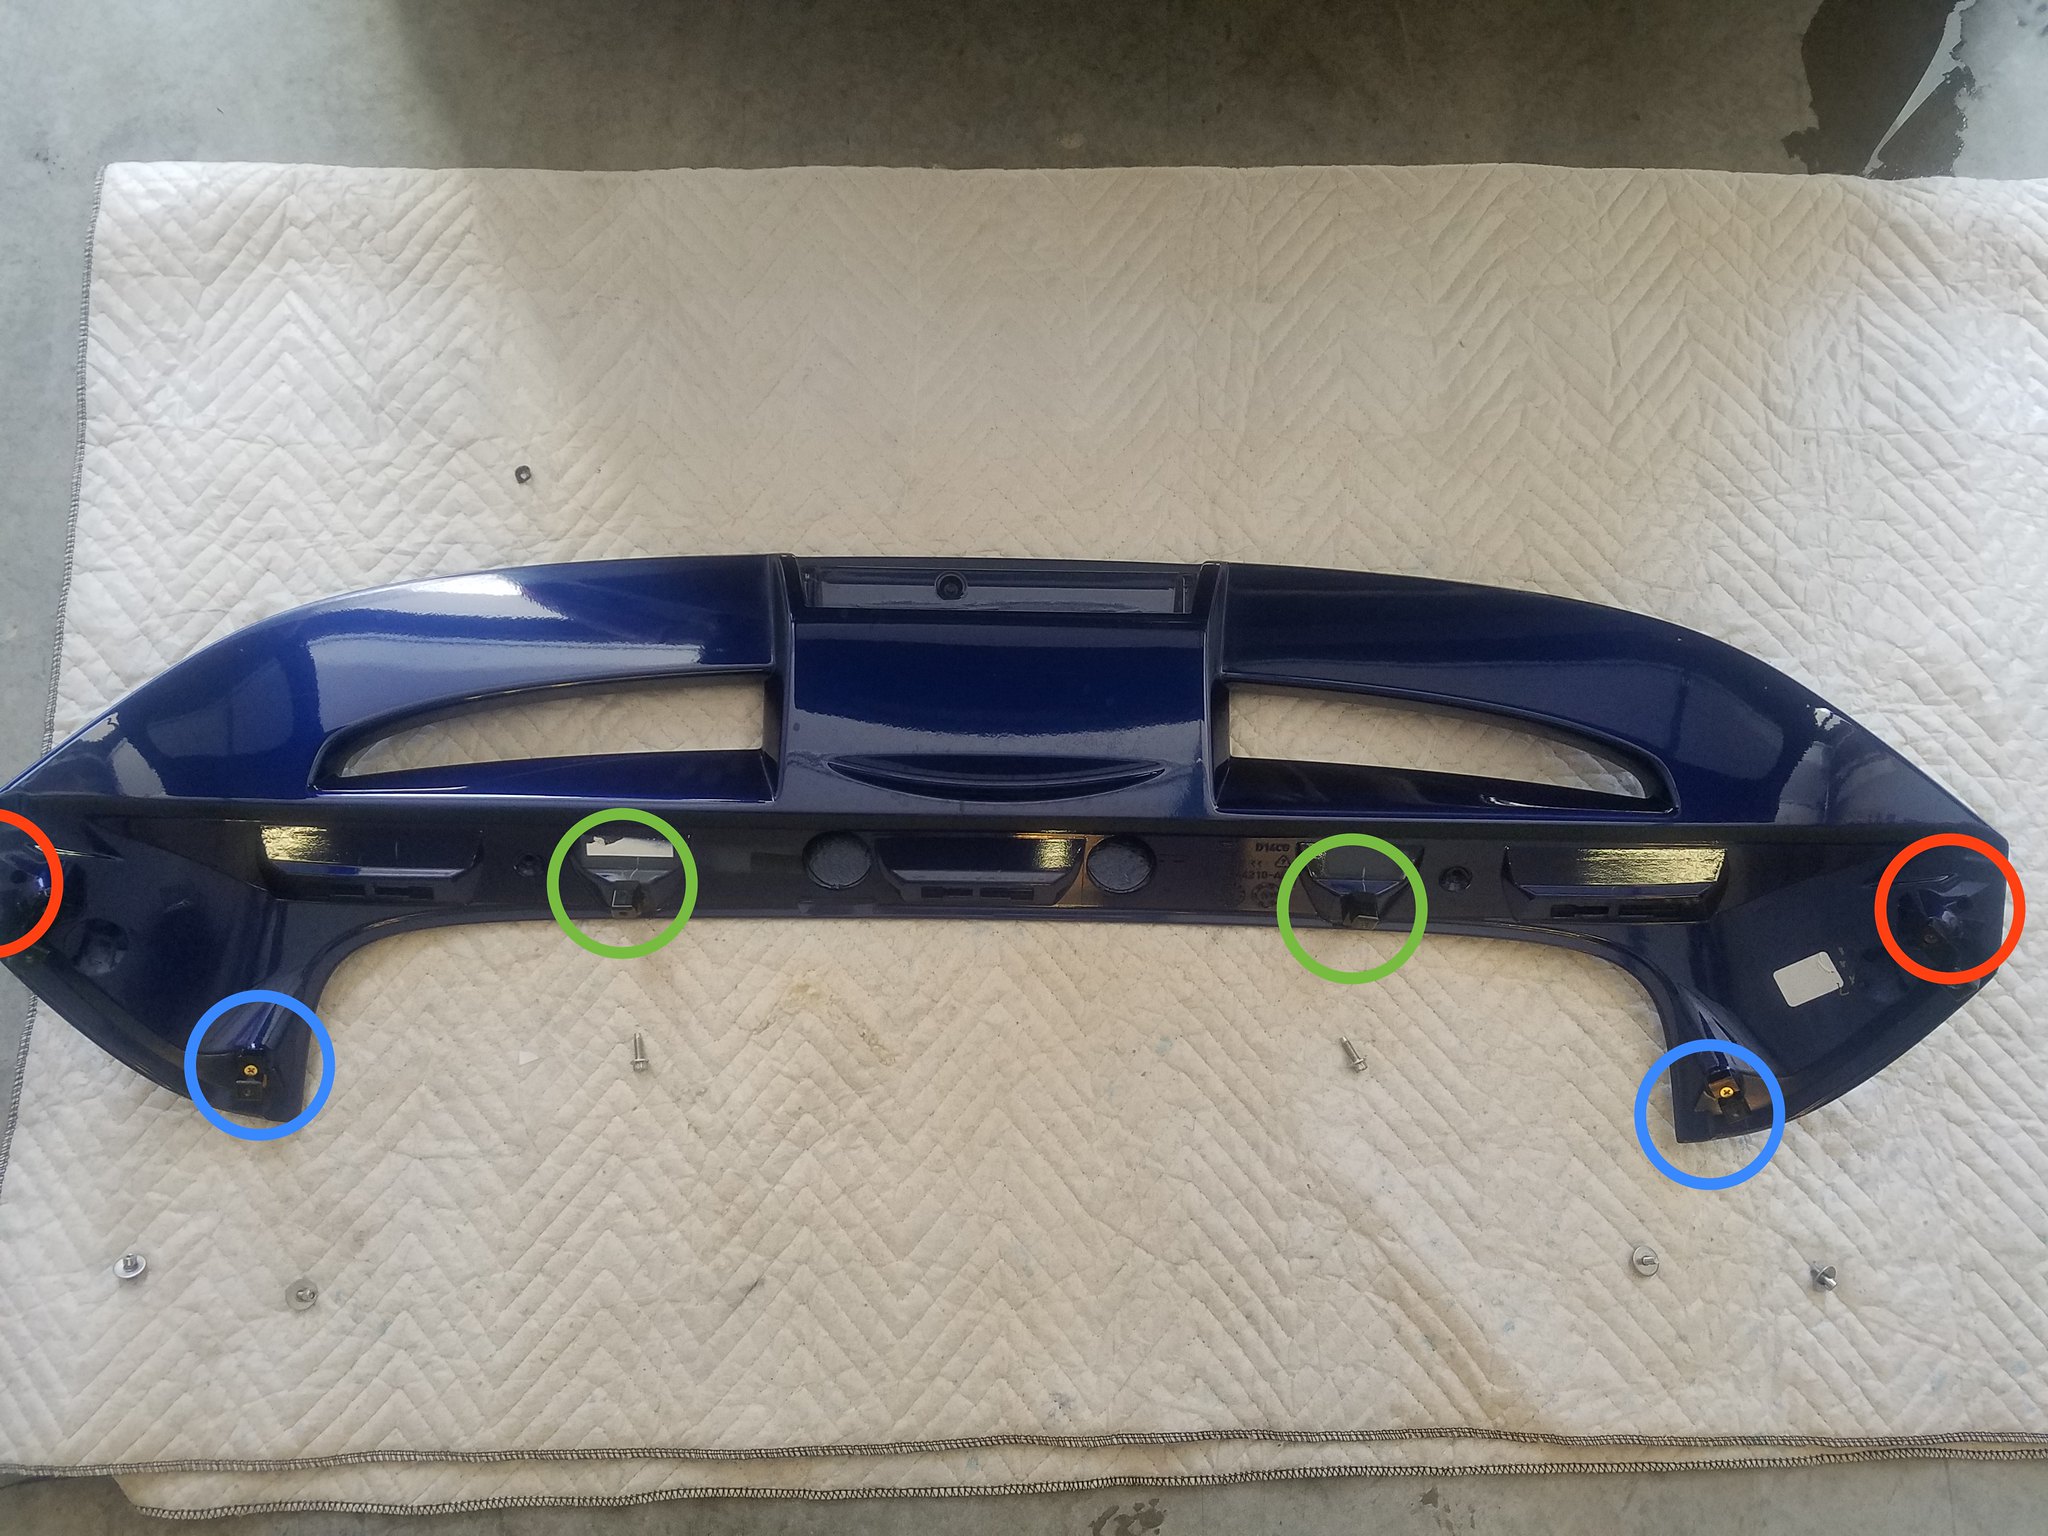
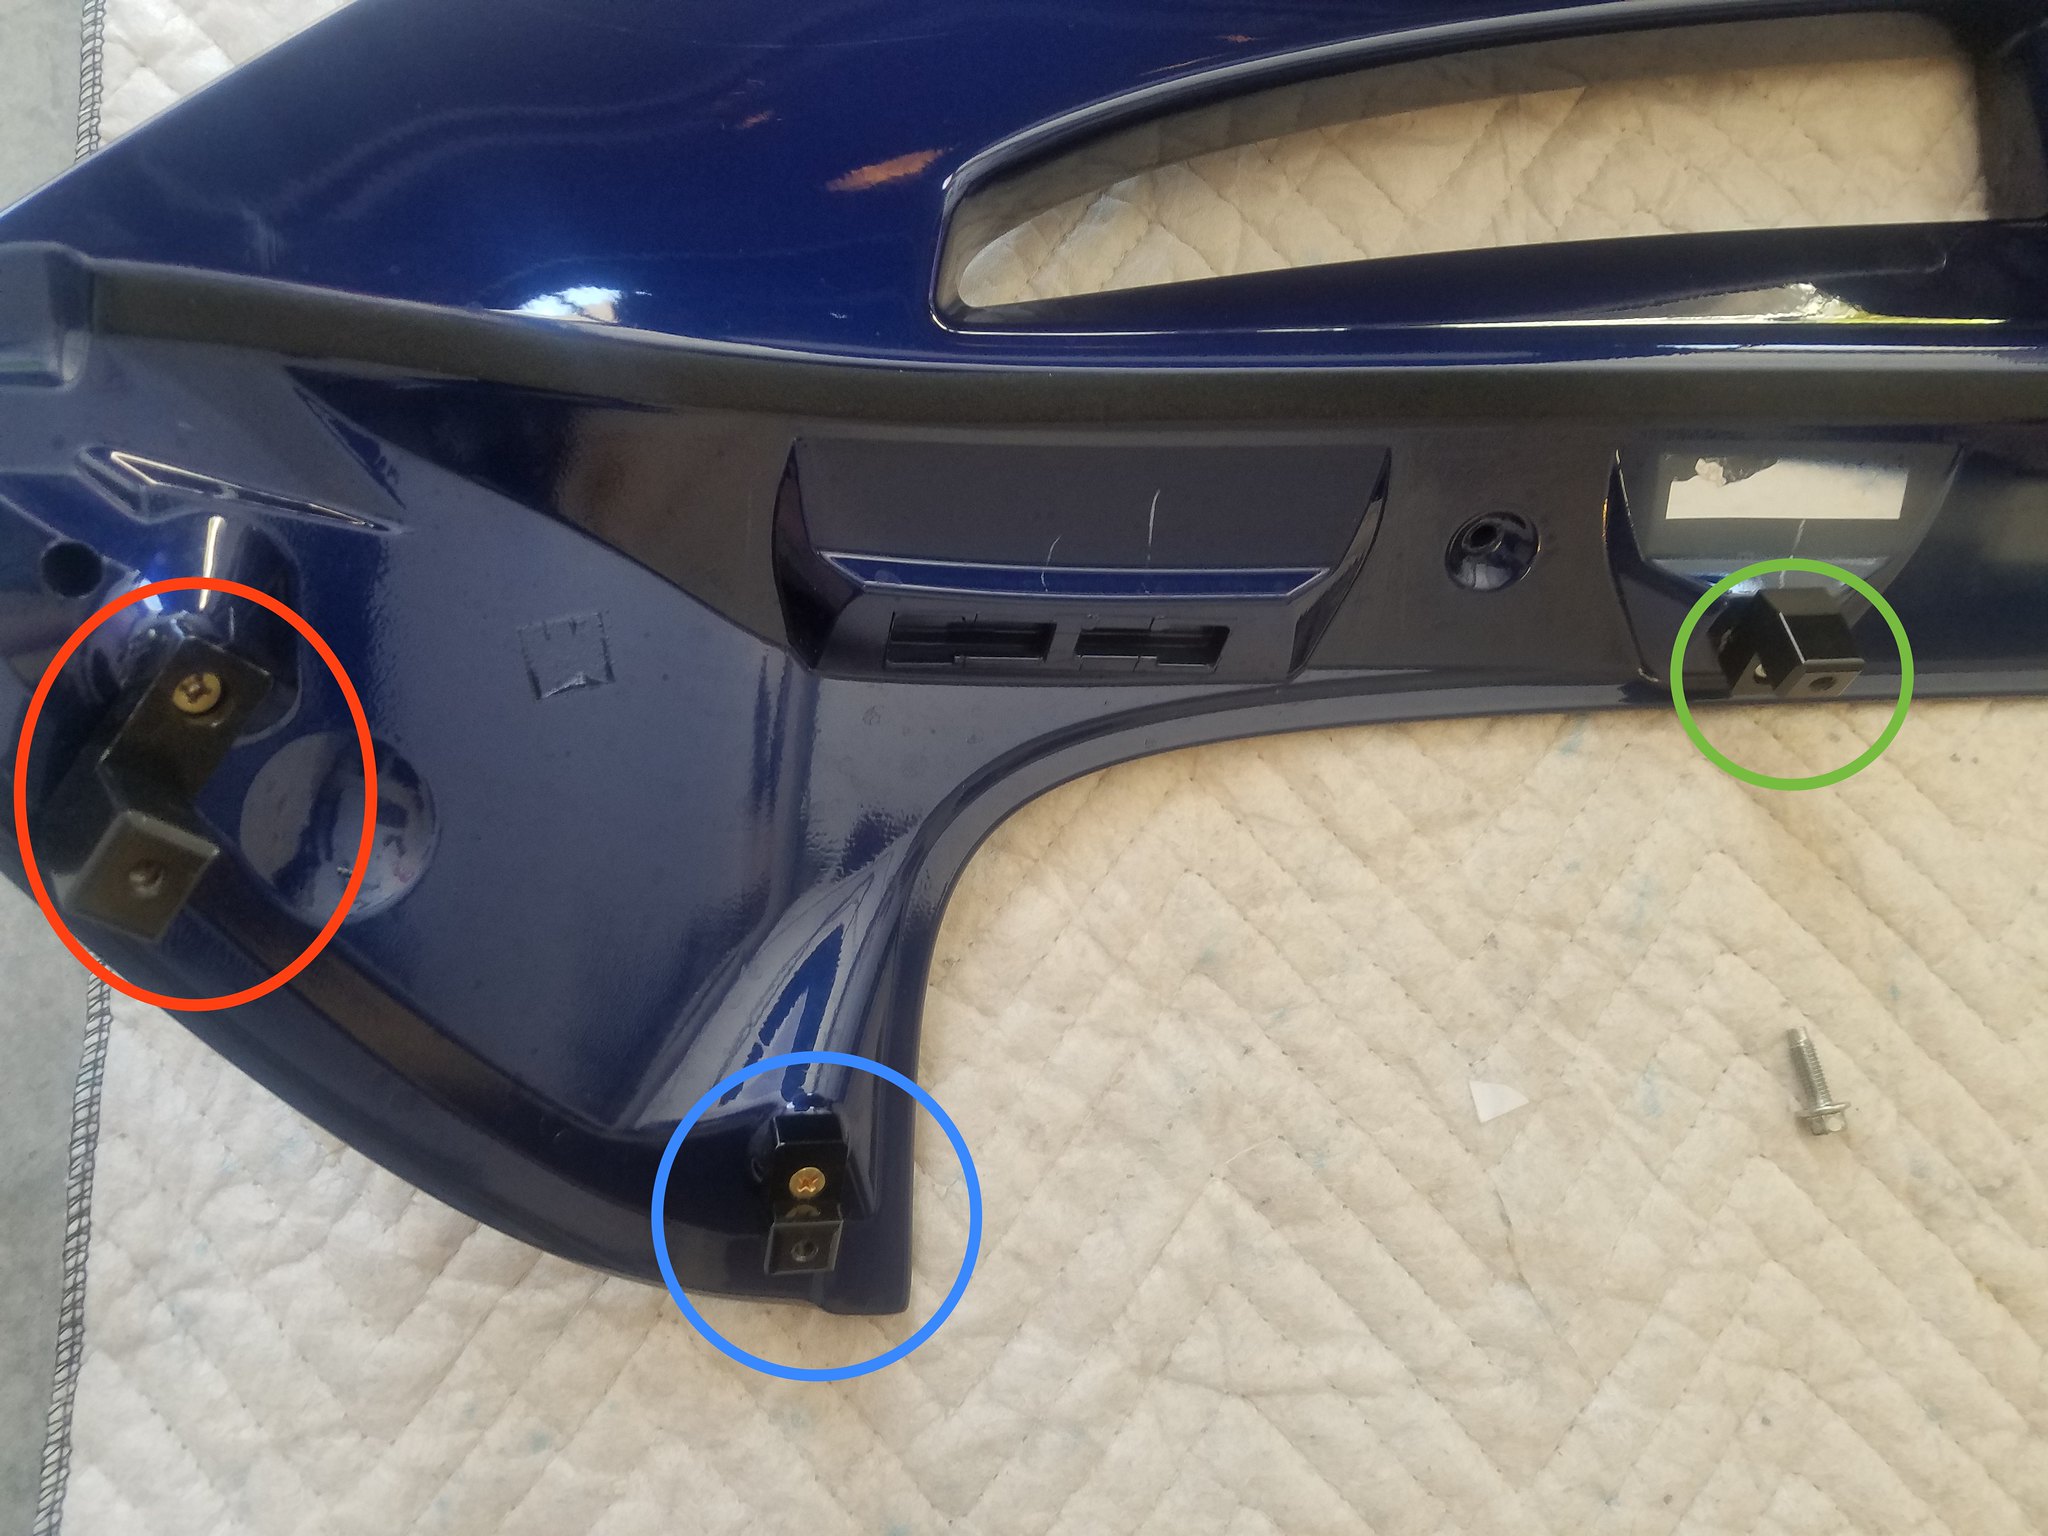
6. Place the spoiler on a soft surface (I used a furniture pad). You will notice six white locating clips, these need to be removed.
7. Using the black vinyl tape, cover the holes in the car where the locator clips inserted. It's also a good idea at this time to clean the hatch under where the spoiler was, since this will be visible from now on.
8. Now we start attaching the risers to the spoiler. Attach the center risers with the 5mm allen head bolts. Attach the outer risers with the screws. Do not over tighten, as you are screwing into plastic.
Note that there are short and long screws. The shorter screws are used on the inboard two risers and the longer screws go on the two risers that are furthest to the edge of the spoiler.
9. Open the hatch and begin to attach the spoiler back to the car.
This is easier with a helper, but doable alone.
10. Start with the middle two riser, attaching them the the bolts that held the spoiler to the car (8mm socket). Again, be careful not to drop them into the hatch. Do not tighten all the way at this point, just enough to hold the spoiler on.
11. Now attach the wing to the car, starting on one side and working your way towards the other. Use the remaining 4mm hex head bolts and washers. Again, do not tighten down all the way at this point.
12. Once all bolts are started and the spoiler is loosely attached to the car, you can tighten the risers to the car. Start with the center two risers, then work your way towards the ends. These can all be tightened down fairly good since they are threading into metal.
13. Replace your third brake light and reattach the washer hose and wiring harness.
14. The antenna...there are several options here, depending on your style.
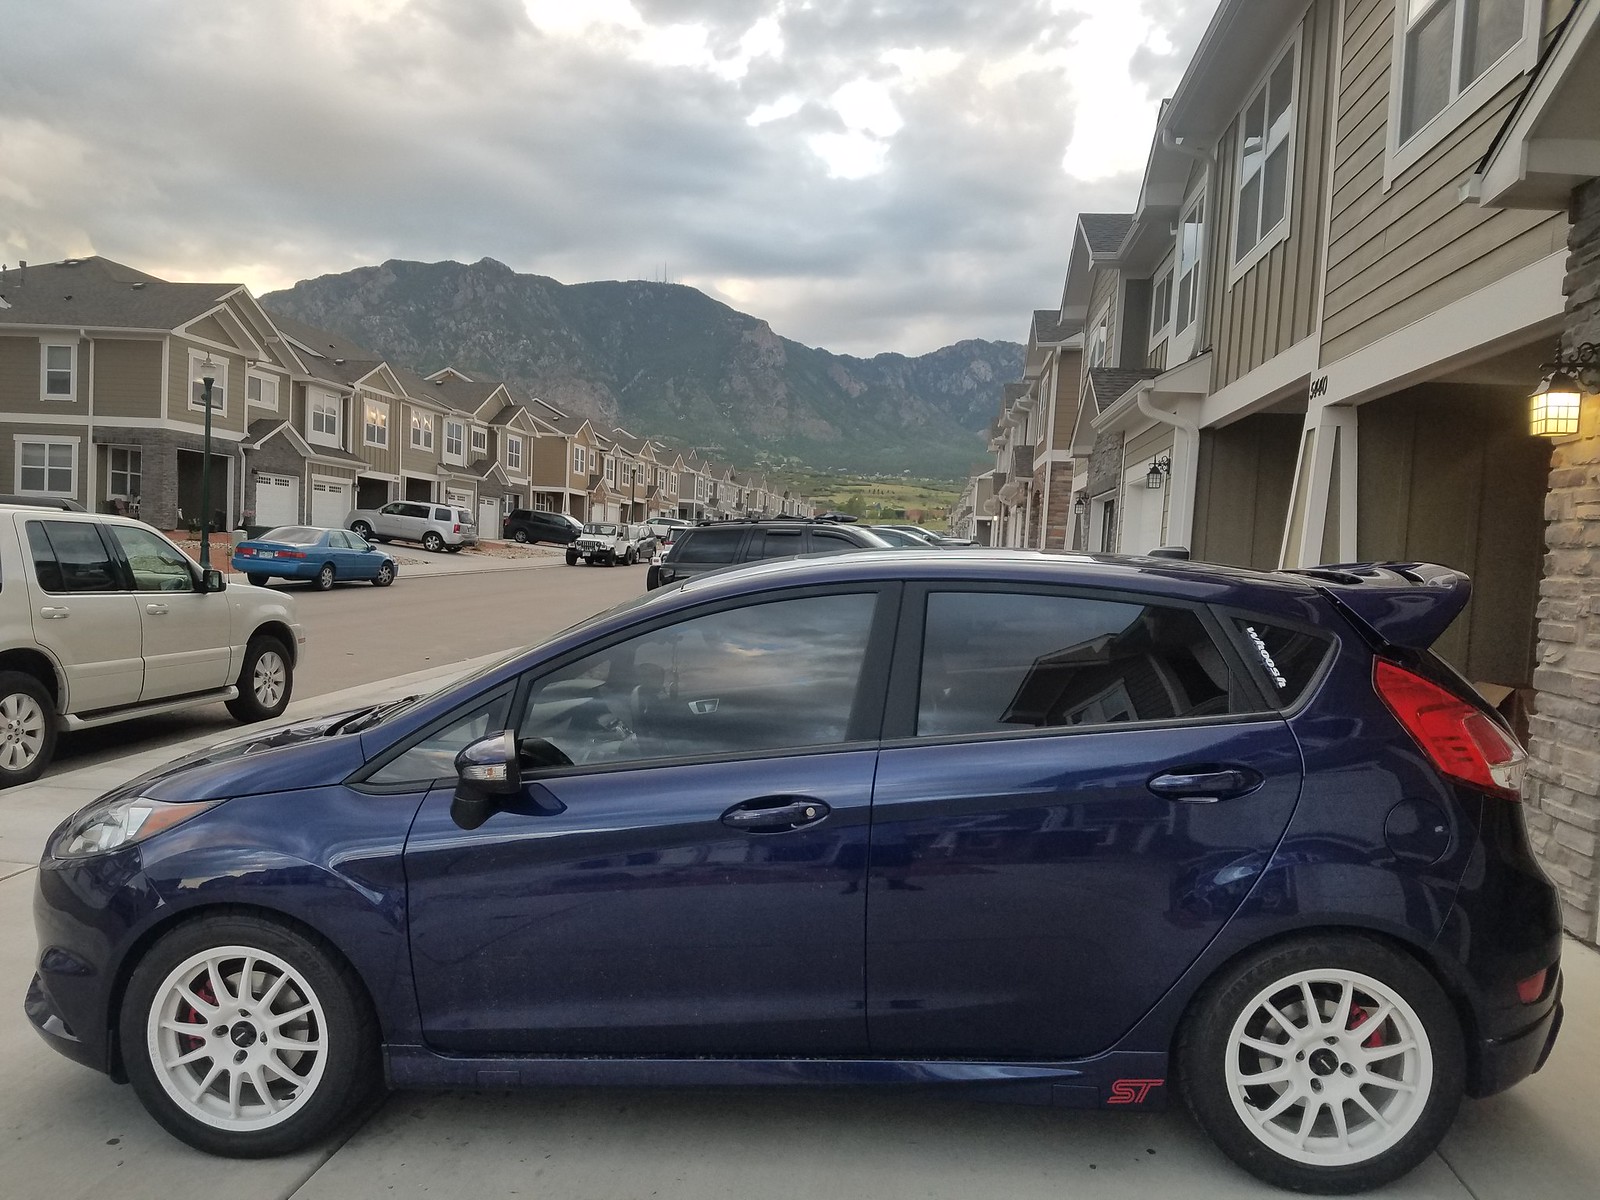
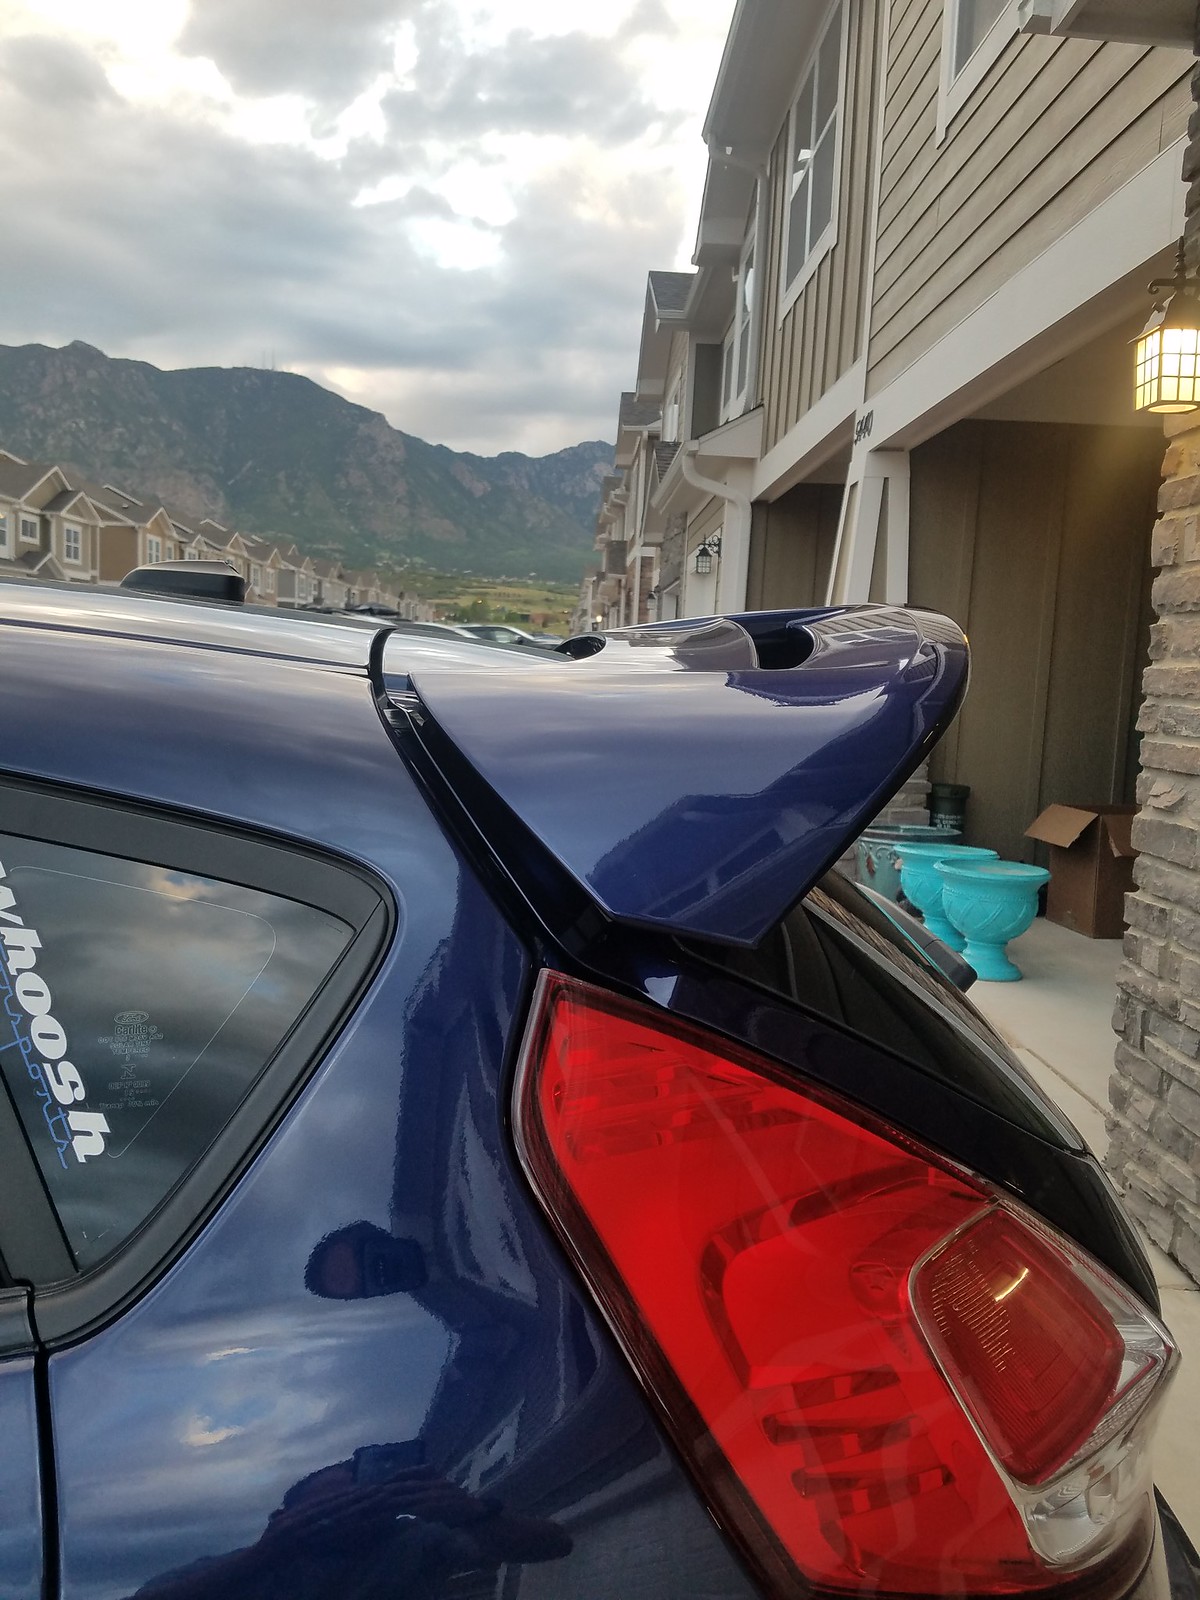
Pics installed...car is filthy because it's been raining daily here for a week. New brake pads coming this week to cut down on the brake dust, and a nice cleaning this week. New pics posted later on.
 7 by Nik Sweger, on Flickr
 8 by Nik Sweger, on Flickr
 9 by Nik Sweger, on Flickr
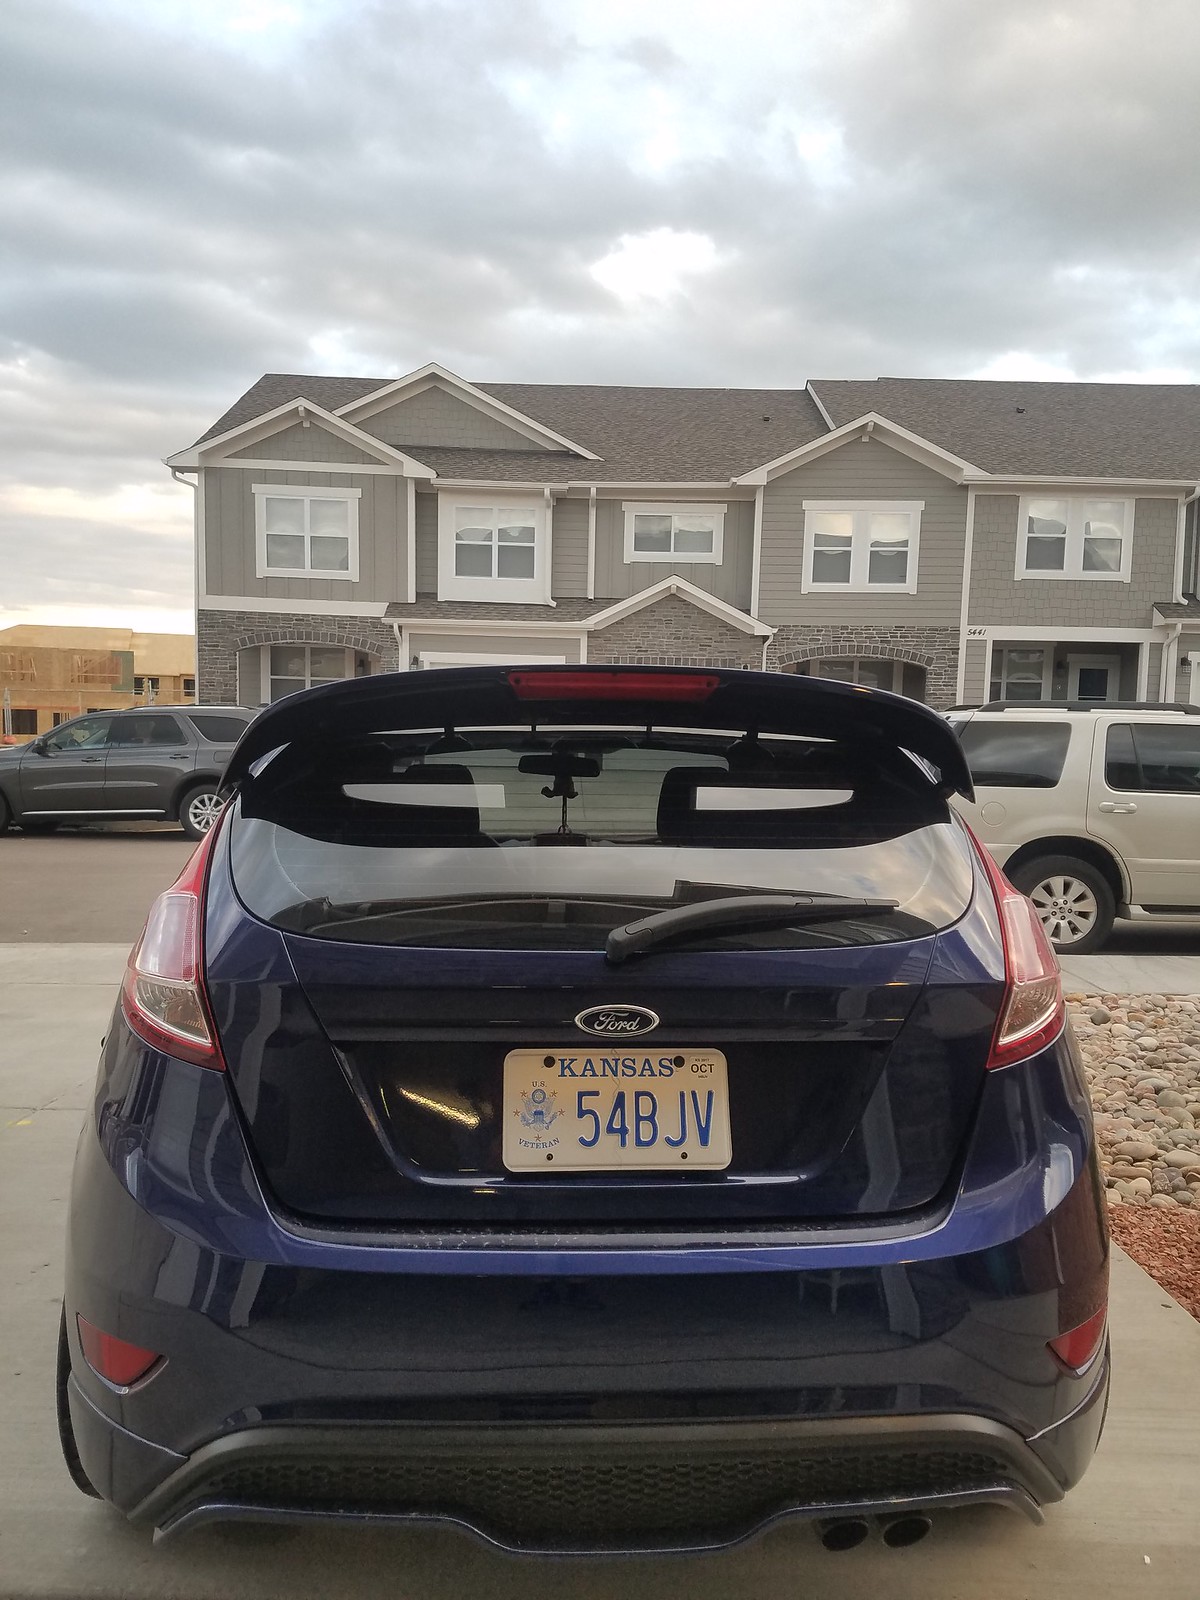 10 by Nik Sweger, on Flickr
Overall, the installation was straightforward and not too involved. The most difficult part was getting the risers positioned correctly, just take your time and watch the various videos on YouTube and you will be good to go. I think the riser give the car a nice aggressive look, without being too much. Once mounted and tightened down, the spoiler still feels solid and has a great look to it.
From what I've read on the forums, and will be tested in the days to come, the risers help keep the rear of the car cleaner by allowing airflow down the back of the car.
For the price point Whoosh Motorsports is offering these at, I think they are a home run. They are billet aluminum and are solid. There are a few more companies who offer these, and some knock offs on eBay that others have gotten where the hardware has rusted. A lot of people complain about the tape to cover the holes not he hatch, but I do not see this as an issue. A simple solution to a simple problem, why overthink it?
 1 by Nik Sweger, on Flickr
 2 by Nik Sweger, on Flickr
 3 by Nik Sweger, on Flickr
First, gather all the tools you need:
1/4" drive ratchet
5.5mm socket
8mm socket
T20 torx bit or driver
4mm allen wrench
5mm allen wrench
Phillips screwdriver
Some type of pad to lay the spoiler on
 4 by Nik Sweger, on Flickr
Steps for installation:
1. Remove the antenna.
2. Remove the third brake light with the T20, then disconnect the wiring harness and washer fluid hose.
3. Open the hatch. Using the 5.5mm socket, remove the four (two on left and two on right) outer bolts for the spoiler.
4. Remove the black trim plugs from the center of the hatch. Using the 8mm socket, unscrew the last two bolts holding the spoiler on.
Be careful not to drop the bolts inside the hatch, it's a pain in the butt to retrieve them if you do. Ask me how I know.
5. Close the hatch. Grab the spoiler and pull it towards the rear of the car, removing the spoiler from the car.
6. Place the spoiler on a soft surface (I used a furniture pad). You will notice six white locating clips, these need to be removed.
7. Using the black vinyl tape, cover the holes in the car where the locator clips inserted. It's also a good idea at this time to clean the hatch under where the spoiler was, since this will be visible from now on.
8. Now we start attaching the risers to the spoiler. Attach the center risers with the 5mm allen head bolts. Attach the outer risers with the screws. Do not over tighten, as you are screwing into plastic.
Note that there are short and long screws. The shorter screws are used on the inboard two risers and the longer screws go on the two risers that are furthest to the edge of the spoiler.
9. Open the hatch and begin to attach the spoiler back to the car.
This is easier with a helper, but doable alone.
10. Start with the middle two riser, attaching them the the bolts that held the spoiler to the car (8mm socket). Again, be careful not to drop them into the hatch. Do not tighten all the way at this point, just enough to hold the spoiler on.
11. Now attach the wing to the car, starting on one side and working your way towards the other. Use the remaining 4mm hex head bolts and washers. Again, do not tighten down all the way at this point.
12. Once all bolts are started and the spoiler is loosely attached to the car, you can tighten the risers to the car. Start with the center two risers, then work your way towards the ends. These can all be tightened down fairly good since they are threading into metal.
13. Replace your third brake light and reattach the washer hose and wiring harness.
14. The antenna...there are several options here, depending on your style.
a) cut about 2" from the stock antenna
b) replace the stock antenna with a shorty (mine is on the way from Whoosh)
c) leave the antenna off of the car
d) install a shark fin antenna
b) replace the stock antenna with a shorty (mine is on the way from Whoosh)
c) leave the antenna off of the car
d) install a shark fin antenna
Pics installed...car is filthy because it's been raining daily here for a week. New brake pads coming this week to cut down on the brake dust, and a nice cleaning this week. New pics posted later on.
 7 by Nik Sweger, on Flickr
 8 by Nik Sweger, on Flickr
 9 by Nik Sweger, on Flickr
 10 by Nik Sweger, on Flickr
Overall, the installation was straightforward and not too involved. The most difficult part was getting the risers positioned correctly, just take your time and watch the various videos on YouTube and you will be good to go. I think the riser give the car a nice aggressive look, without being too much. Once mounted and tightened down, the spoiler still feels solid and has a great look to it.
From what I've read on the forums, and will be tested in the days to come, the risers help keep the rear of the car cleaner by allowing airflow down the back of the car.
For the price point Whoosh Motorsports is offering these at, I think they are a home run. They are billet aluminum and are solid. There are a few more companies who offer these, and some knock offs on eBay that others have gotten where the hardware has rusted. A lot of people complain about the tape to cover the holes not he hatch, but I do not see this as an issue. A simple solution to a simple problem, why overthink it?


