When looking to purchase a drain kit for the OCC it can be expensive to get from the vendor of the catch can. That said their kit will work flawlessly and will be quick and easy to install. Personally I like to fabricate/assemble things and when I know I can collect parts to make the same thing but much cheaper and possibly better I will try it first. Even though this is for a Mishimoto Fiesta ST plug and play OCC this will work for most OCC that have a drain plug, simply the sizes of the fittings will need to change to match the can.
What you will need:
Everything is either stainless steel or brass which means it will not rust. But can make it look like an over kill for a simple drive. Now I got many parts off ebay due to cost but this means it took a month to get them all via the snail mail.

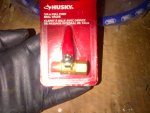
Valve. From home depot HDA70100AV (US and Canada)
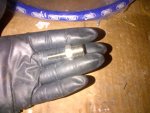
Barb
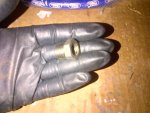
Adapter
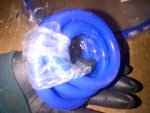
Hose
First take the drain plug out. This one took an allen key
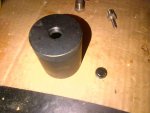
Wrap teflon tape on the adapter for a leak free fitting. Do not add too much 1 or 2 pass is enough. PS I have 1 teflon tape for plumbing and one for automotive to avoid contaminating the water supply.
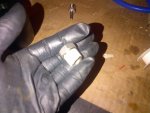
Thread on the adapter as much as you can but it need to be flush or protruding on the inside of the can. I used some channel locks instead of the vise hence the marring.

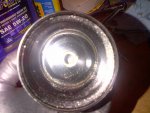
Add the valve and the barb (don't need felon on the barb and the valve came preloaded. Note the valve is brass and is softer than the stainless steel.
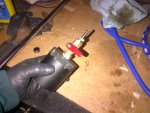
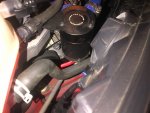
Mount the can before you add the drain line (much easier). You may need a few attempts to position the valve in a way it is accessible without touching something. I will likely trunt eh valve 180 degree to avoid rubbing the coolant hose. But I ran out of time
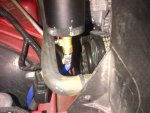
In my case I dropped the hose down the wheel liner and tie wrapped it to avoid excessive movement. Only required about 2 feet
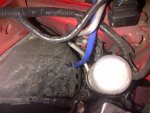
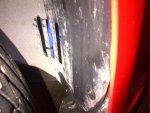
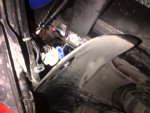
With the light re-installed it is super easy to access. I should be okay to drain every 3000 miles (5000km)
What you will need:
- A small ball valve I use a 1/4" Husky compressor ball valve as it has a male and female end as well as a 2 side close (center/down is open and either side is closed). Being a compressor valve it will handle way more pressure than a plastic valve
- An NPT adapter that fits the OCC (3/8" for the Mishi) that converts to the ball valve (1/4" NPT); get some teflon tape as well.
- A NPT to barb. I did 1/4" as it should be large enough to drain.
- Drain hose (about 2-3" depending on application). Get a vacuum line as it will be easy to bend without kinking. Again 1/4" is plenty big enough.
- Small clamp for hose to barb
Everything is either stainless steel or brass which means it will not rust. But can make it look like an over kill for a simple drive. Now I got many parts off ebay due to cost but this means it took a month to get them all via the snail mail.

Valve. From home depot HDA70100AV (US and Canada)

Barb

Adapter

Hose

First take the drain plug out. This one took an allen key

Wrap teflon tape on the adapter for a leak free fitting. Do not add too much 1 or 2 pass is enough. PS I have 1 teflon tape for plumbing and one for automotive to avoid contaminating the water supply.

Thread on the adapter as much as you can but it need to be flush or protruding on the inside of the can. I used some channel locks instead of the vise hence the marring.


Add the valve and the barb (don't need felon on the barb and the valve came preloaded. Note the valve is brass and is softer than the stainless steel.

Mount the can before you add the drain line (much easier). You may need a few attempts to position the valve in a way it is accessible without touching something. I will likely trunt eh valve 180 degree to avoid rubbing the coolant hose. But I ran out of time

In my case I dropped the hose down the wheel liner and tie wrapped it to avoid excessive movement. Only required about 2 feet


With the light re-installed it is super easy to access. I should be okay to drain every 3000 miles (5000km)

