• Sign Up! To view all forums and unlock additional cool features

    Welcome to the #1 Fiesta ST Forum and Fiesta ST community dedicated to Fiesta ST owners and enthusiasts. Register for an account, it's free and it's easy, so don't hesitate to join the Fiesta ST Forum today!


2014 Fiesta OEM+ build

Dialcaliper

Senior Member
Messages
872
Likes
1,440
Location
San Francisco Bay Area
#41
Yes, that item is THE lowest profile, functional front brace on the market, as I am not too sure just how much the very thin gauge flat steel, (but much flatter than even this Swave/Summit brace), DNA front brace thing is.

If I am never going to be putting my skid plate back on the car again to work on ARA rallies (which are now nonexistent within ~750 miles of me currently [:(] [mad]), this is the front brace I will install as well. [thumb]
The DNA front brace is a 2-point tubular almost identical to the Pierce. The sheetmetal thing you’re referring to goes farther back where the two OEM braces connect the body to the subframe.

I’m also really happy with my Swave front brace.


M-Sport fan

9000 Post Club
Messages
14,431
Likes
6,987
Location
Princeton, N.J.
#42
The DNA front brace is a 2-point tubular almost identical to the Pierce. The sheetmetal thing you’re referring to goes farther back where the two OEM braces connect the body to the subframe.

I’m also really happy with my Swave front brace.
OK, I was not sure where that thin DNA brace went on the unibody.

I am wondering if my skid plate 'tightens' things up on the front end of this car when installed.
Most likely not, since it is not tied into the control arm pickup points at all, even though it is bolted to the sub frame.


Intuit

3000 Post Club
Messages
3,905
Likes
2,444
Location
South West Ohio
#43
.... the paint has metallic flake in it, and what looks like clear coat over it.
On first glance I thought that read 'Suave' meaning smooth or good look'n. Second glance it looks like "F-Wave" or "S-Wave"?
Surprised it's made from aluminum.
Being up in Canada, why is your car so remarkably free of rust?
Is it because they don't throw down enough road salt to ensure all the bald tire folks can make it up/down hills?


OP
Volumetrik
Messages
152
Likes
141
Location
Montreal
Thread Starter #44
On first glance I thought that read 'Suave' meaning smooth or good look'n. Second glance it looks like "F-Wave" or "S-Wave"?
Surprised it's made from aluminum.
Being up in Canada, why is your car so remarkably free of rust?
Is it because they don't throw down enough road salt to ensure all the bald tire folks can make it up/down hills?
This must be sarcasm, if it is, I chuckled!

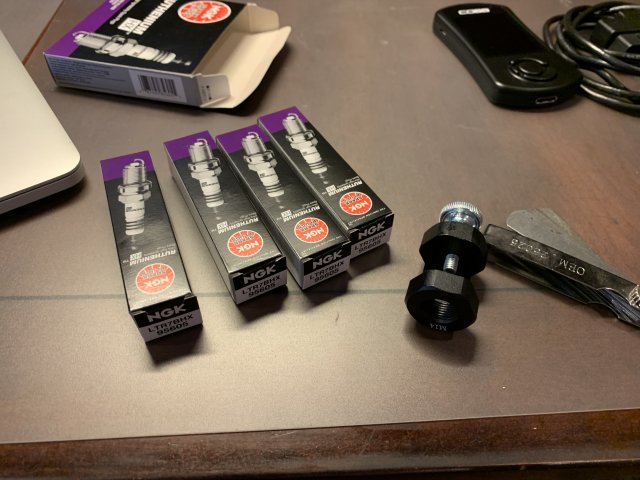
Next step was changing the spark plugs to the Ruthenium NGK (one step colder). NGK Part # 95605

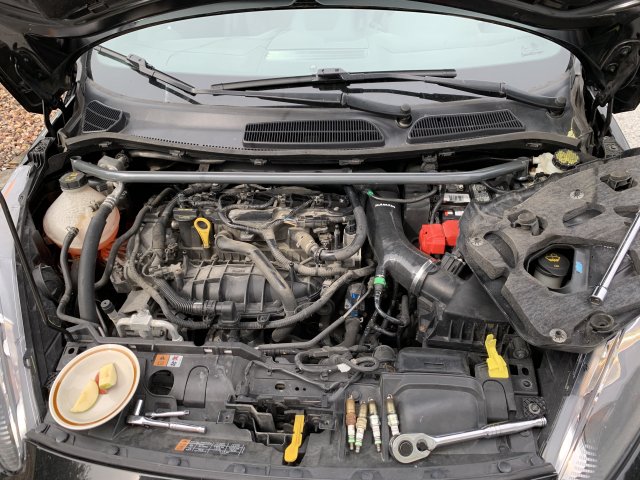
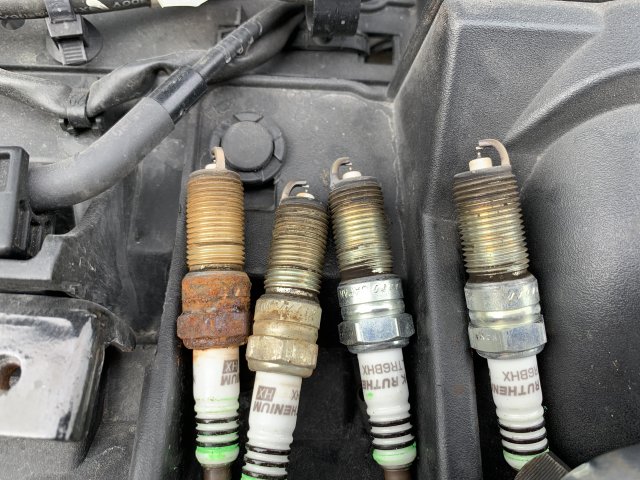
I had previously changed them (around last year) with the OEM heat range, and so out they come to inspect after around one year.

1722379463973.jpeg
Bought a gapping tool and worked them down to 0.026 as specified by MonsterTuned.

1722379693136.jpeg
Working with the Pierce bar is slightly more difficult, but still doable no problem.

1722379736063.jpeg
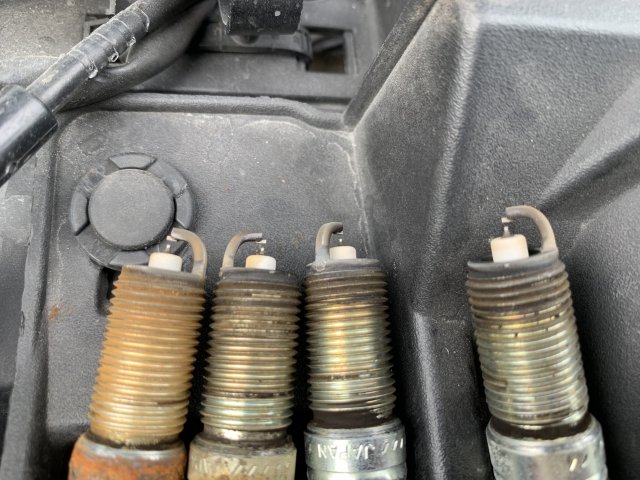
I think some water infiltrated into the spark plug wells of the engine. How? Good question. The original plugs from 2014 were not rusted.

1722379805801.jpeg
The tips looked good, however. If I ever reinstall these, I'll make sure to gap them to the OEM spec (I forgot to do that when I installed these).


OP
Volumetrik
Messages
152
Likes
141
Location
Montreal
Thread Starter #46
Continued my comestic overhaul.

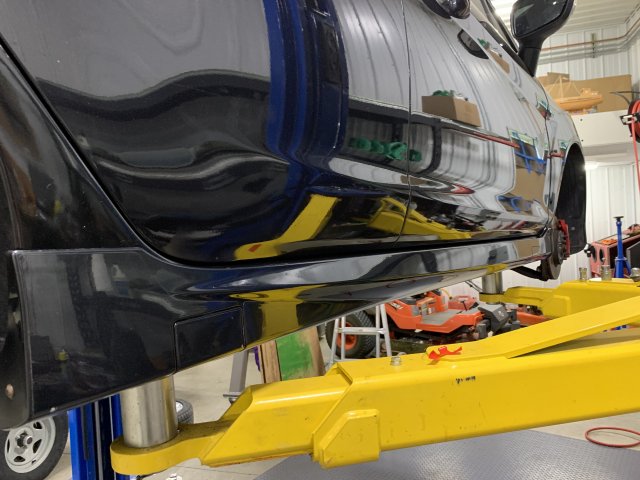
The first order of business was to re-attach the side skirts. Installed all new clips with new double-sided tape. Covered a lot of rock chips before putting back the skirts.

IMG_0455.jpg

IMG_0456.jpg
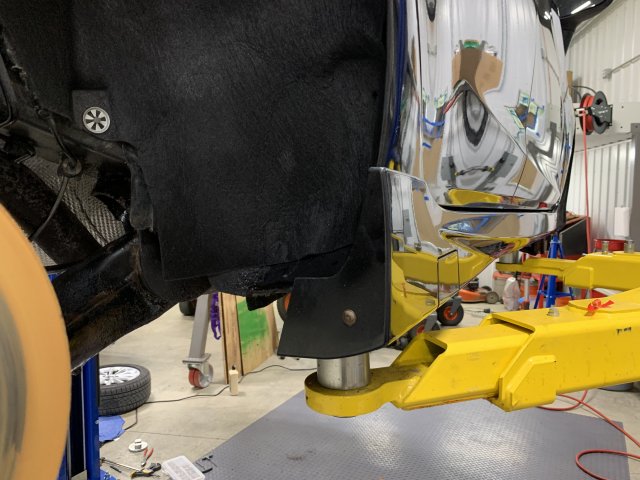
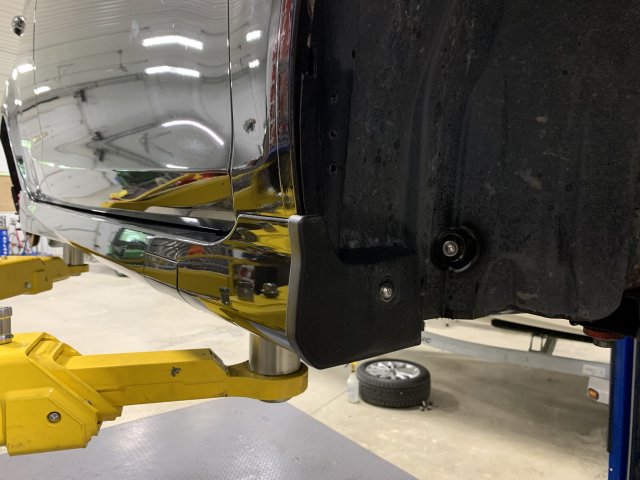
Changed the rear wheel well liner as well.

IMG_0457.jpg
Front with new SS hardware.

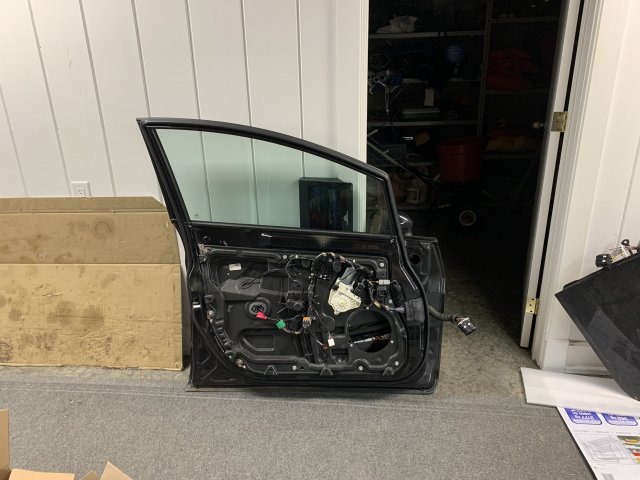
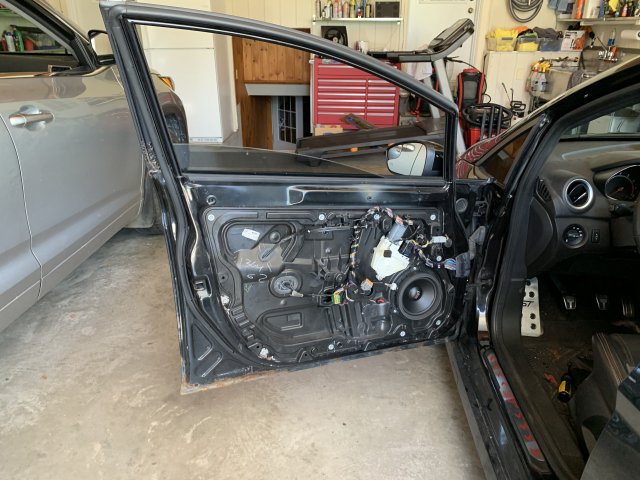
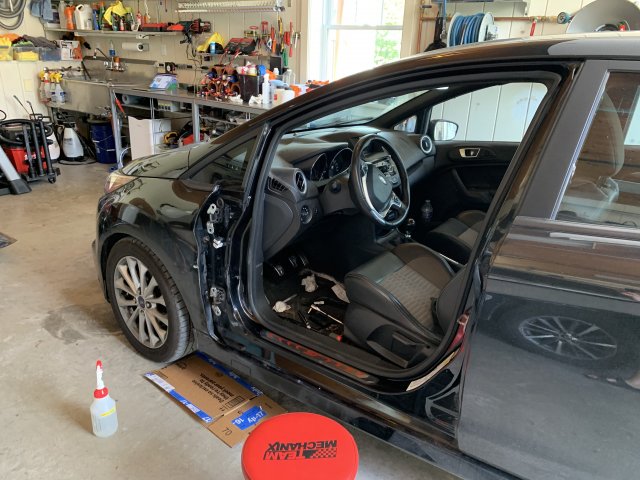
The next big step was replacing my driver-side door. I bought a 2012 regular fiesta door that was not rusted and let me tell you, I was not ready. I realized, halfway through, that I would have to switch over everything, including the electrical harness because of the keyless entry door button.

IMG_0510.jpg
Here is the door in question. I already started to apply the butyl deadening mats and closed-cell foam on top through the speaker hole. Turns out I had to remove the whole panel, so I had to re-do my job and I covered completely the door.

IMG_0513.jpg
Old door. You can see the rust on the bottom and side.

IMG_0514.jpg
Door out!

IMG_0516.jpg
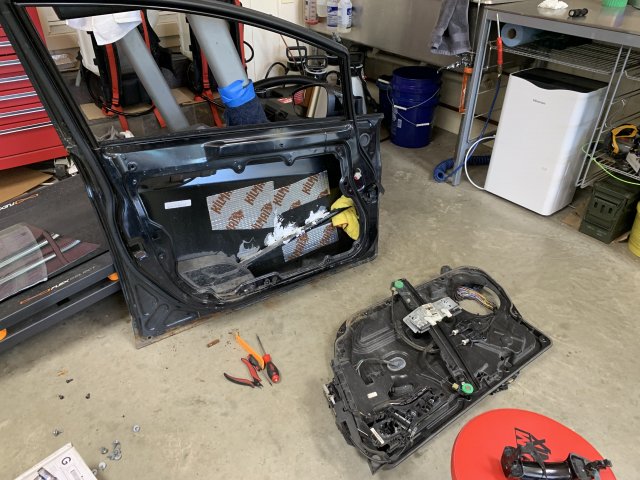
I had to completely strip the old door and switch over everything to the new ''shell''. This door has been in three hit & runs and repaired with a new skin every time. This is the reason for the rust. Plus, I had to remove the speaker to apply the microfiber & sealant on the door bar because the adhesive they used unglued and was rattling. I also wedged a microfiber in there to dampen the vibrations. Happy to ditch it!

IMG_0518.jpg
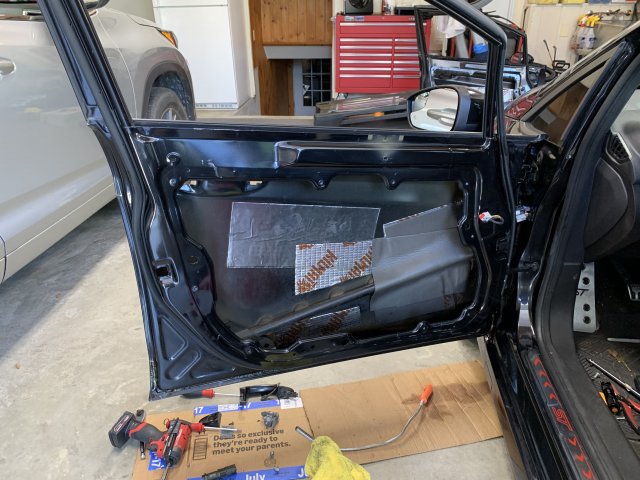
New door installed. This is the damping material I mentioned previously. I did not take a picture, but I completely covered the rest of the interior with deadening and foam.

IMG_0519.jpg
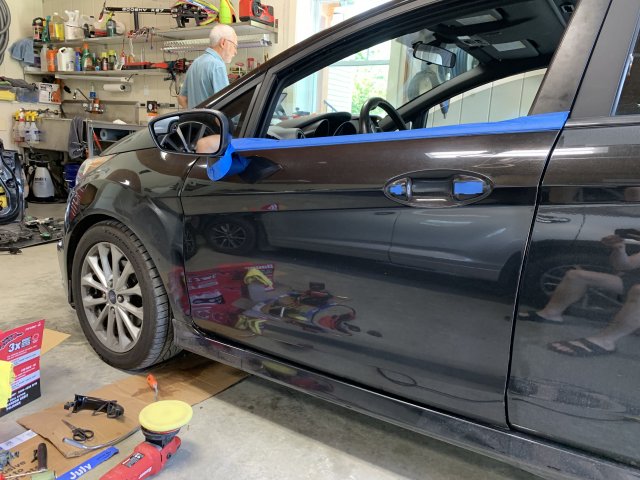
Taped up the exterior of the door to do a two-stage paint correction, since it was not really all that well maintained. I had fewer scratches on mine.

IMG_0520.jpg
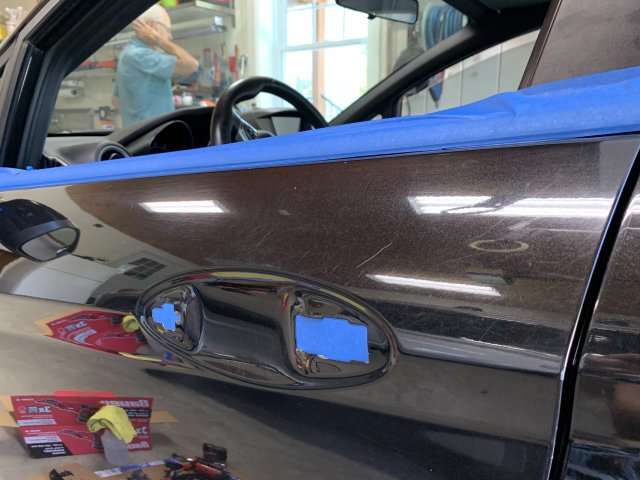
Before on the worst section.

IMG_0523.jpg
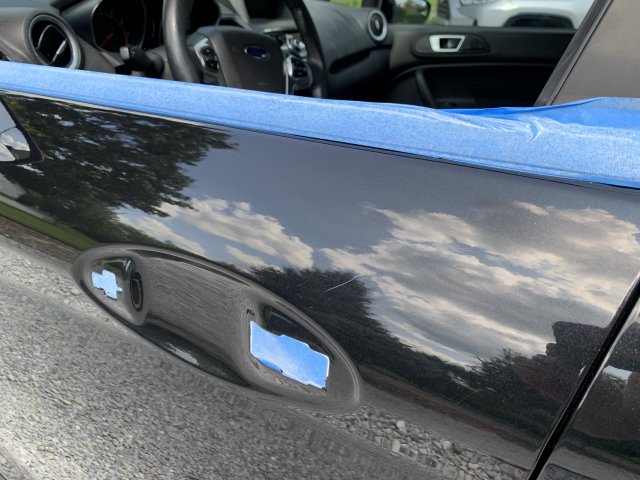
After. It's rare that you have the chance to work with no door handle!

IMG_0527.jpg
Final result after a good wash. Very happy, but it took me a good 5-8 hours to do. I took my time and I applied fluid-film in every crack and corner of the door to protect it.

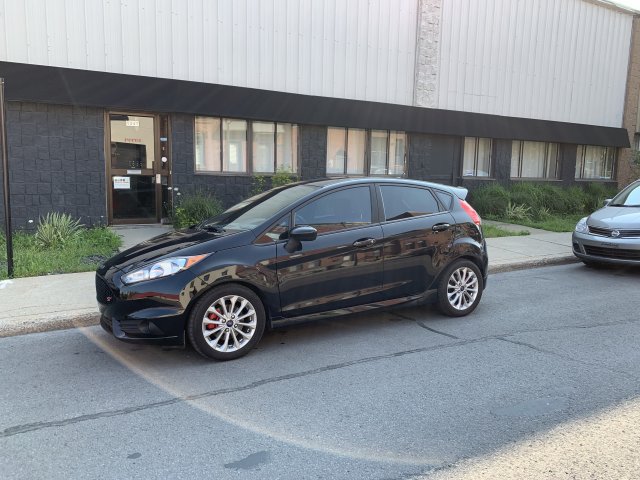
IMG_0525.jpg
Bonus sunset shot!


Messages
245
Likes
191
Location
none
#47
Looking snazzy. I have both butyl and the "carpet" sound deadening ready to go in. Did it make any difference in your case?


OP
Volumetrik
Messages
152
Likes
141
Location
Montreal
Thread Starter #48
Looking snazzy. I have both butyl and the "carpet" sound deadening ready to go in. Did it make any difference in your case?
Yes it does, in two key areas :

1- Sound when closing the door. Solid thunk with no rattles inside.
2- Better bass from the sound system.

It did not improve isolation from road noise because it's really dominated by the wind noise and tire noise on my 2014. I know the latter years have a small protrusion on the front glass elements.


OP
Volumetrik
Messages
152
Likes
141
Location
Montreal
Thread Starter #49
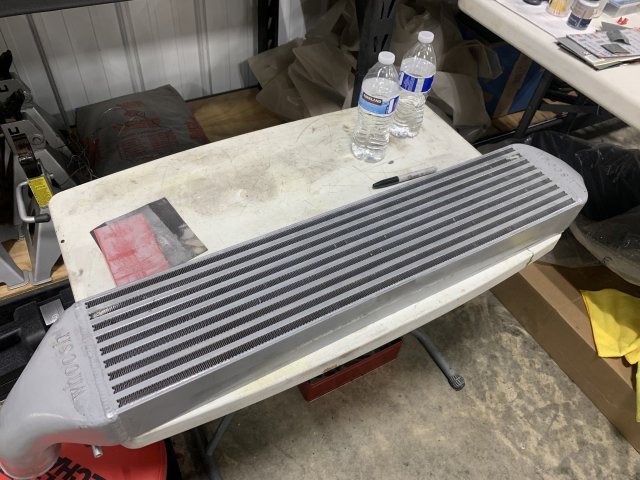
I purchased a used Whoosh V3 intercooler from a forum member here. It arrived in great condition and I installed it. It was my first time doing and intercooler install, and it was fairly straightforward if not for the rusted mounts (more on this later).

IMG_0477.jpg
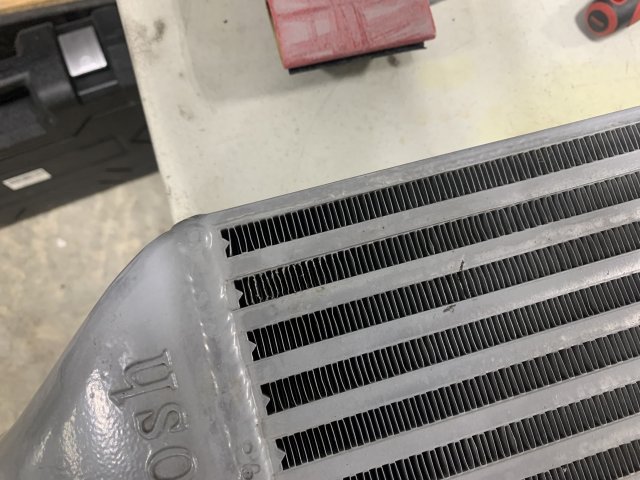
A couple of fins were bent. I did my best to straighten them out. There is one thing I was not ready for, the weight! Holy cow this thing is heavy. I'll give it to Ford, their solution was very lightweight. They should have made them 30% larger, but otherwise, it's a very efficient design weight-wise.

IMG_0479.jpg
The fins in question.

IMG_0481.jpg
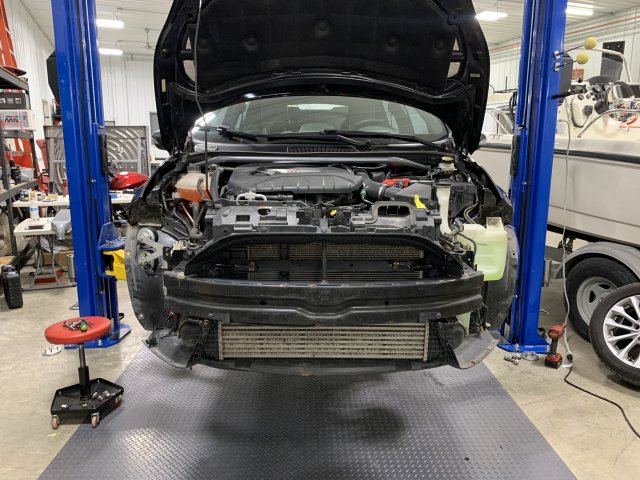
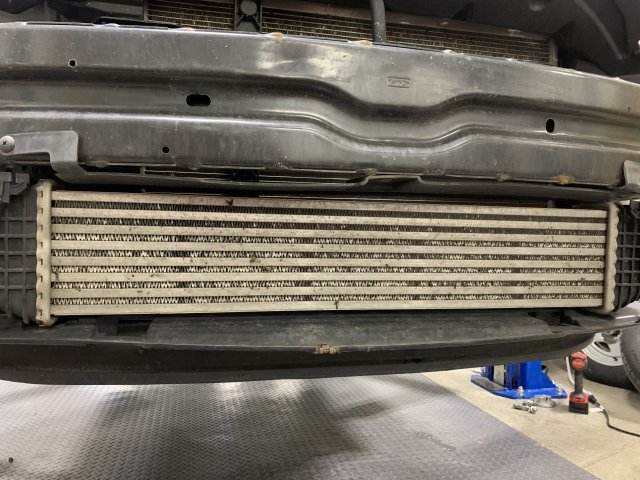
Bumper off. You can see the damage that 139k kms and 10 winters does to a stock intercooler.

IMG_0483.jpg
Yikes!

IMG_0484.jpg
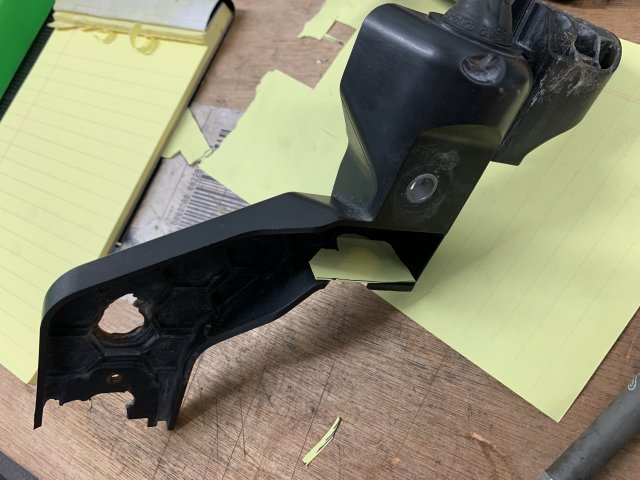
My intercooler mount shredded after removing it, necessitating a fabricated plate solution. Used some CAD (PAD) cardboard(paper) assisted design for the plate.

IMG_0486.jpg
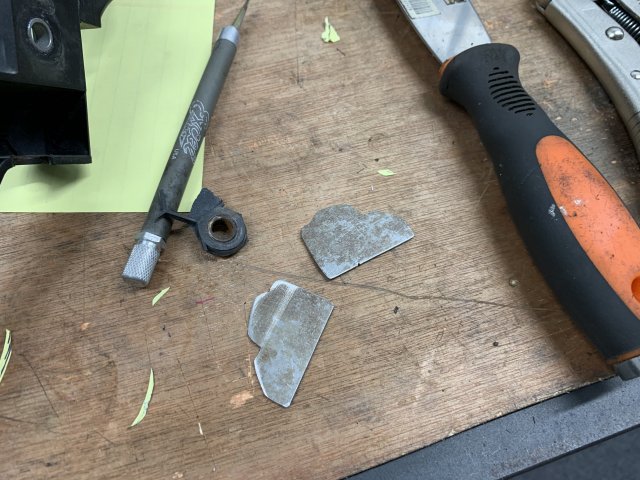
New sheet metal plates in the shape of the interior of the bracket.

IMG_0485.jpg
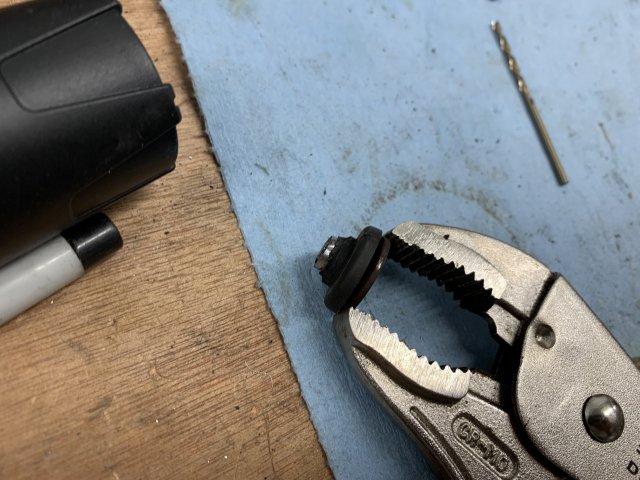
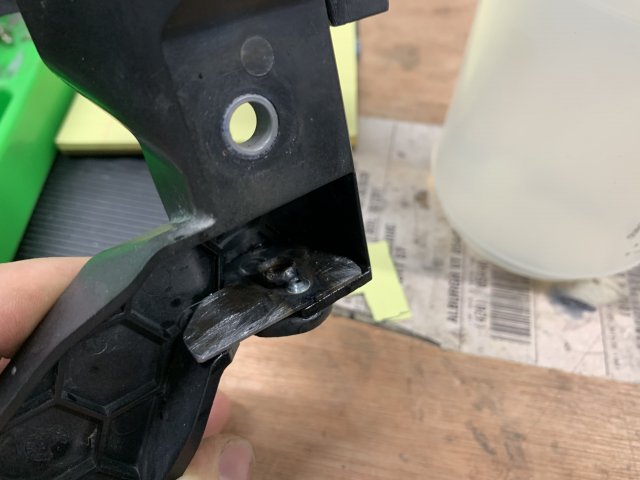
Sanded down the OEM bracket. The plan is to drill a hole in the plate, then spot weld it in place.

IMG_0488.jpg
Just like so.

IMG_0489.jpg
Painted, cured and fluid-filmed. Ready for the installation.

IMG_0490.jpg
Everything bolted back up. I would say this is a 100% stock looking mod. No one will ever know (but me).

Other than the shenanigans from crafting the bracket, the intercooler installation is fairly straightforward. The front fender bolts take time and will definitely get a few scrapes on your fingers. Ready for the ADAPT-X tune!


OP
Volumetrik
Messages
152
Likes
141
Location
Montreal
Thread Starter #50
Continuing my rust overhaul adventures, the next stop was the exhaust. The car has started to develop this sound when cold started. It really sounds like an exhaust leak. So I found an exhaust semi-locally (2hr drive) that had ''only'' 80k kms, but was in much better shape than mine.

IMG_0564.jpg
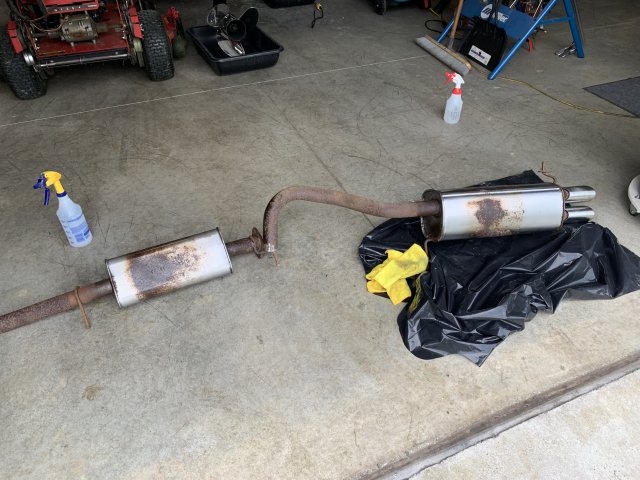
Exhaust in question. The main things I was looking for was intact front hanger and clean-ish boxes.

IMG_0566.jpg
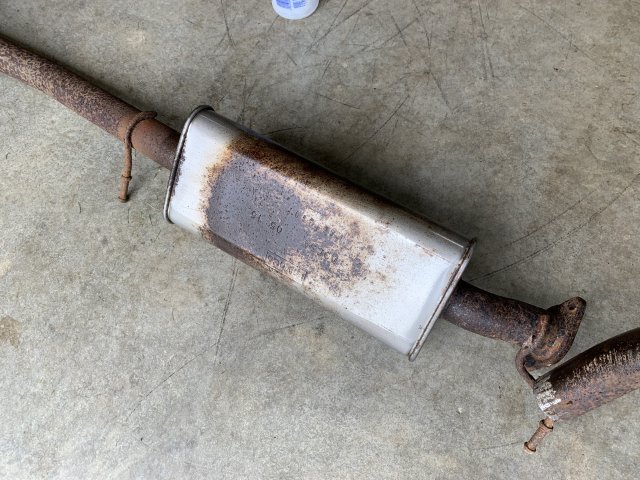
I'm using a mix of acid to clean and passivate the rust on the boxes and on the pipes leading up to them. It worked really well. I also treated a good portion of the underside of the car. It produces a white stain occasionally. Here is the recipe :
View: https://www.youtube.com/watch?v=7ZVSMQLPHNo


IMG_0567.jpg
I really spent a long time brushing the rust with various metal brushes, and applying the acid. It's not perfect, but you'll see, it's much, much better.

IMG_0568.jpg
The side exposed to the road is not bad as well.

IMG_0569.jpg
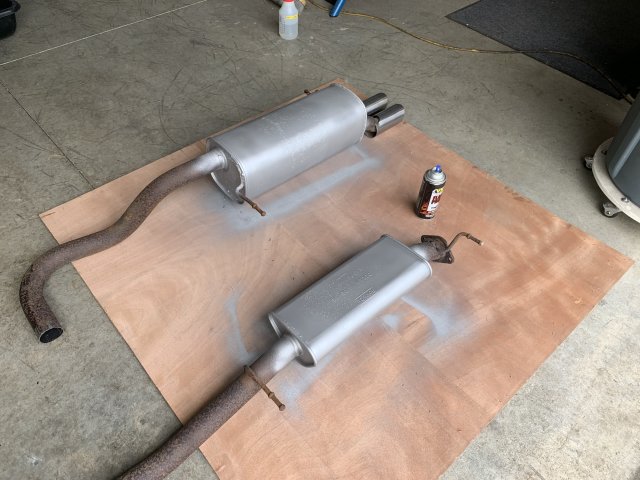
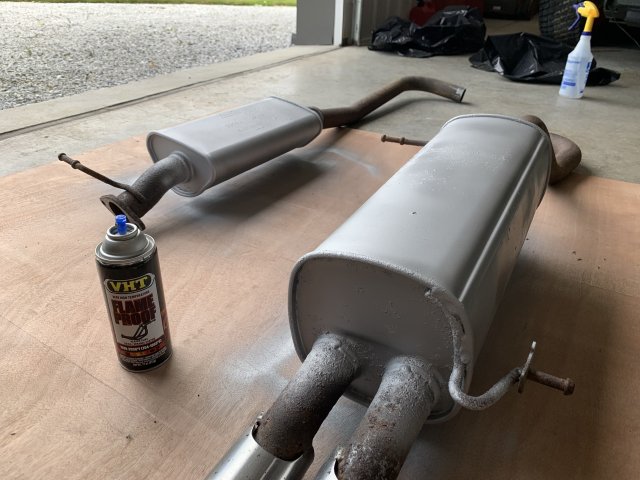
After a couple of passes of VHT Flameproof header paint. I only had a small portion of the paint can left, unfortunately.

IMG_0571.jpg
I did take the time to spray extra paint into the folded seams of the resonator and the muffler. Also on the side panels where rust can infiltrate.

IMG_0572.jpg
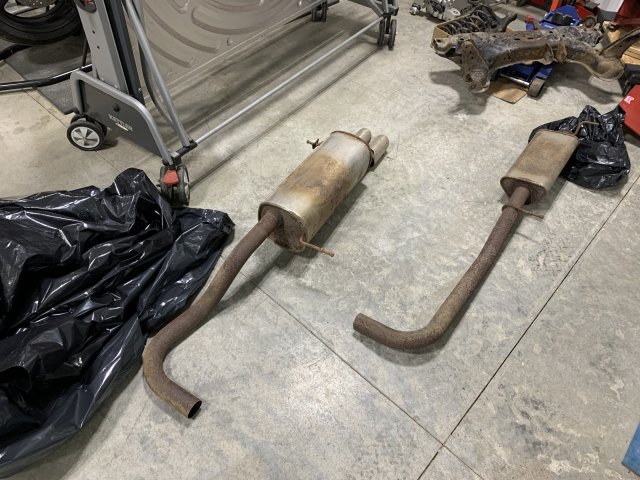
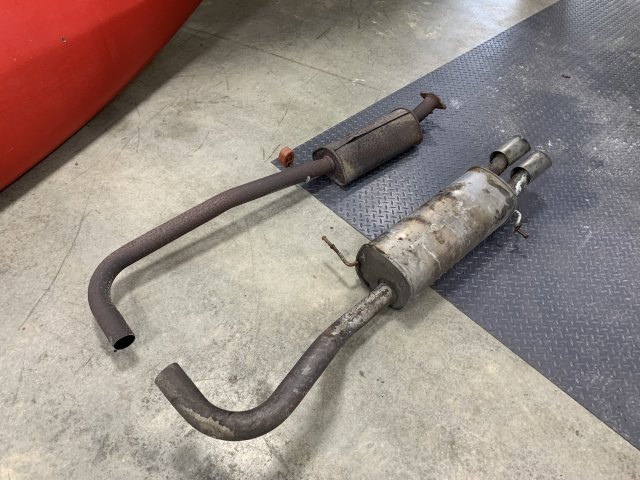
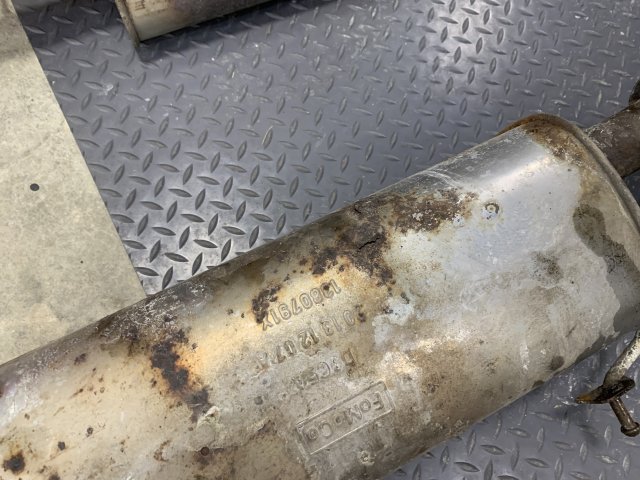
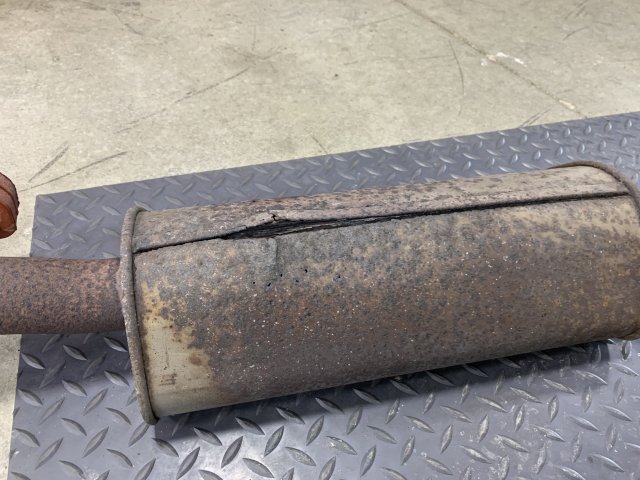
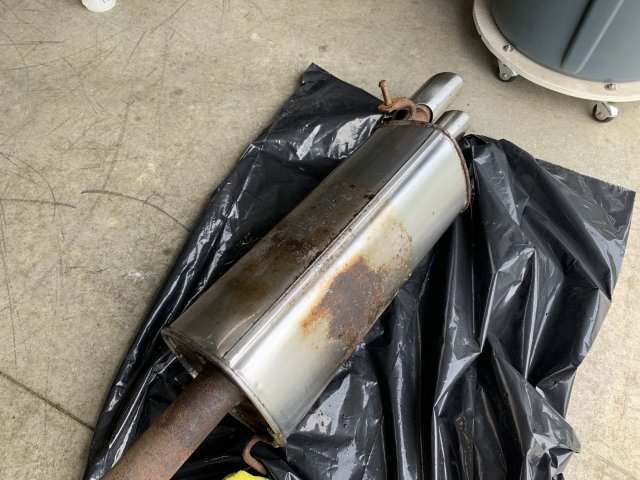
Here is the old, original 140k kms, 10yo exhaust. Wow!

IMG_0573.jpg
Life was not easy for this bad boy.

IMG_0575.jpg
The resonator was absolutely COOKED. This is why I thought I had an exhaust leak.

IMG_0579.jpg
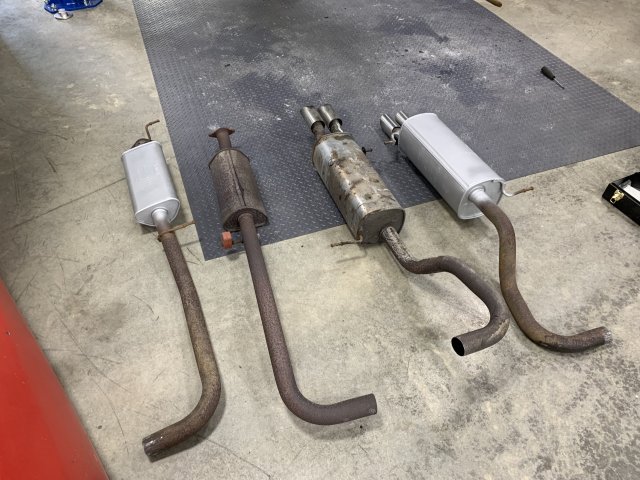
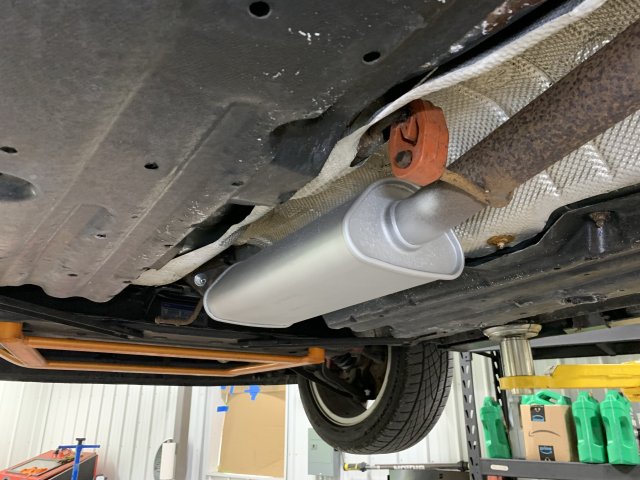
Here are the two side by side. I decided to cut at the same spot.

IMG_0580.jpg
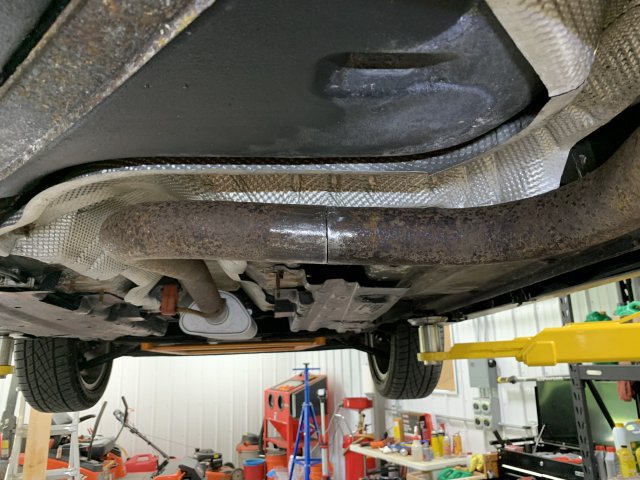
Rear portion installed. I did this alone without help and it was a struggle.

IMG_0581.jpg
Cleaned up the cut surface.

IMG_0586.jpg
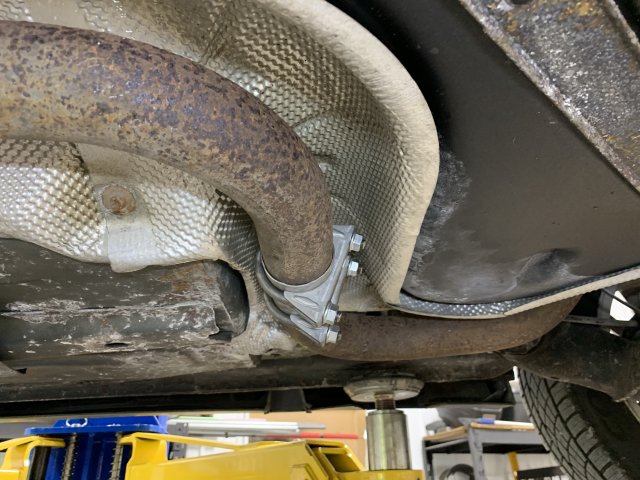
I only had these clamps available locally, but I ordered a better version that will replace this. I trimmed the bolts in the mean time.

IMG_0587.jpg
Only thing missing is the front exhaust rubber isolator. Since the original exhaust's one had fallen off, I did not have one on hand. However, it should arrive soon.

IMG_0588.jpg
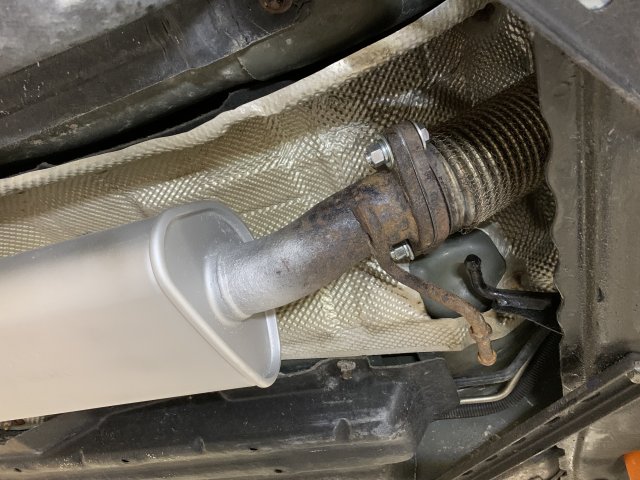
New bolts, new gasket.

Now, for the most important part... Did it solve my exhaust leak? No it did not. When I started up the car after this 3h endeavor, I was met with the same sound. I am happy with the work I was able to do alone within about three hours, but it was not a cathartic ending, unfortunately. Some of you may have seen my other post when I have two videos of the sound on cold starts.

I'm bringing the car to the dealership tomorrow for a (surely pricey) estimation of what is wrong. I've been let down by local garages. I'd rather fork up 100-200$ to have the issue diagnosed correctly and make the repair myself. Updates on this soon!


M-Sport fan

9000 Post Club
Messages
14,431
Likes
6,987
Location
Princeton, N.J.
#52
^^^Yeah, but it would probably not be worth it to Cerakote a factory exhaust system, especially a used one which had to be extensively media/bead blasted first in order to even consider it prepped for Cerakoting. [:(]


Intuit

3000 Post Club
Messages
3,905
Likes
2,444
Location
South West Ohio
#53
The coating isn't expensive and from what someone here or/and on a video said, it can be placed over a used exhaust. Obviously your exhaust can't be crumbling and rust will need to be cleaned/treated and cleaned again.

Personally, I like the stock exhaust as it is relatively quiet. Loud exhaust just aren't my taste. My motorcycles have had stock exhausts.


OP
Volumetrik
Messages
152
Likes
141
Location
Montreal
Thread Starter #54
I've explored cerakoting in the past, but the amount of prep needed to coat an already rusting exhaust appears to be quite intense (at least to get good results).

Following what this gentleman has shown, I think for me, it may not be worth it. However, a new exhaust? Strongly agree.


OP
Volumetrik
Messages
152
Likes
141
Location
Montreal
Thread Starter #55
Big update, I spent the entirety of the last weekend working on this, and I can now say that the exhaust leak I was experiencing is now completely fixed.
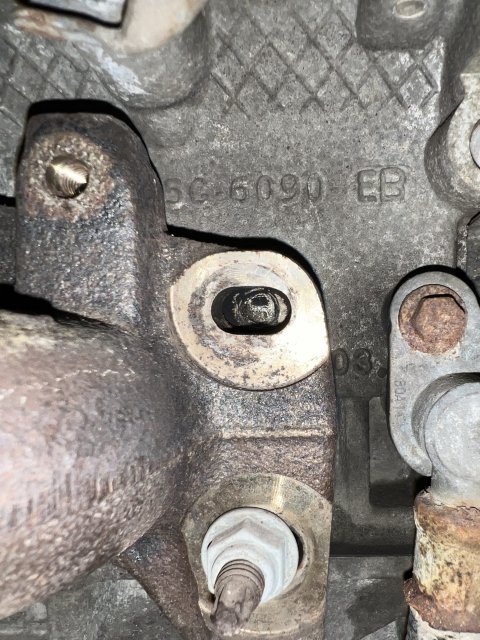
IMG_0205.jpg
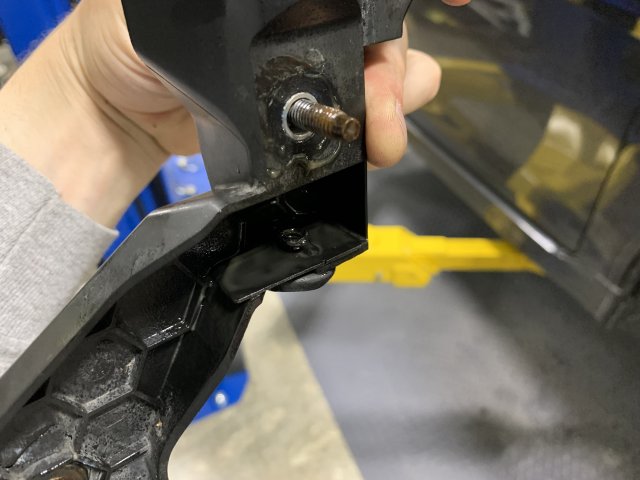
As a refresher, I suspected that there was a leak at the level of the exhaust manifold. The broken stud pictured here was the first clue.
IMG_0927.jpg
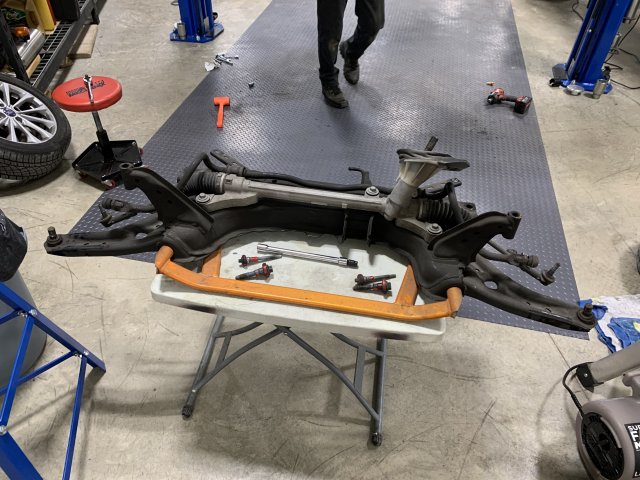
I wanted to have the most space possible because I knew I had to extract the broken stud. So out went the subframe assy.
IMG_0928.jpg
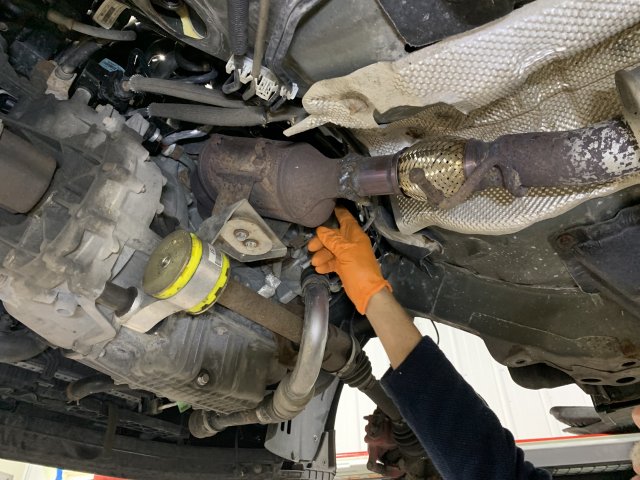
Here is the absolute horrible job the local shop did trying to fix the leak. They butchered my work, and I was incredibly angry at this situation for a good month after finding out. I got a refund at the end, but yeah.
IMG_0929.jpg
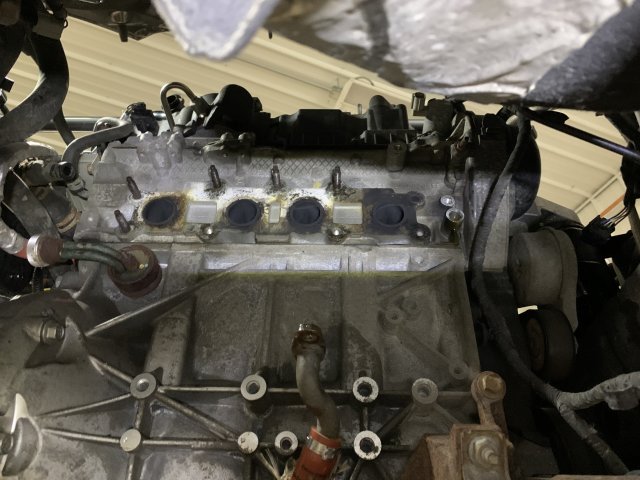
After a couple of hours later, I liberated the engine of it's manifold and turbo. We can clearly see the right-most exhaust port covered in soot.
IMG_0930.jpg
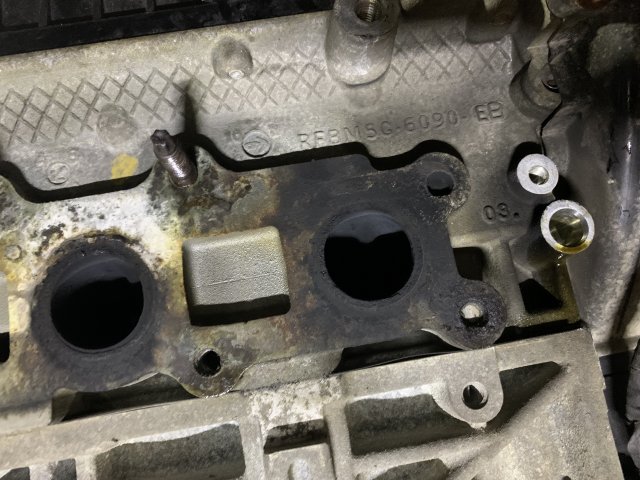
It's at this point I realized I had two studs broken in the block. Oh boy... You can also clearly see the soot where the leak was.

I was really lucky to have the help of my father. He worked on drilling and extracting the studs on the block and later on the turbo manifold. He even made a drilling guide adapter that slotted into the block to drill square into the studs.
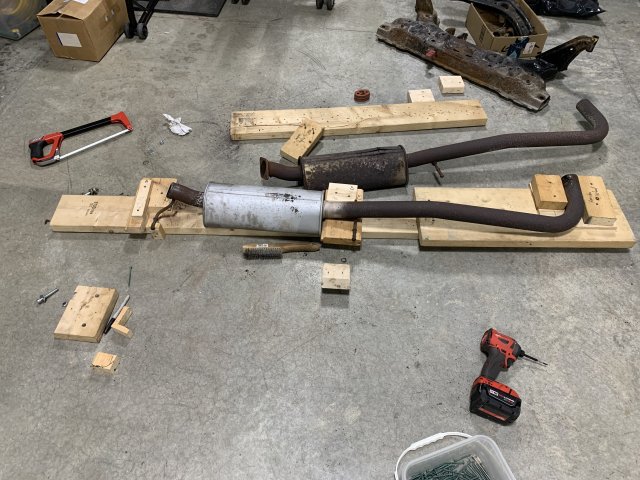
IMG_0933.jpg
While he was working on this, I started to jig up the exhaust.
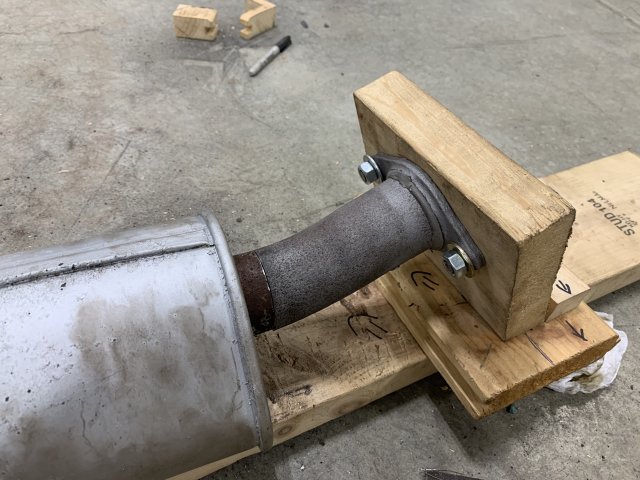
IMG_0935.jpg
After another hour, I transferred the flange off of my old exhaust to the newer one the shop chopped up.
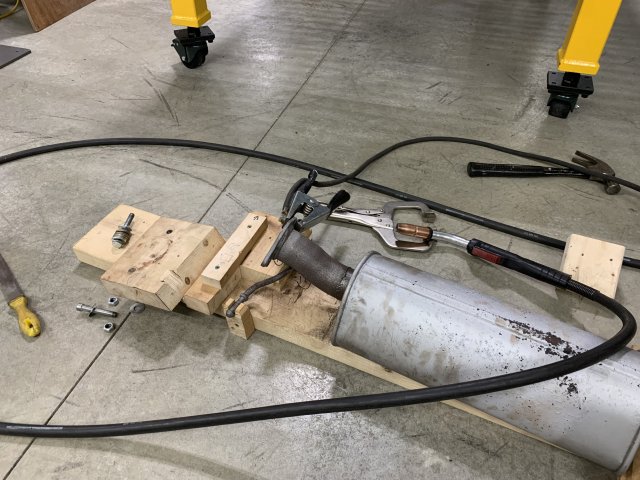
IMG_0937.jpg
I also had to jig up the exhaust hanger because I had to cut much lower that I thought because the shop inserted the flex pipe a good 1.5in into the ID of the OEM exhaust.
You can see my small welds. I essentially tacked-welded the entire circumference of the pipe. I could not do continual welds because I was burning through the material. The metal was thinner because of corrosion.
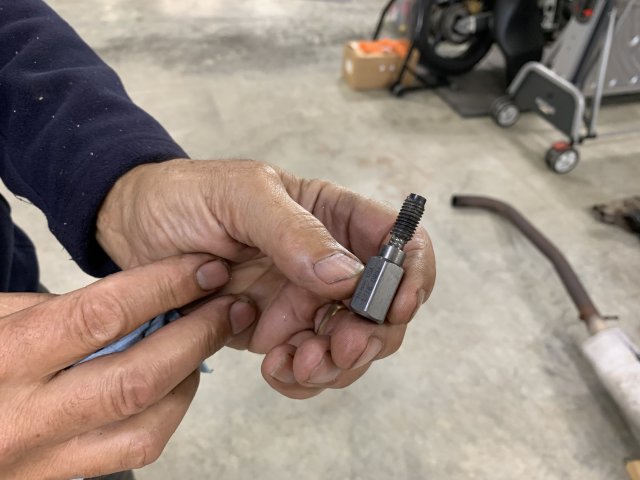
IMG_0939.jpg
At last, my dad managed to get one stud out completely. The other one he could not, he was forced to tap the hole with the old metal still in there. We could not take the chance to torque the extractor more, fearing having a hardened steel part stuck into the head. That would have been much more horrible.
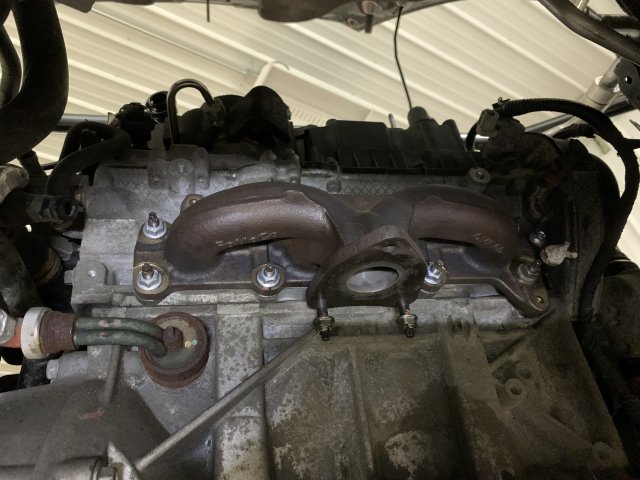
IMG_0940.jpg
After cleaning both the mating surfaces of the block and the manifold, I installed a new gasket, new studs where needed and all new nuts.
I torqued at around 70-80% the torque value for the stud that we re-tapped. I did not have confidence in a full torque going by the feel of it.
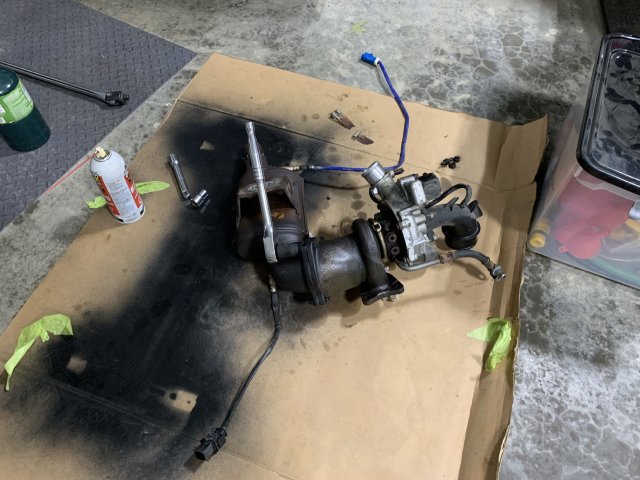
IMG_0934.jpg
I also broke every single bolt off of the manifold side of the turbo, all three...
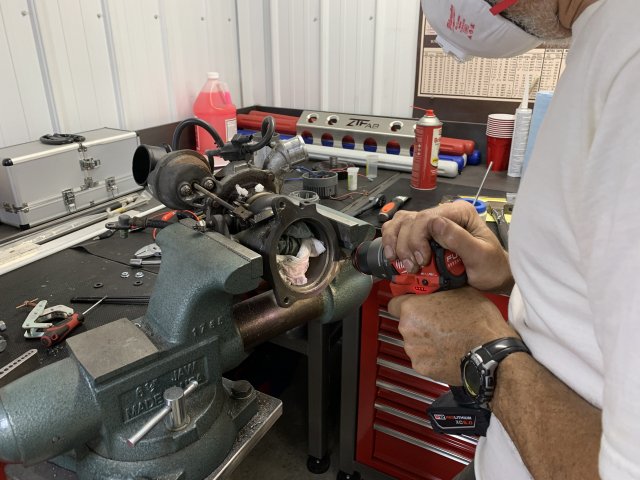
IMG_0942.jpg
Which naturally led to my father helping me drill through and re-taping the threads.
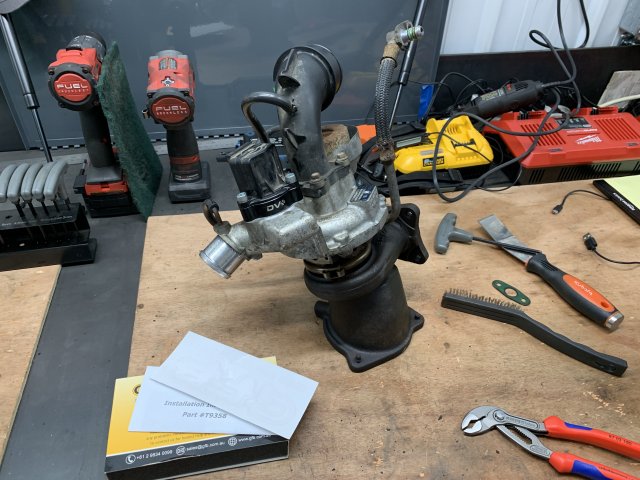
IMG_0936.jpg
Just before all of this, I installed a DV+ and inspected the turbo. I wished I had a new oil feed line, the old was a bit crusty. I did have a new bolt for it, though.
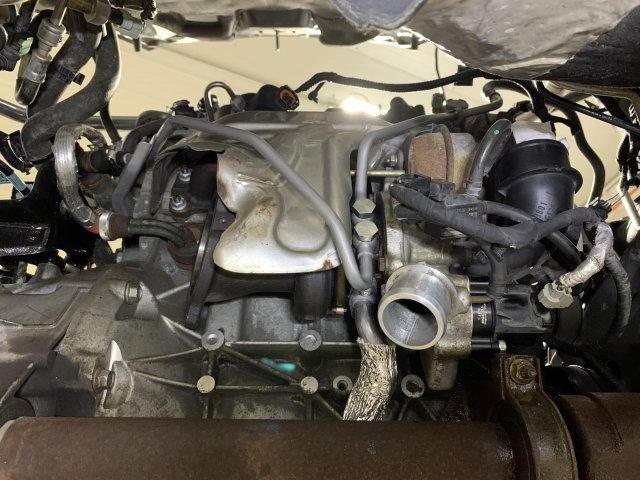
IMG_0946.jpg
I installed the turbo back on with new coolant lines and a new oil return line. Torqued all the nuts to spec as well.
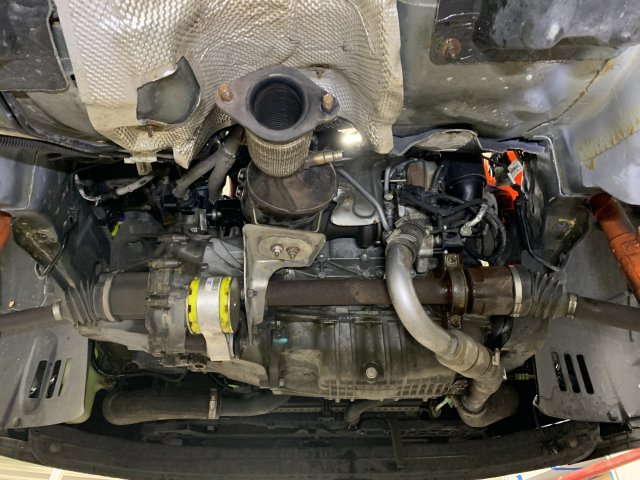
IMG_0947.jpg
Downpipe installed, RMM back on with pretty much all the pipes. And yes, I did not forget the hose clamp on the turbo inlet.
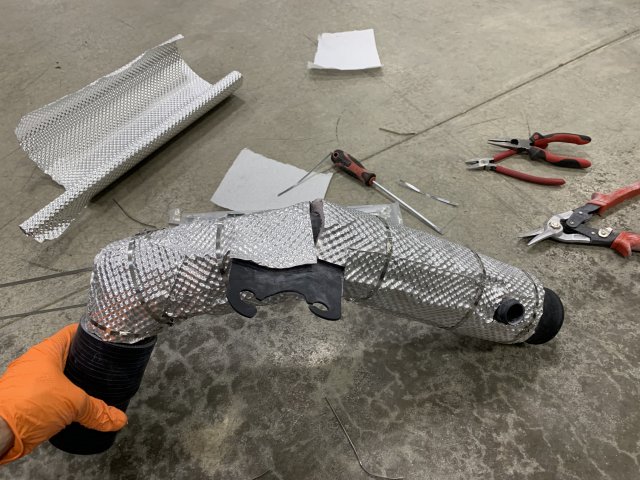
IMG_0941.jpg
I also copied the @Dialcaliper design for the crossover tube. Even used pyrogel. The only thing different is that I ordered the 10 mm thickness. It's not the final version, I covered the exposed section where you see the insulation at the level of the bracket.
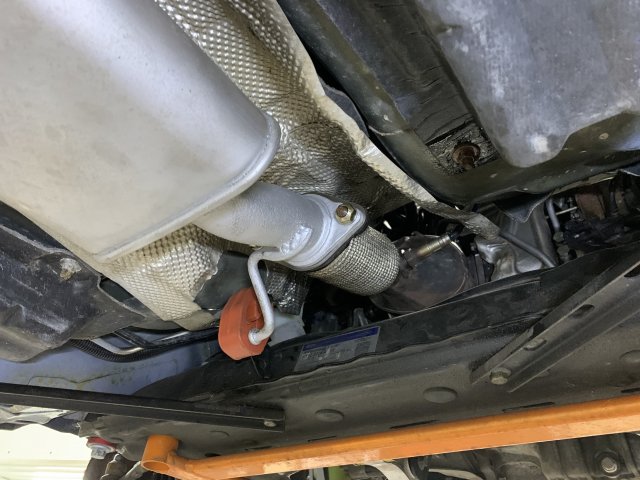
IMG_0949.jpg
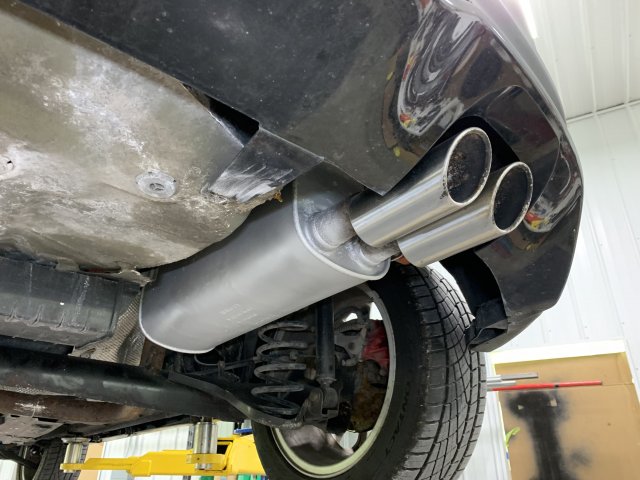
Subframe back on, with the new down pipe, newly welded hanger and flange. My jig fixture was 1/4in off in the rotation axis, so the bottom of the resonator is not perfectly parallel to the ground. It's very close to OEM, though.

Overall, I'm very happy about the result. The first start after doing all of this was uneventful, which was the desired outcome. I also primed the oil into the turbo before starting up the engine.

Quiet as before, smoother than before as well. I worked two 14h days on this, while taking my time, but working through all the problems one by one. I'm thankful for my father's help because the car would still be on the lift without him.
The car smoked for a good 20–30 minutes after it's first start. It seemed to be coming from the manifold area. The smoke was white and close to odorless. It did not smell like oil burning, but closer to coolant burn-off. After the initial smoke, the engine is since smoke free.

Next post will be about the suspension refresh I did (before the exhaust work).


Messages
147
Likes
151
Location
Atlanta
#56
I would have passed out from all the swearing that would have occurred in my garage during this...


Similar threads


Top