• Sign Up! To view all forums and unlock additional cool features

    Welcome to the #1 Fiesta ST Forum and Fiesta ST community dedicated to Fiesta ST owners and enthusiasts. Register for an account, it's free and it's easy, so don't hesitate to join the Fiesta ST Forum today!


Bull's street "go-kart" build

Messages
436
Likes
409
Location
Simi Valley, CA, USA
#81
@Bull Run very interesting. I settled on 23.75” all around on my coil overs, using the same measurement syste, with stock tires.

Can you expand a bit on the sway bar end links? I’ve never really understood what the adjustments do for the ride / system. But they’re a relatively cheap and Id think easy install.


OP
Bull Run

Bull Run

Member
U.S. Army Veteran
Messages
246
Likes
404
Location
Chandler, AZ, USA
Thread Starter #83
@Bull Run very interesting. I settled on 23.75” all around on my coil overs, using the same measurement syste, with stock tires.

Can you expand a bit on the sway bar end links? I’ve never really understood what the adjustments do for the ride / system. But they’re a relatively cheap and Id think easy install.
https://nasaspeed.news/tech/suspension/the-correct-way-to-install-adjustable-end-links/ explains it well but in the nutshell, you only want the sway bar to be "active" when turning. So you don't want any preload on it when going straight. Otherwise, one wheel hitting a bump can affect the other wheel via the sway bar, negating the advantages of independent suspension.


Messages
436
Likes
409
Location
Simi Valley, CA, USA
#84

TyphoonFiST

9000 Post Club
Premium Account
Messages
11,682
Likes
8,193
Location
Rich-fizzield
#85
Last couple of weeks were busy with installing various mods. The most significant one was the ISC Suspension N1 Street/Sport Coilovers along with Swave & Summit adjustable end links. I thought the stock suspension was decent enough but the coilovers improve the suspension like how a turbo upgrade improves the power curve. Even at the default damper settings, the car feels more planted without being harsh, corners flat, and greatly reduces the dive during braking. I'm looking forward to playing around with the adjustment to fit my driving style.

Install itself was easy but adjusting it to get the height I wanted took much longer.
View attachment 53417 View attachment 53418 View attachment 53419 View attachment 53420

I also installed a pair of rear adjustment extenders so I won't have to drop rear shocks or take the trunk trim off to make adjustments.
View attachment 53421

The sideview of the car as it sits now with around 1" of drop. It cleared nearby Home Depots parking lot speed bumps without issues but it's good knowing that I can raise it back up to or even a little higher than the stock height if needed.
View attachment 53422

View attachment 53423 View attachment 53424

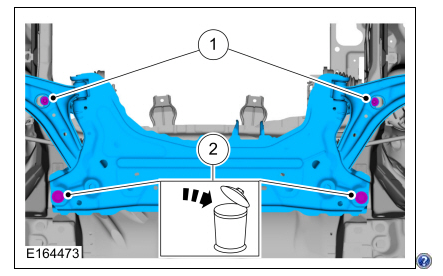
Since I needed an alignment anyways, I also installed the Whoosh subframe centering kit. After supporting the subframe with a jack, I slightly loosened all the bolts and installed the centering kit one bolt at a time to center the subframe beforing taking it to the alignment shop.
View attachment 53425
How far was the alignment off?


OP
Bull Run

Bull Run

Member
U.S. Army Veteran
Messages
246
Likes
404
Location
Chandler, AZ, USA
Thread Starter #86
How far was the alignment off?
By alignment, do you mean the preload? I set preload to zero for both ends first, loaded the weight on the driver's seat, then adjusted the driver's side end link. I don't remember the number of turns but it wasn't much.


OP
Bull Run

Bull Run

Member
U.S. Army Veteran
Messages
246
Likes
404
Location
Chandler, AZ, USA
Thread Starter #87
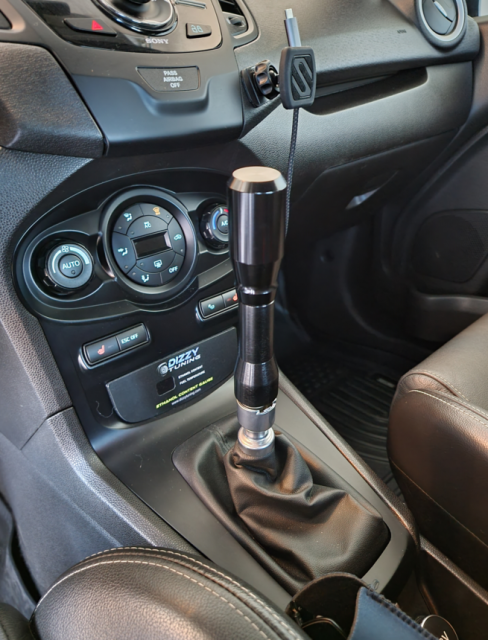
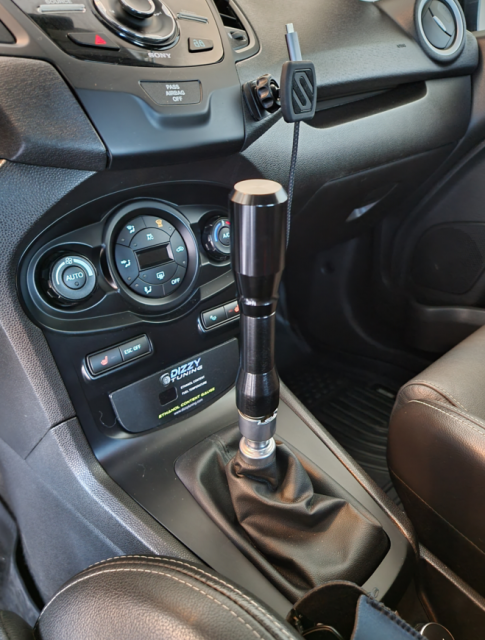
Did a simple mod while I'm waiting for other parts to arrive. Installed a 3" Shifter Extension from Shift Solutions with a cheap knob from Amazon. I really like the increased height as it places the knob closer to the steering wheel. It does increase the throw but not as bad since I have Whoosh short shifter installed. May need to take a look at the Coolerworx shifter later if I want the raised height with a short throw.

1675478721113.png


Attachments

OP
Bull Run

Bull Run

Member
U.S. Army Veteran
Messages
246
Likes
404
Location
Chandler, AZ, USA
Thread Starter #88
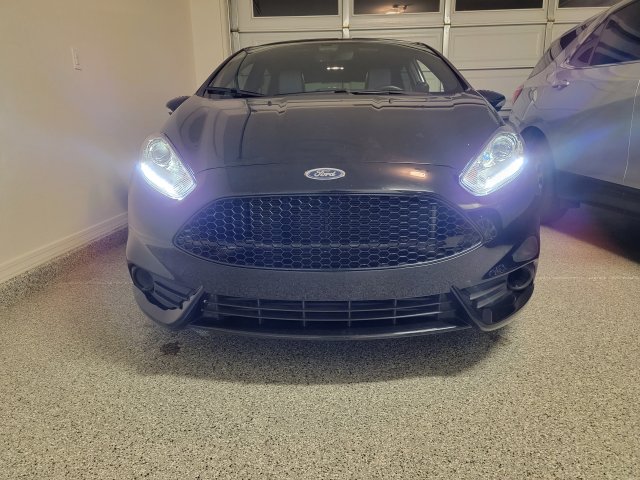
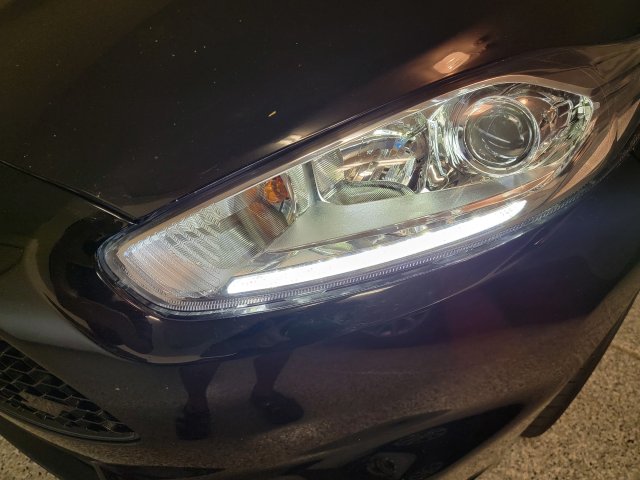
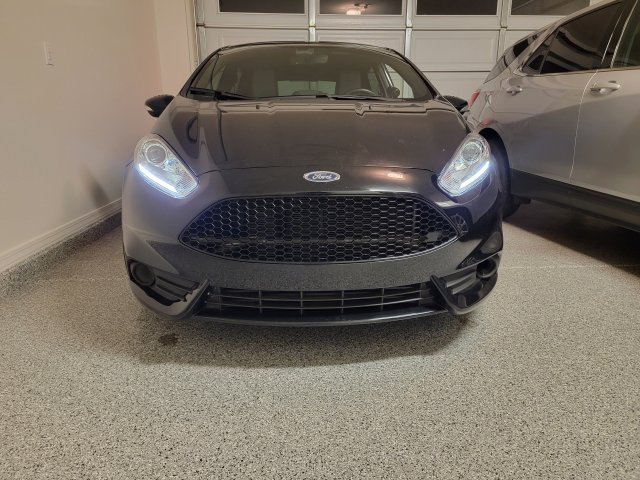
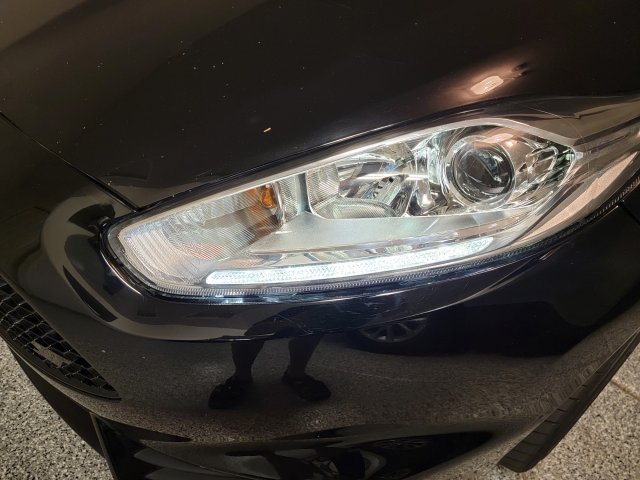
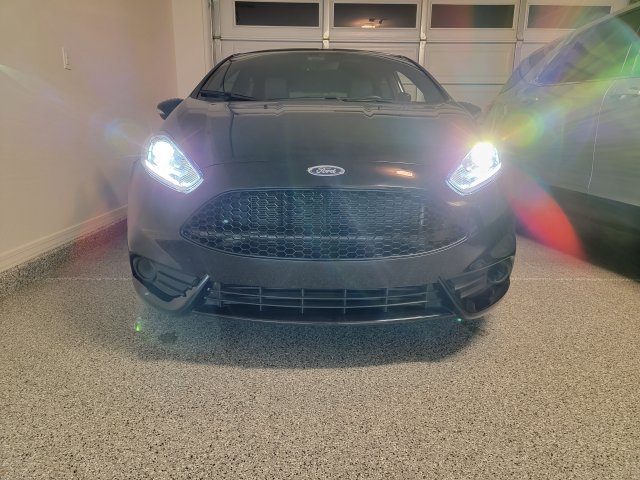
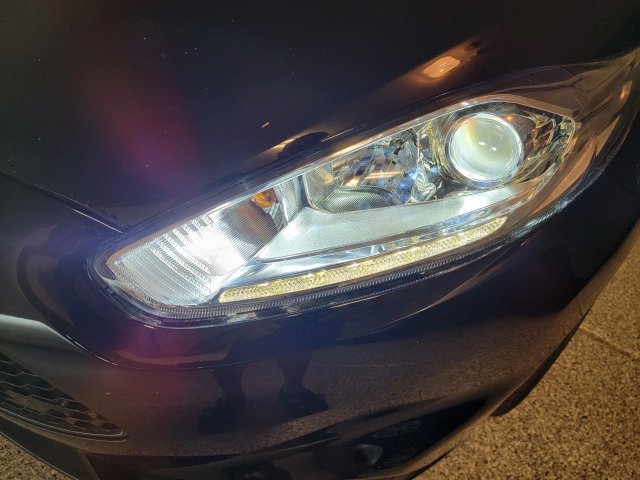
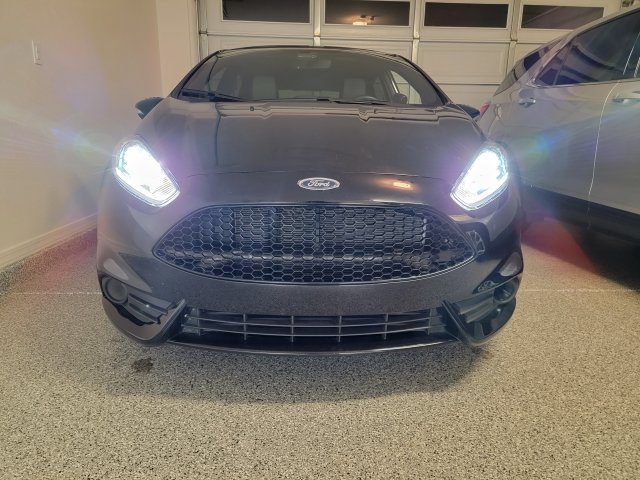
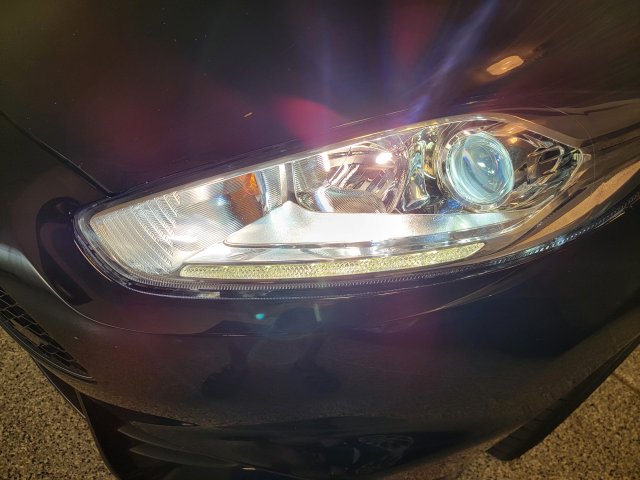
Purchased a pair Depo Euro headlights from Cars245, ended up paying around $435 for the pair (includes shipping).

Left: https://cars245.com/en/item/depo-43111B5LMLDEM-headlight/

Right: https://cars245.com/en/item/depo-43111B5RMLDEM-headlight/

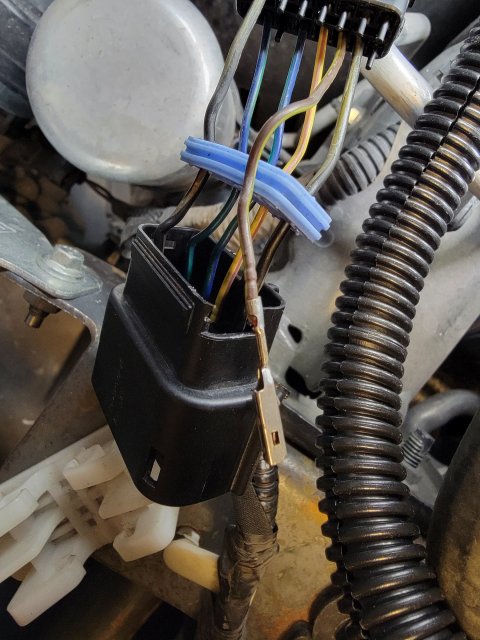
I added a pair of terminals to headlight connectors to enable auto low/high DRLs. Picked up a 50-pack from Amazon. The terminals ended up being shorter than the stock ones but fortunately they ended up working anyways. I recommend buying longer ones if possible. https://www.amazon.com/dp/B00NVB2RAQ?psc=1&ref=ppx_yo2ov_dt_b_product_details

Auxito H7 low beams. They are compact and installed without requiring adaptors or housing modification. Will see how long they’ll last with small heat sinks, compact fans, and integrated drivers: https://www.amazon.com/dp/B0BJP2G9J2?psc=1&ref=ppx_yo2ov_dt_b_product_details

Sylvania Silverstar H1 high beams. Auxito H1 bulbs do not have the correct orientation for the housing, thus went with Silverstars since I don’t use high beams anyways. https://www.amazon.com/dp/B000CO7ASO?psc=1&ref=ppx_yo2ov_dt_b_product_details

Sylvania 7507 blinker bulbs. Don’t need anything fancy or extra bright for blinkers. https://www.amazon.com/dp/B0031HEI98?psc=1&ref=ppx_yo2ov_dt_b_product_details

I used add-a-circuit on the wiper fuse behind the glovebox. I recommend against using the engine bay fuse box as it doesn’t switch off for a while in certain cases and run the risk of draining the battery with DRLs on high.

Headlights were well packed, so I didn’t have to deal with the housing being out of alignment from rough handling. This version came with manual adjusters.
1676436764074.jpeg 1676436915569.jpeg

Car on, lights off, DRL on high
1676436447082.jpeg 1676436466706.jpeg

Parking lights on, DRL on low
1676436512410.jpeg 1676436547274.jpeg

Low beams on, DRL on low
1676436581589.jpeg 1676436599556.jpeg

High beams on, DRL on low
1676436629703.jpeg 1676436648895.jpeg

Length of the stock terminal (about double the Amazon ones)
1676436731496.jpeg

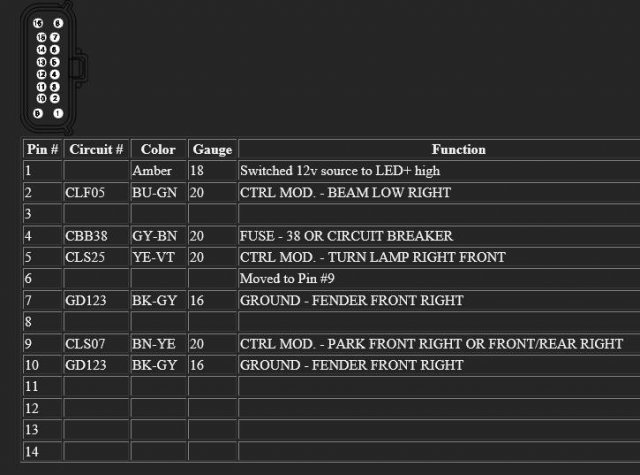
Pin layout. Don’t move Pin #6 if you want DRLs to be always on high
1676436716132.jpeg

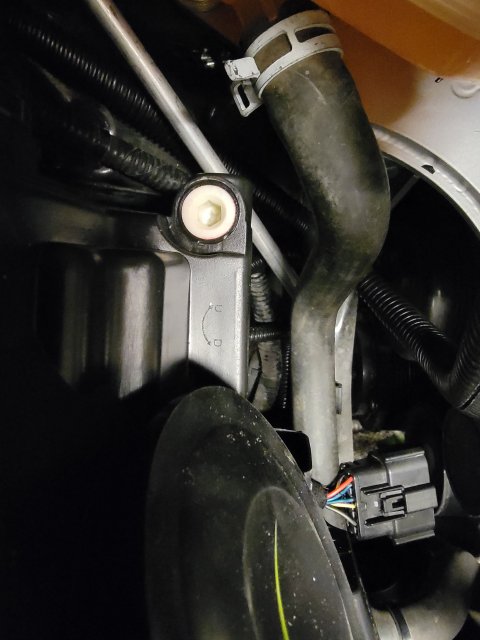
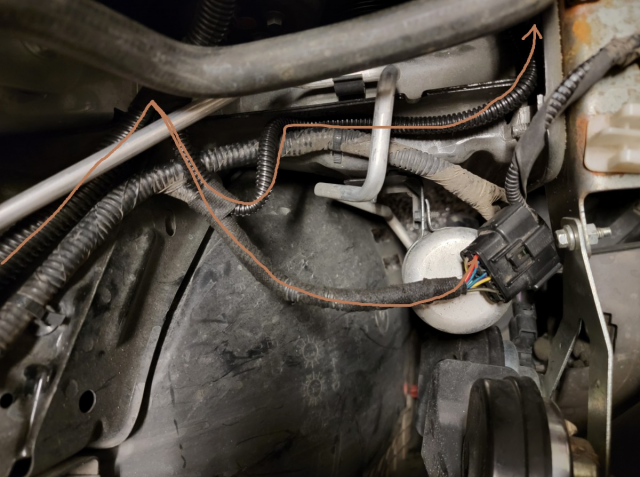
I ran the wire by the passenger side since the symposer tube was full of wires for other accessories. Add-a-circuit comes with 16 AWG wire so I ran a 16 AWG wire to near the right-side headlight connector. From there, I split it into two 18 AWG wires and ran them as shown in the picture.
1676436869962.png


OP
Bull Run

Bull Run

Member
U.S. Army Veteran
Messages
246
Likes
404
Location
Chandler, AZ, USA
Thread Starter #89
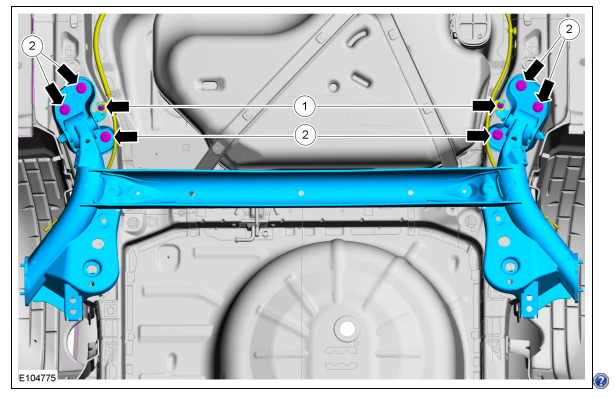
Here’s the follow-up to my post on Whoosh Subframe Centering Kit. Someone on the Facebook group mentioned that he used a Spoon Subframe Rigid Collar kit for both front and rear. I’m happy with the Whoosh kit, but since there isn’t one for the rear, I ordered Spoon’s rear kit to try it out.

The cheapest set I found was on Black Hawk Japan for around $150 plus shipping. It took a few weeks for them to ship. https://www.blackhawkjapan.com/prod...sta-50300-fyj-000?_pos=1&_sid=6d06da075&_ss=r

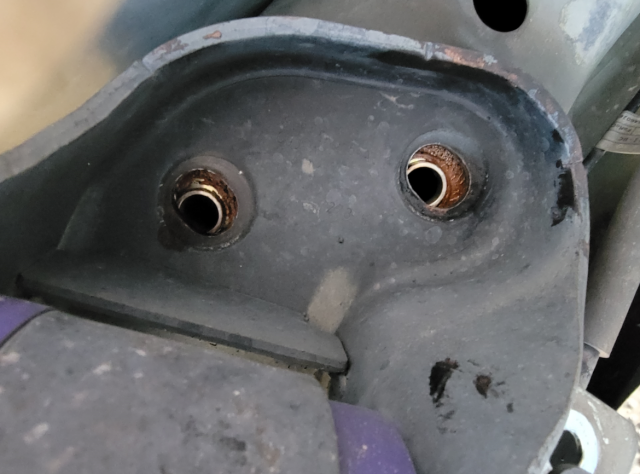
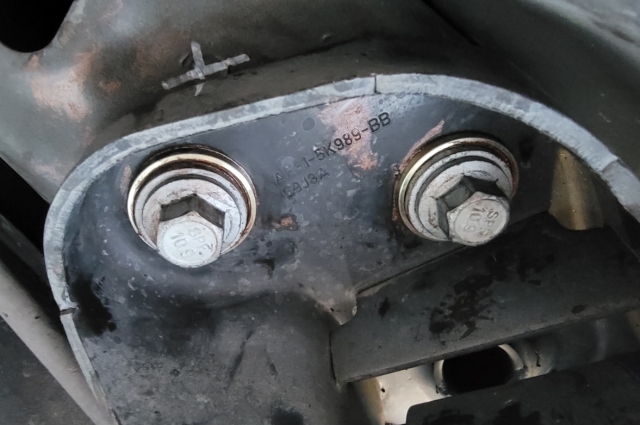
This is also a good time to upgrade rear beam to chassis bushings since dropping the bracket will give you enough clearance to take the bushing bolt out on the fuel tank side, and you’ll have to get the car aligned afterwards anyways.

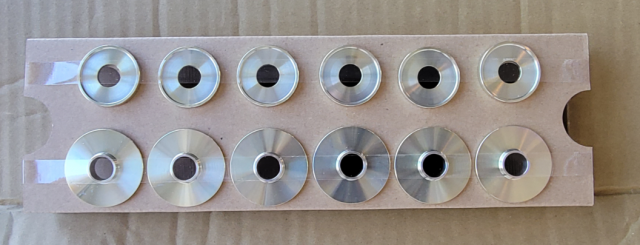
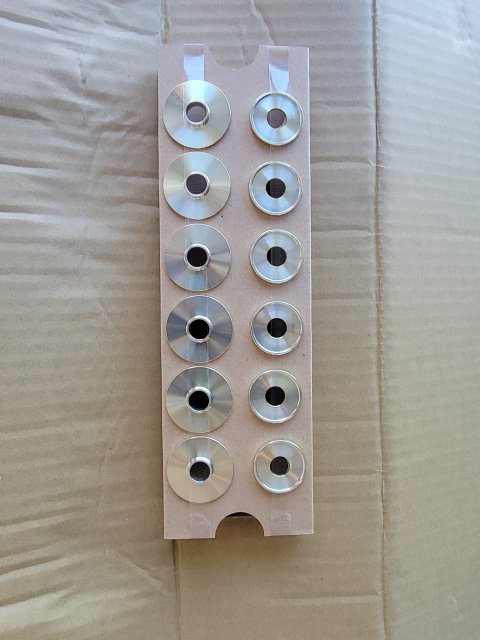
The kit comes with two pieces per hole, one for in between the frame and brackets, and one for in between bolts and brackets.
1676609325088.png

The kit comes with a tube of anti-seize, which also acts like a glue to hold the collar in place while I aligned brackets to collars.
1676609341987.png

I forgot to take a picture before putting the bolts back on. While brackets have elongated bolt holes, collars reduce the amount of play due to ridges on the collars between the three bolt holes.
1676609356449.png

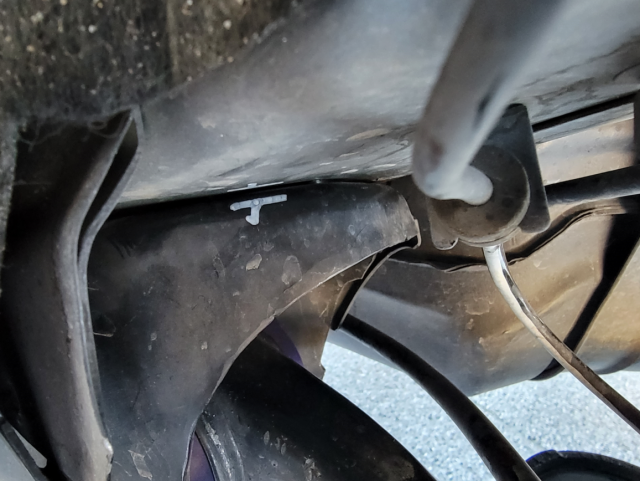
It’s hard to see in the picture but the pre-install alignment marks show a shift of about 0.5mm, so the rear end was already pretty close to being centered.
1676609370518.png


Attachments

Messages
492
Likes
550
Location
Camden, NJ, USA
#92
Here’s the follow-up to my post on Whoosh Subframe Centering Kit. Someone on the Facebook group mentioned that he used a Spoon Subframe Rigid Collar kit for both front and rear. I’m happy with the Whoosh kit, but since there isn’t one for the rear, I ordered Spoon’s rear kit to try it out.

The cheapest set I found was on Black Hawk Japan for around $150 plus shipping. It took a few weeks for them to ship. https://www.blackhawkjapan.com/prod...sta-50300-fyj-000?_pos=1&_sid=6d06da075&_ss=r

This is also a good time to upgrade rear beam to chassis bushings since dropping the bracket will give you enough clearance to take the bushing bolt out on the fuel tank side, and you’ll have to get the car aligned afterwards anyways.

The kit comes with two pieces per hole, one for in between the frame and brackets, and one for in between bolts and brackets.
View attachment 54013

The kit comes with a tube of anti-seize, which also acts like a glue to hold the collar in place while I aligned brackets to collars.
View attachment 54014

I forgot to take a picture before putting the bolts back on. While brackets have elongated bolt holes, collars reduce the amount of play due to ridges on the collars between the three bolt holes.
View attachment 54015

It’s hard to see in the picture but the pre-install alignment marks show a shift of about 0.5mm, so the rear end was already pretty close to being centered.
View attachment 54016
sigh...adding another must have to the Fiesta mod list.


OP
Bull Run

Bull Run

Member
U.S. Army Veteran
Messages
246
Likes
404
Location
Chandler, AZ, USA
Thread Starter #97
Messages
492
Likes
550
Location
Camden, NJ, USA
#98
Yes sir, I feel those are equivalent to doing the LCA upgrade but the for the rear. Firms up the ride and response.
it's interesting you've emphasized this stuff

outside of the big ticket items like sticky tires, LSD and BBK, i too think that bushings/mountings/subframe bracing are where stock Fiesta STs and well modded STs really start to separate. just the wall of torque that gets sent to the open diff'd front wheels, the Ford engineers who were able to keep it all together with the cheap econobox parts deserve a beer and a shot.

I'm probably going to get this LCA assembly and if i do, i'll probably tackle the rest of the front and rear subframe then.

Control Arm Lower Performance Assembly Kit (superprousa.com)


OP
Bull Run

Bull Run

Member
U.S. Army Veteran
Messages
246
Likes
404
Location
Chandler, AZ, USA
Thread Starter #99
it's interesting you've emphasized this stuff

outside of the big ticket items like sticky tires, LSD and BBK, i too think that bushings/mountings/subframe bracing are where stock Fiesta STs and well modded STs really start to separate. just the wall of torque that gets sent to the open diff'd front wheels, the Ford engineers who were able to keep it all together with the cheap econobox parts deserve a beer and a shot.

I'm probably going to get this LCA assembly and if i do, i'll probably tackle the rest of the front and rear subframe then.

Control Arm Lower Performance Assembly Kit (superprousa.com)
Ford (and others) liberally use soft bushings for NVH control. The Mustang have same issues with soft bushings where rear subframe bushing lockout kit and various other bushing upgrades are common after tires to control the wheel hop and improve handling. I could actually feel rear of the Mustang wiggle after hitting bridge expansion joints until I installed the lockout kit.

Also consider doing the steering rack bushing upgrade while you're doing the LCA upgrade as that's another cheap but effective mod.


Top