• Sign Up! To view all forums and unlock additional cool features

    Welcome to the #1 Fiesta ST Forum and Fiesta ST community dedicated to Fiesta ST owners and enthusiasts. Register for an account, it's free and it's easy, so don't hesitate to join the Fiesta ST Forum today!


Bull's street "go-kart" build

Bull Run

Member
U.S. Army Veteran
Messages
246
Likes
404
Location
Chandler, AZ, USA
#1
Mods as of 3/23/2024

Intake track
ITG intake
Montune induction hose
Whoosh crossover pipe
S280 hot side charge pipe
Whoosh hot side intercooler "S" hose
Whoosh v1 intercooler
Whoosh cold side charge pipe

Turbo
Turbo Technics S280 Turbo
Funk Motorsports turbo blanket
GFB DV+

Fuel and Ignition
E30
Dizzy Ethanol Content Gauge Kit
Snow Stage 3 WMI kit
NGK 1-step colder Ruthenium spark plugs
Whoosh Coil Packs

Exhaust track
Airtec tubular exhaust manifold
Whoosh V1 catless downpipe
Swave and Summit GT Full Titanium Exhaust with Resonator
Whoosh exhaust hangers

Cooling
Mountune Triple Pass Radiator
Whoosh Coolant Hose Kit
Spal radiator fan with OEM fan shroud delete
Pro Alloy Coolant Tank (Black)

Tune
Cobb AccessPort v3
Tune+ pro-tune (91oct, 91+WMI, E30+WMI)

Transmission
Spec Aluminum Flywheel
Spec Stage 2 Clutch (Sprung)
RTS CSC Slave Cylinder
BG Syncro Shift II Synthetic Gear Lubricant 75W-90

Motor Mounts
Cobb RMM
AWR PSMM with 62 durometer bushings
AWR TSMM with 62 durometer bushings

Suspension
ISC N1 Street/Sport Coilover Kit
Powerflex Front Sway Bar Bushings - Street
Swave and Summit Adjustable Sway Bar Drop Links
DNA Racing Front LCA
Powerflex Rear Coil Spring Pads - Street
Whiteline Rear Sway Bar

Chassis
Whoosh Subframe Centering Kit
Swave and Summit Front Lower 4 Point Subframe Brace
Steering Rack Bushings - Aluminum
Spoon Rear Rigid Collar Kit
Powerflex Rear Beam to Chassis Bushings - Street
Whoosh 2 Point Trunk Bar

Brakes-Front
Wilwood Front BBK with Stainless Steel Brake Lines
Wilwood BP-10 Pads

Brakes-Rear
StopTech Stainless Steel Brake Lines
WaveSpec Sport Rotors
EBC Redstuff Pads
Ford performance CB Shift Knob

Shifter
Whoosh short shift kit
Whoosh shifter base bushings
Whoosh transmission cable bracket bushing

Weight
Mele battery mount
Shoari LiON battery LFX36L3-BS12
Wilwood Forged Dynapro 6 Front BBK
17" Konig Hypergram wheels with Continental ExtremeContact Force tires (225/40R17)
TB Performance Front Crash Bar
TB Performance Rear Crash Bar
Whoosh Rear Wiper Delete
Seibon TM Style Carbon Fiber Hood
Back seat, spare tire, and jack delete
Corbeau Evolution X Seats
Lexan rear door windows
Rear door cards
Seibon Carbon Fiber Hatch
Lexan hatch window

Misc
Whoosh Boost Tap
Fumoto F106SX Oil Drain Valve

Non-performance upgrades
Backup Camera
Gentex auto-dimming rearview mirror with Homelink
Sync version 3.4
USB hub upgrade
Climate control display enable
Auto Sport mode enable
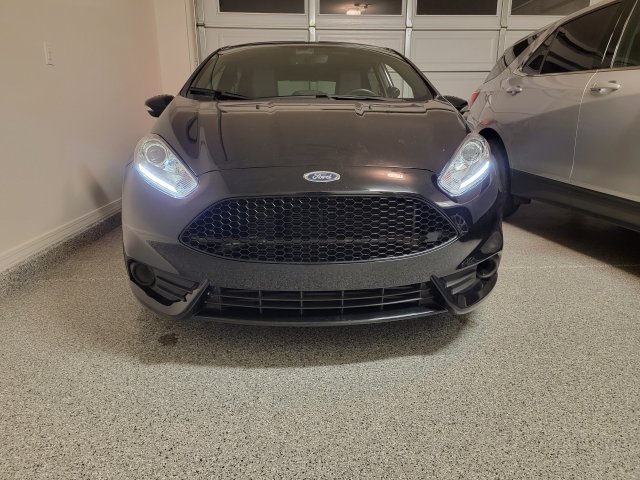
Depo Euro Headlights with auto DRL switching
CravenSpeed 2" Short Antenna

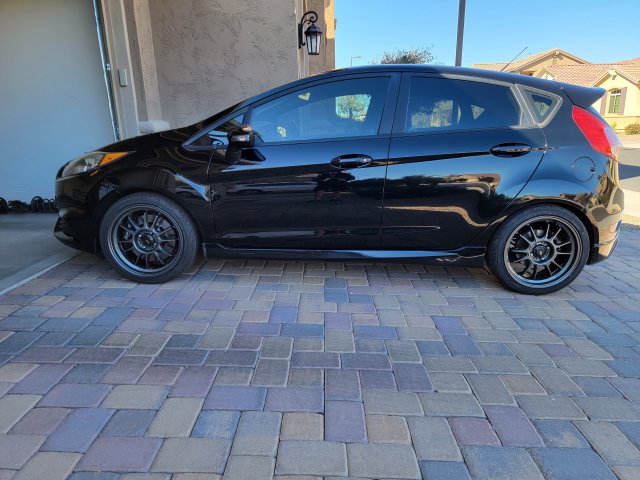
Before mods
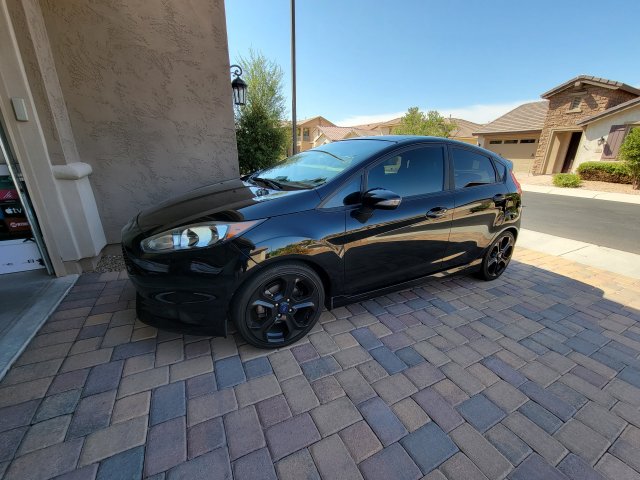
1673672488919.jpeg

After wheels and front BBK
20220207_104124.jpg

After rear WaveSpec rotors and ISC coilovers
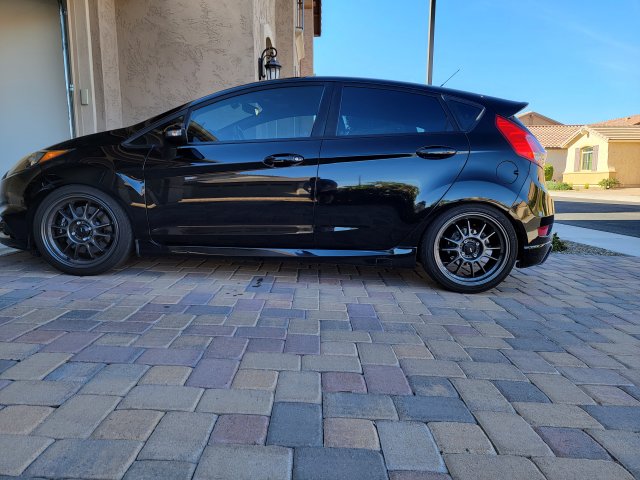
1673672616433.jpeg

After Euro headlights
1676436259215.jpeg

After Seibon TM-style carbon fiber hood
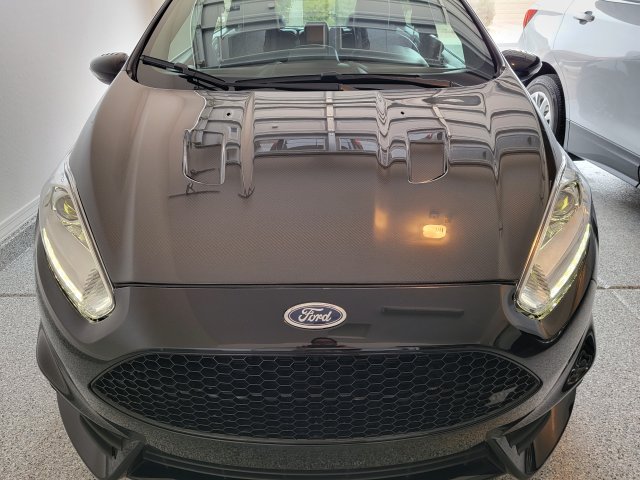
1677349519510.jpeg
After PPF applied to the hood and headlights
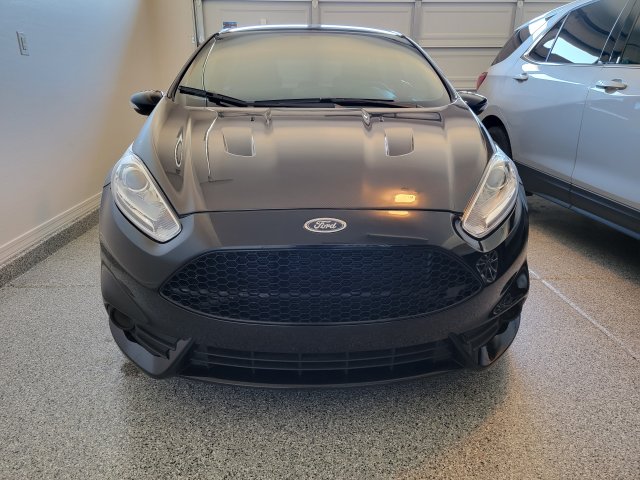
1677879609895.jpeg


Last edited:
OP
Bull Run

Bull Run

Member
U.S. Army Veteran
Messages
246
Likes
404
Location
Chandler, AZ, USA
Thread Starter #3
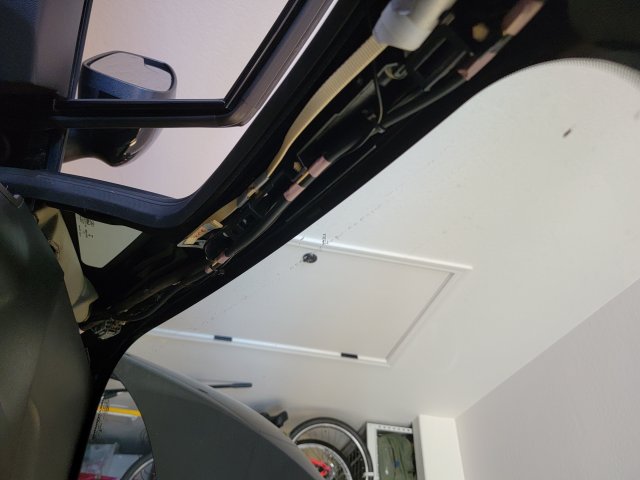
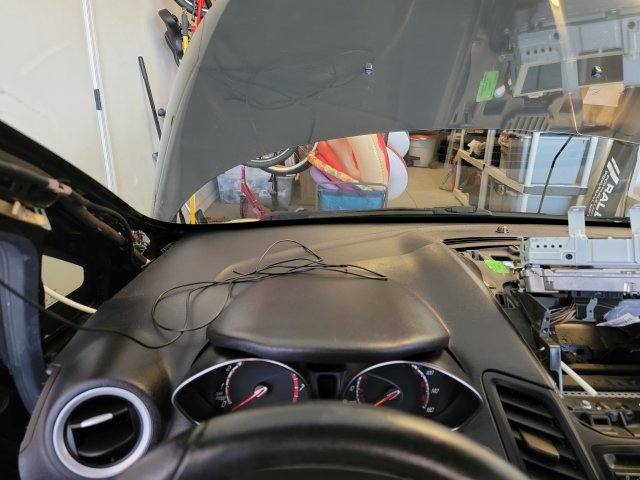
This car came with all the options I wanted (actually, I didn’t want the sunroof but it is what it is) except for the backup camera. I’m handy with Forscan and used to removing the panels so I followed the guide I found here and on YouTube except that I ran the cable on the driver side to avoid needing an extension.

If I had to do it again, I’d go with a hatch release mounted unit rather than the license plate light one for more centered camera, but this isn’t bugging me enough to replace it unless it breaks.

Cable going down the drivers side a-pillar:
20210820_143455.jpg

Looks like others went the passenger side route since it’s easier to pass the cable through the dash on that side, but it wasn’t hard finding a path through on the driver side using a nylon tubing. See ends of white tubing by the pillar and display areas:
20210820_142255.jpg

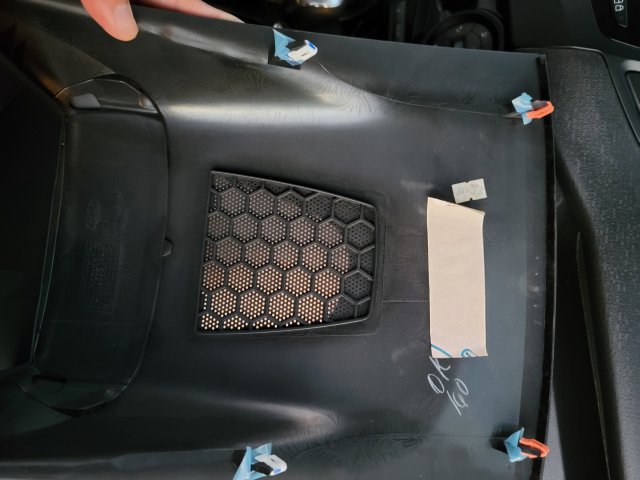
I lost a couple of plastic clips on the display cover when I pulled it. It mounts back on without issues with the remaining clips but the rattle was bugging me, so I bought some replacement clips on Amazon. They look and fit exactly like the stock ones except for the color, but you can’t tell the difference once the trim’s reinstalled anyways:
20211010_180643.jpg

Camera: Navinio Backup Camera for Car, Waterproof Rear-View License Plate Car Rear Backup Parking Camera for Mondeo/Fiesta/Focus Hatchback/S-Max/Kuga/Everest

Trim clips: Rexka 30pcs Center Console Radio DVD Dash Panel Switch Bezel Clip Body Trim Retainer Compatible with Ford Mercury Mustang Edge Escape Expedition F-150 Explorer Jeep Dodge Challenger
Rexka 30pcs Center Console Radio DVD Dash Panel Switch Bezel Clip Body Trim Retainer Compatible with Ford Mercury Mustang Edge Escape Expedition F-150 Explorer Jeep Dodge Challenger


OP
Bull Run

Bull Run

Member
U.S. Army Veteran
Messages
246
Likes
404
Location
Chandler, AZ, USA
Thread Starter #4
I wouldn't waste money on the aftermarket downpipe. With the stock turbo nothing performs better than the stock downpipe.
I won't do the downpipe swap until I do the turbo upgrade so I don't have to worry about any broken bolts. I felt improvements on other turbo I-4's and V-6s with the downpipe upgrades even with the stock turbo, mainly in turns of turbo lag reduction. Is it not the same with Fiestas?


OP
Bull Run

Bull Run

Member
U.S. Army Veteran
Messages
246
Likes
404
Location
Chandler, AZ, USA
Thread Starter #5
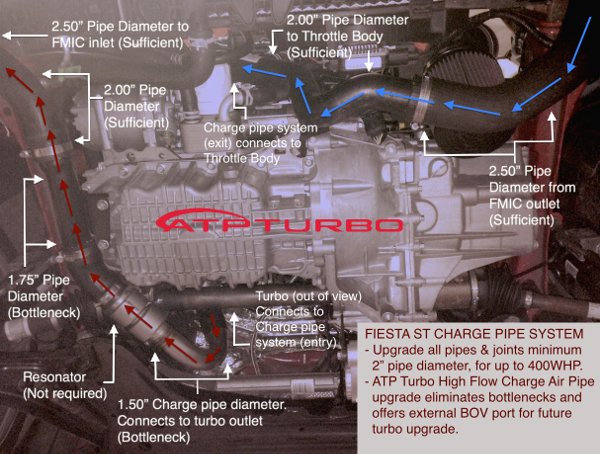
I upgraded the hot-side pipe as it looks cleaner than multi-piece stock unit with a baffle. It's also in preparation of the turbo upgrade down the road, as the diagram below shows that the stock hot-side piping creates a bottleneck:

ChargePipe_Diagram.jpg

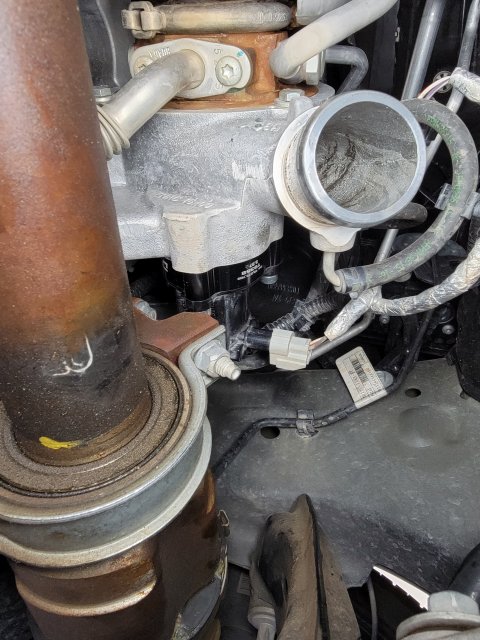
I also found that you can easily reach up and unmount/mount the BOV with the hot-side pipe off, so I did the GFB DV+ upgrade at the same time. No extensions, flex joints, or removing the wheel required going this route:

dv_plus_installed.jpg

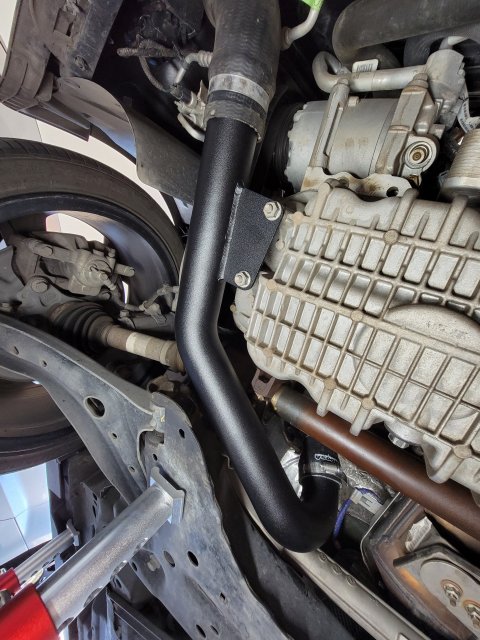
Hot-side pipe installed:
hot_side_charge_pipe.jpg


OP
Bull Run

Bull Run

Member
U.S. Army Veteran
Messages
246
Likes
404
Location
Chandler, AZ, USA
Thread Starter #6
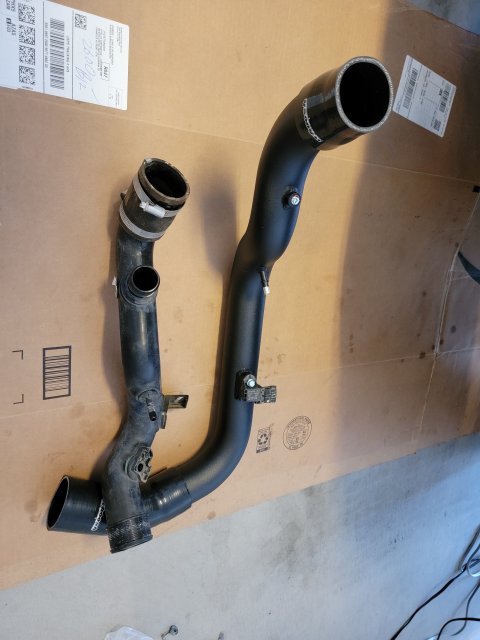
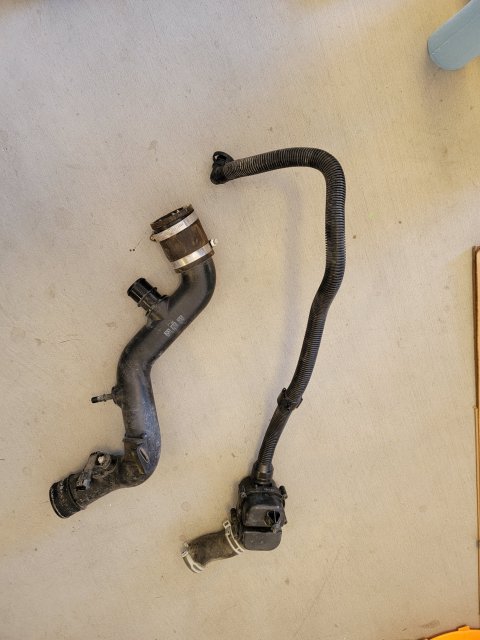
While the cold-side pipe isn't considered as a bottleneck, they are cheap and the Whoosh unit comes with the symposer-deleted and a bung for the WMI nozzle, so I decided to kill three birds with one stone.

Stock pipe vs the upgrade:
20210902_173921.jpg

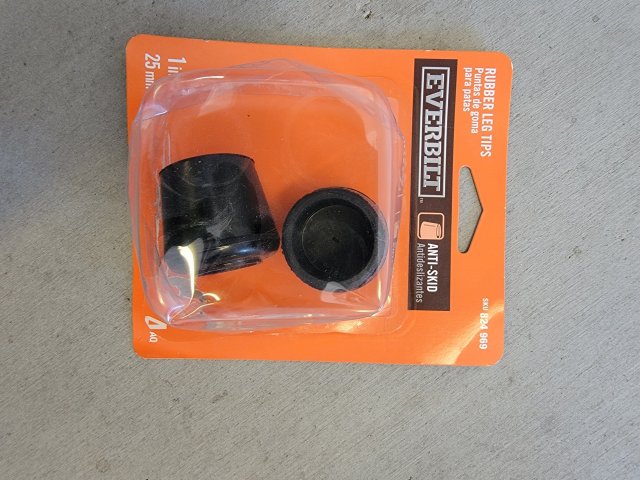
Took the symposer out along with its tubing. Capped the other end with a 1" rubber capping for a chair, which was a leftover from capping the airbox muffler delete on the Mustang.
20210902_135244.jpg 20210902_140334.jpg 20210902_140429.jpg

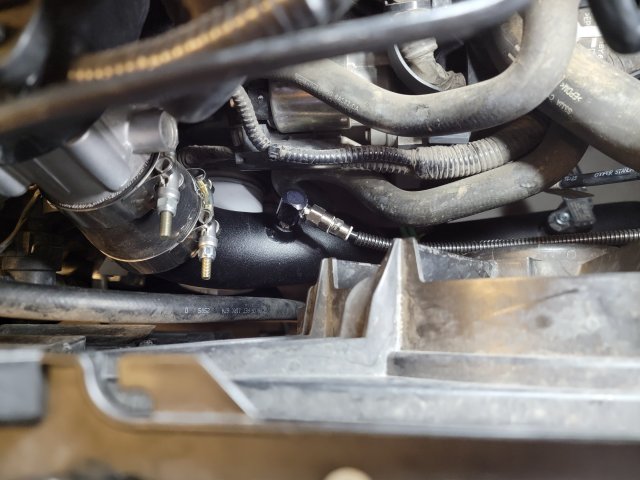
Cold-side pipe installed with a nozzle:
20210925_182243.jpg


SteveS

1000 Post Club
Messages
1,417
Likes
1,684
Location
Osage Beach, MO, USA
#7
I won't do the downpipe swap until I do the turbo upgrade so I don't have to worry about any broken bolts. I felt improvements on other turbo I-4's and V-6s with the downpipe upgrades even with the stock turbo, mainly in turns of turbo lag reduction. Is it not the same with Fiestas?
No, the whole exhaust cannot be improved upon for power with the stock turbo. Sound can be made louder but that's it. Once you change the turbo to a bigger one then you can see gains with different exhaust. Ford Performance did a good job with the design of the stock exhaust.


OP
Bull Run

Bull Run

Member
U.S. Army Veteran
Messages
246
Likes
404
Location
Chandler, AZ, USA
Thread Starter #8
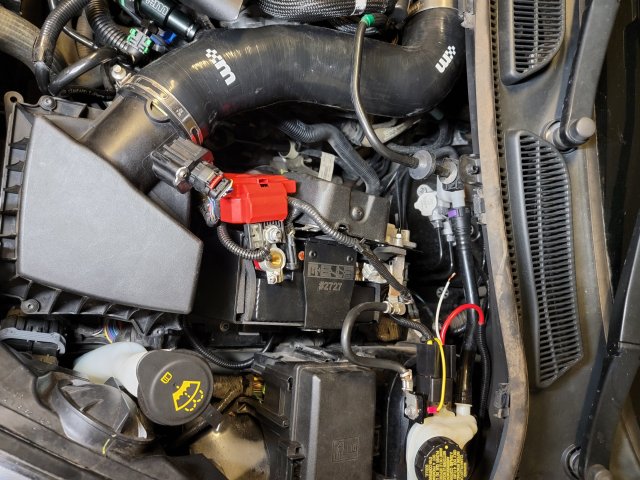
Muntune had a summer sale so I picked up their induction hose. They have a 16+ specific one so I didn't have to mess around with an adapter or worry about triggering a CEL. I also had a LiON laying that weighs only ~5 lbs, so I installed it along with a Mele battery mount to save weight and space. Space savings paid off since I was able to do the shifter bracket bushing upgrade later without needing to remove the battery box.

20210825_011819.jpg


OP
Bull Run

Bull Run

Member
U.S. Army Veteran
Messages
246
Likes
404
Location
Chandler, AZ, USA
Thread Starter #10
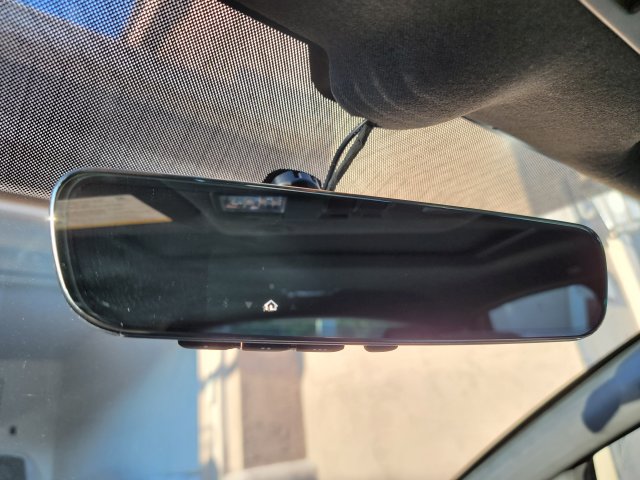
The Mustang has a Homelink garage door opener (located on the sun visor) and auto-dimming rearview mirror that I like, so I installed a Gentex auto-dimming rearview mirror with Homelink (model ADVGENFLCHLN). My wife says it looks like it came from the factory as an option, and even has a display that shows the direction of the garage door travel and works a little farther than the ones in the Mustang and my wife's car.

20210827_065333.jpg

I also installed a hardwired dashcam at the same time, and since I knew that I will be adding more accessories later, I also installed a dedicated fuse box for them like I did with the Mustang.

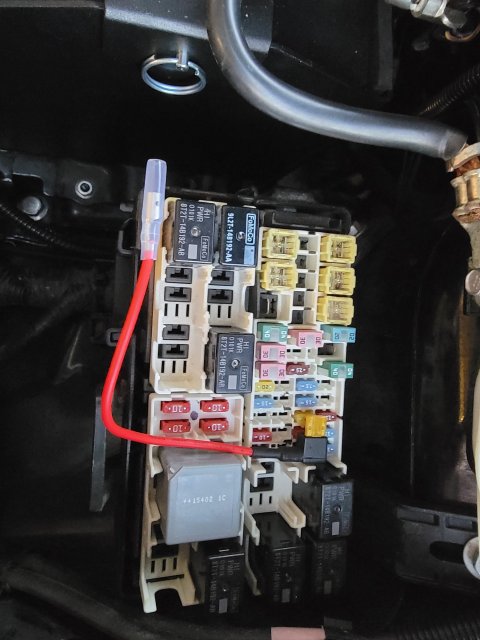
I found an unused fuse slot that provided switched 12V power using a multi-meter and installed an "add-a-fuse" on it. I used it to trigger a relay that connects the 10 AWG wire to the battery going to the fuse box mounted in the cabin. The fuse box also has a centralized point for the ground wires so I ran the ground wire to a nearby ground point.

Engine bay fuse box:
20210826_185912.jpg

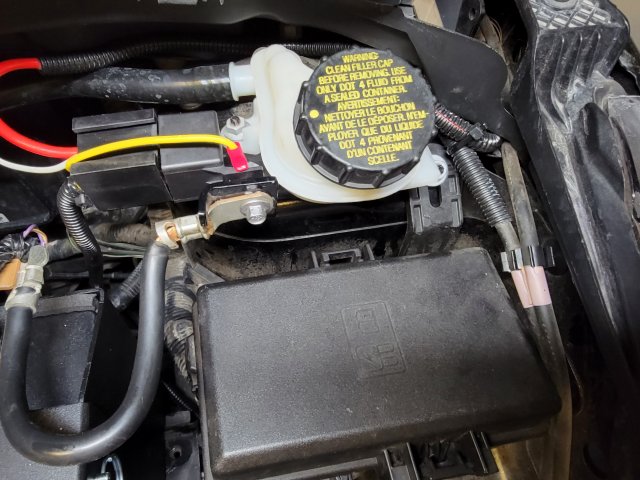
A relay mounted near the battery:
20210825_011845.jpg

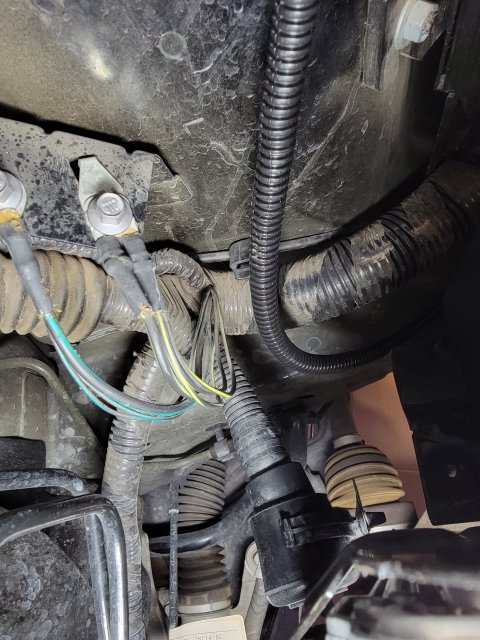
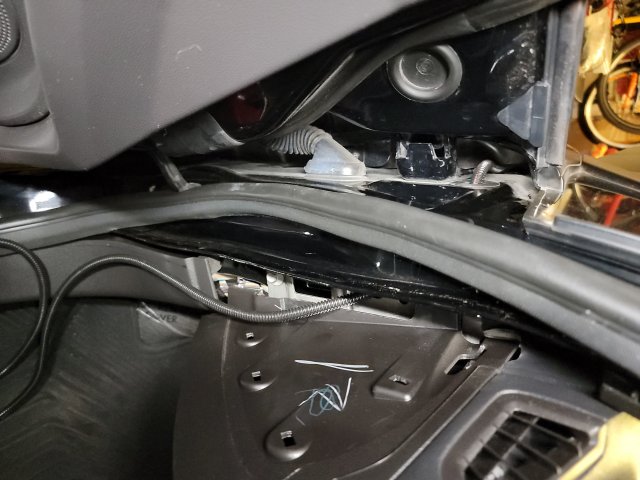
Ran the wire by the driver side fender, similar to how some folks ran the wire for their amp:
20210825_011905.jpg

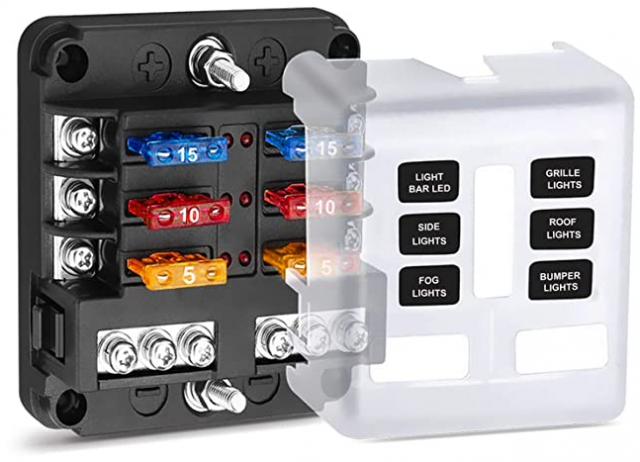
The original plan was to mount it near the driver side kick panel as I did with the Mustang, but that there's a lot less space there (or anywhere else under the dash area) for the Fiesta. Ended up finding a perfect spot behind a panel by the shifter on the passenger side. I can't find the picture of the fuse box install now but below is the one that I installed. It currently has rearview mirror, dash cam, WMI controller, and boost gauge wires on it, leaving room for two more devices:

1635196698933.png

Fuse box: PSEQT Newest Mini 6-Way Blade Fuse Block Box with Negative Bus ATC/ATO & Warning Indicator Waterproof Marine Automotive Standard Circuit Holder Panel for Boat Yacht Auto RV Car Trailer Truck


OP
Bull Run

Bull Run

Member
U.S. Army Veteran
Messages
246
Likes
404
Location
Chandler, AZ, USA
Thread Starter #11
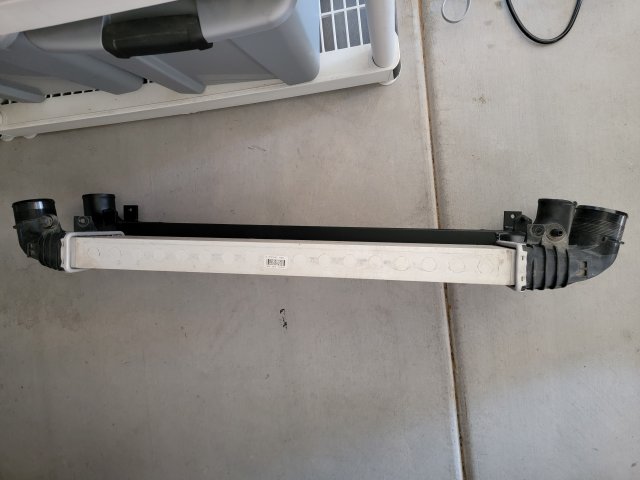
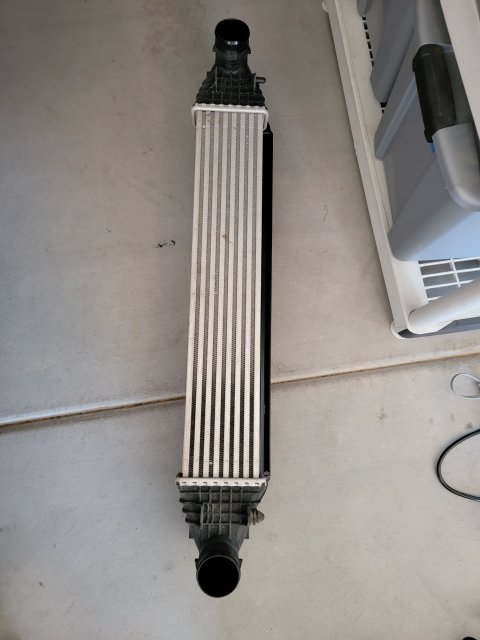
I went with Whoosh v1 as it claimed to be good up to 300 whp, which is good enough for my use case. Below is height and thickness comparison with the stock unit.

20210915_133306.jpg 20210915_133342.jpg

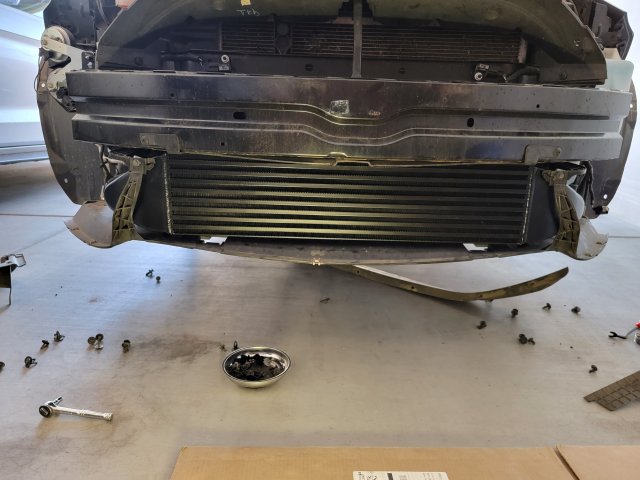
I was hoping that no trimming will be required with it being one of the smaller aftermarket ICs but unlike the Mustang, there wasn't any room to spare. I was able to shove everything in to remount the bumper cover without trimming but I didn't like how it bulged out, so I ended to taking the cover off again and trimming.
20210915_142952.jpg


OP
Bull Run

Bull Run

Member
U.S. Army Veteran
Messages
246
Likes
404
Location
Chandler, AZ, USA
Thread Starter #12
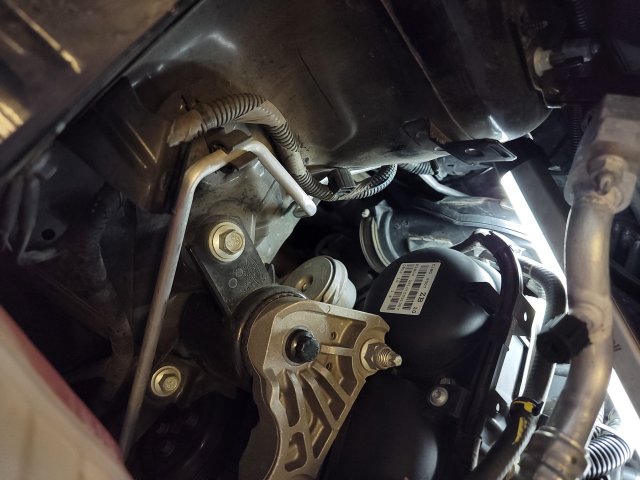
I was originally going to wait until the turbo upgrade to upgrade the crossover pipe, but I found a used one at a good price.

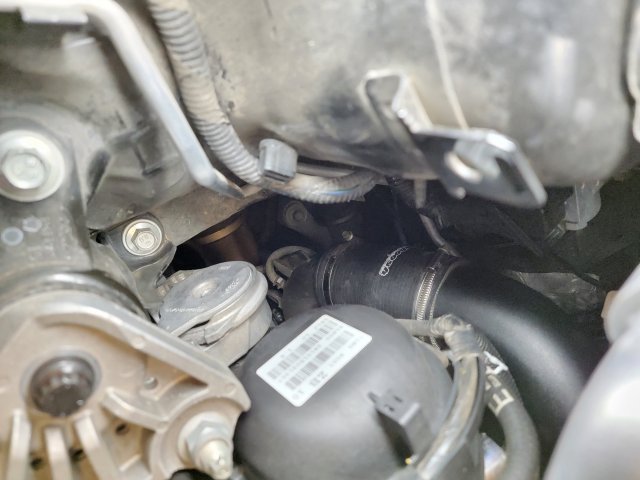
When I took the coolant reservoir off earlier for the passenger side MM bolt upgrade, I noticed that removing it also provided an easy access to the crossover pipe clamp. So rather can taking the cowl off, I just unscrewed the clamp (which was loose BTW), wiggled the pipe off, and snaked it through the other side.

20210925_170131.jpg

After the swap:
20210925_171953.jpg


OP
Bull Run

Bull Run

Member
U.S. Army Veteran
Messages
246
Likes
404
Location
Chandler, AZ, USA
Thread Starter #13
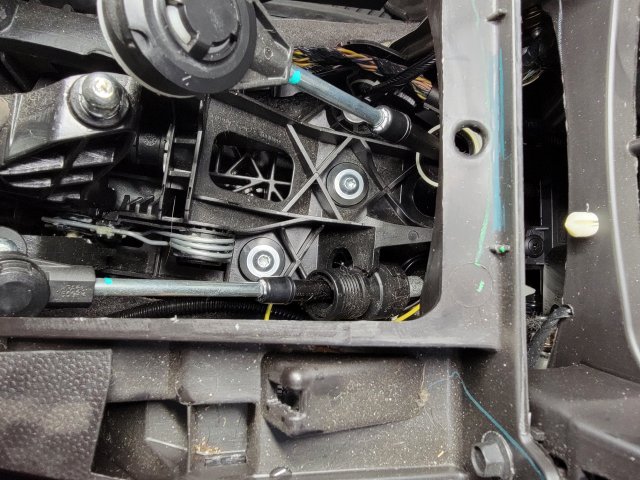
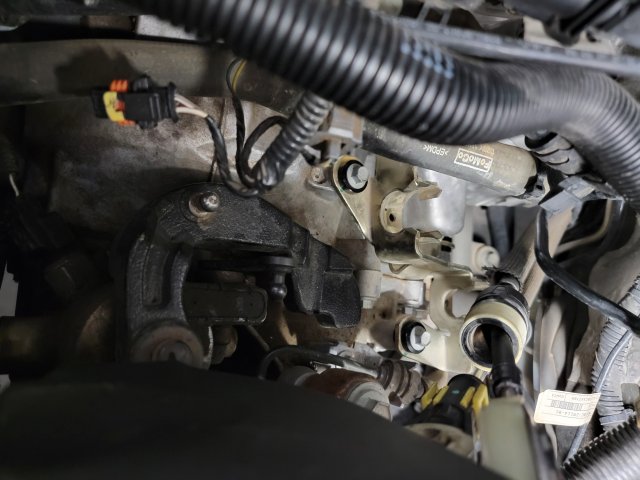
I thought the stock Fiesta shifter was pretty decent as is other than a little long throw. I installed the Whoosh short shifter along with the base and bracket bushings and the difference was incredible for such a simple mod. The shifter feels noticeably tighter now with short and crisp shifts.
20210901_160847.jpg 20210901_165233.jpg

I was able to do the base bushing swap without having to take the console off. Taking the shifter cables off provided ample wiggle room to slide in the new bushings.
20210901_175010.jpg


Attachments

OP
Bull Run

Bull Run

Member
U.S. Army Veteran
Messages
246
Likes
404
Location
Chandler, AZ, USA
Thread Starter #14
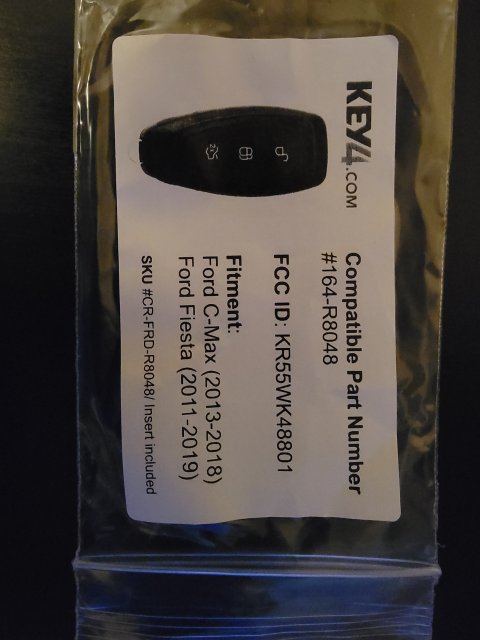
The car came with only one fob and since I know Forscan can be used to program fobs even if you only have one in your possession, I decided to roll the dice and try an aftermarket fob for $25.

replacement_key_fob.jpg

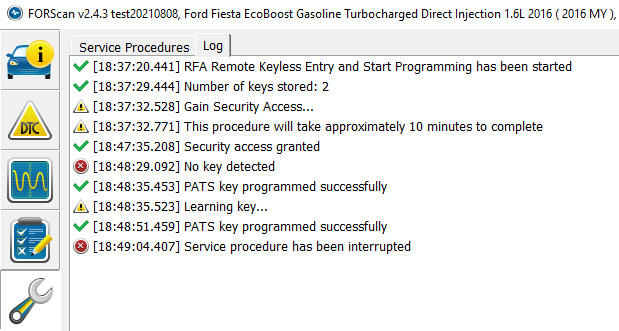
Programming via Forscan worked and it now shows three keys stored (it can store up to four keys). Now I just have to find someone that can copy the metal key portion. Tried Home Depot and they can't copy car keys.

key_program.PNG

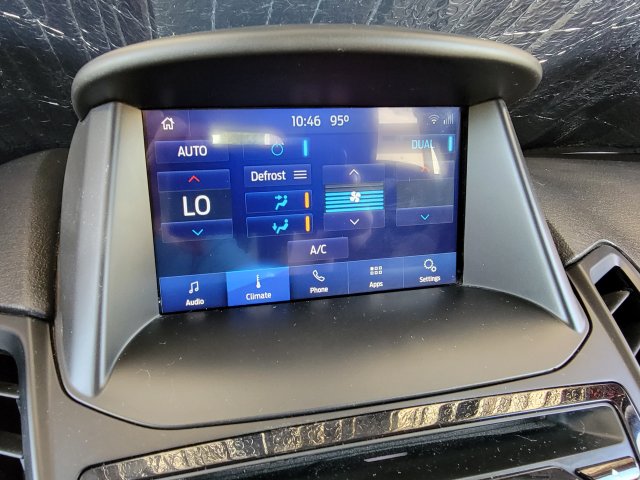
While messing with Forscan, I went ahead and updated a value to enable the Climate display:
20210906_104640.jpg


Last edited:
OP
Bull Run

Bull Run

Member
U.S. Army Veteran
Messages
246
Likes
404
Location
Chandler, AZ, USA
Thread Starter #15
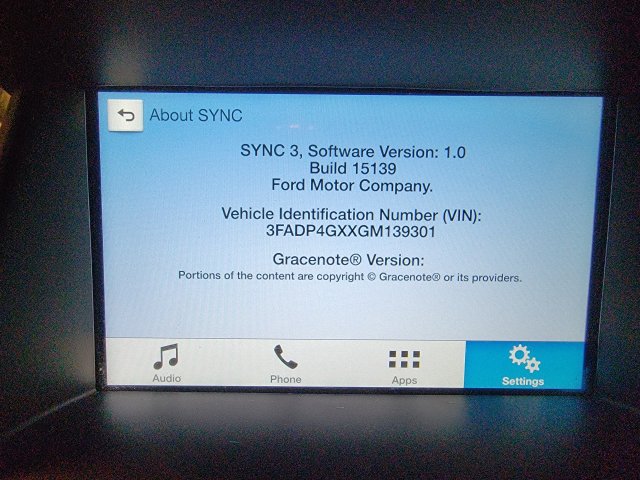
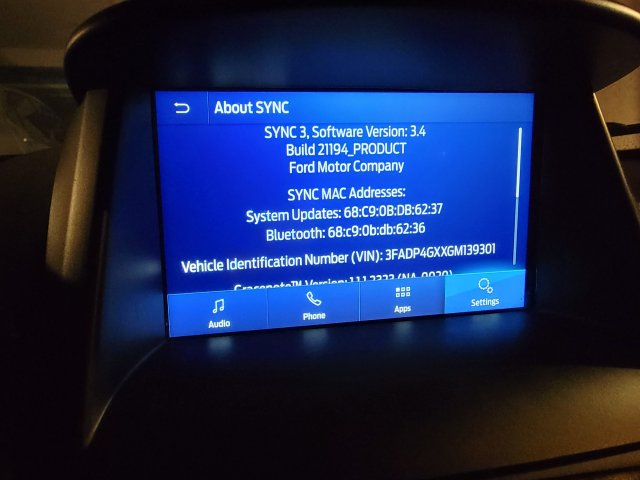
The car came with SYNC 3 software version 1.0. It didn't support Android Play so I tried upgrading to version 3.0 via the official method by downloading the software from the Ford site. Theupgrade didn't after repeated tries, so I just went with an unoffical 3.4 upgrade via CyanLabs and it upgraded on the first try.

20210815_190622.jpg 20210815_205500.jpg

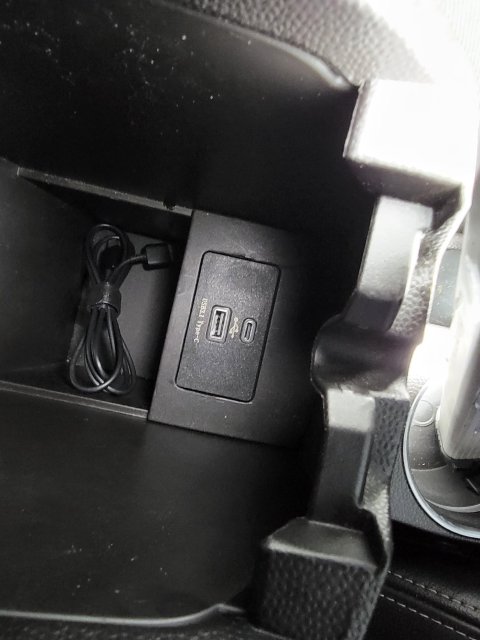
After the upgrade, I was getting an annoying "USB hub incompatible" warnings during the starts. While the hub worked without issues, turns out that offically, version 3.4 isn't compatible with the old hub. I went ahead with the hub upgrade to get a USB-C port in addition to getting rid of the annoying warning messages:
20210902_155223.jpg

USB hub: Dual USB Interface Module Replacement USB & Type-C fits for Ford Lincoln Apple Carplay Supports SYNC 3.3 3.4 Version HC3Z-19A387-B HC3T-14F014-A SYNC 3 USB Media Hub USB Interface Hub


CarGuy

1000 Post Club
Messages
1,057
Likes
661
Location
Daytona Beach, FL, USA
#16
That's what I did except I upgraded my 2014 from Sync2 MyFordTouch to Sync 3 but every upgrade I've done has been the unofficial version from that same website/app on my computer. They also have upgraded NAV maps but I haven't been able to get that to work as easily as the Sync upgrades. And yes, I did the hub/wiring harness adapter too but I can go back to stock if I ever sell it.

Sent from my SM-N960U using Tapatalk


Jabbit

2000 Post Club
Messages
2,244
Likes
2,902
Location
New England
#17
Programming via Forscan worked and it now shows three keys stored (it can store up to four keys). Now I just have to find someone that can copy the metal key portion. Tried Home Depot and they can't copy car keys.
Do you have more info specifically in how you did this? What guide did you follow?


CarGuy

1000 Post Club
Messages
1,057
Likes
661
Location
Daytona Beach, FL, USA
#18
The car came with only one fob and since I know Forscan can be used to program fobs even if you only have one in your possession, I decided to roll the dice and try an aftermarket fob for $25.

View attachment 44423

Programming via Forscan worked and it now shows three keys stored (it can store up to four keys). Now I just have to find someone that can copy the metal key portion. Tried Home Depot and they can't copy car keys.

View attachment 44424

While messing with Forscan, I went ahead and updated a value to enable the Climate display:
View attachment 44430
I programmed a third key too and had a local locksmith cut me the metal key to match my set. I bought the 3rd remote from eBay. Programming wasn't difficult via ForScan. Just poke around under PATS programming and it tells you what to do. I had to do it a few times before it worked.

Sent from my SM-N960U using Tapatalk


OP
Bull Run

Bull Run

Member
U.S. Army Veteran
Messages
246
Likes
404
Location
Chandler, AZ, USA
Thread Starter #19
Do you have more info specifically in how you did this? What guide did you follow?
I pretty much did what CarGuy mentioned above. The hardest part was holding the new fob just right on the steering column.


OP
Bull Run

Bull Run

Member
U.S. Army Veteran
Messages
246
Likes
404
Location
Chandler, AZ, USA
Thread Starter #20
I'm currently running E85 on the EB Mustang. I upgraded the injectors and HPFP so fueling isn't an issue at the stock block limit. I played around with WMI on that set up (had WMI on it before going E85) but couldn't feel any noticeable difference, so I transferred the hardware to the Fiesta. I no longer have a convenient source of E85, so I plan to stick with pump gas and WMI with the Fiesta.

I used the Whoosh boost tap and ran the hose inside to a T-fitting for the WMI controller and a boost gauge sensor.


I temporarily mounted the controller on the steering column with double-sided tape for now so I can monitor when and how much it injects. Both it and the boost gauge shows similar boost readings, and at WOT, I see the boost going up close to 24 PSI. It's currently set to start at 6 PSI and max at 20 PSI.


It didn't look like it was injecting initially (it worked fine on a bench with an air compressor used to simulate boost). After many hours of troubleshooting, I took a look at the cold side pipe and found that the hole wasn't drilled at the bung. Took the pipe out and spent a few minutes drilling and resolved the issue.


This is how it looks with the nozzle, check valve and hose installed.


Here's the current location of the pump. I don't use the fog lights so I ended up removing the driver side one and trimming some of the corner off (the side without the screw hole so the fog light can be remounted later). I'll have to trim most of the fog light mount if I want to pump lower so I'll consider other mount locations later. One option may be to go with a ST200 style airbox and mounting below it.

My employer extended the remote work mandate due to COVID, so I haven't been driving much. I went to the store the other day and did a few 25-50 MPH runs at WOT, and things looked good so far. My plan is to try 100% water once I use up most of the 50/50 mixture and see if it and a small nozzle are enough to run a 93 OCT OTS tune using 91 OCT gas before upgrading the turbo and going with a pro-tune down the road.


Top