• Sign Up! To view all forums and unlock additional cool features

    Welcome to the #1 Fiesta ST Forum and Fiesta ST community dedicated to Fiesta ST owners and enthusiasts. Register for an account, it's free and it's easy, so don't hesitate to join the Fiesta ST Forum today!


Turpid Porpoise's Track Toy Build

Messages
95
Likes
137
Location
Lovettsville, VA, USA
#1
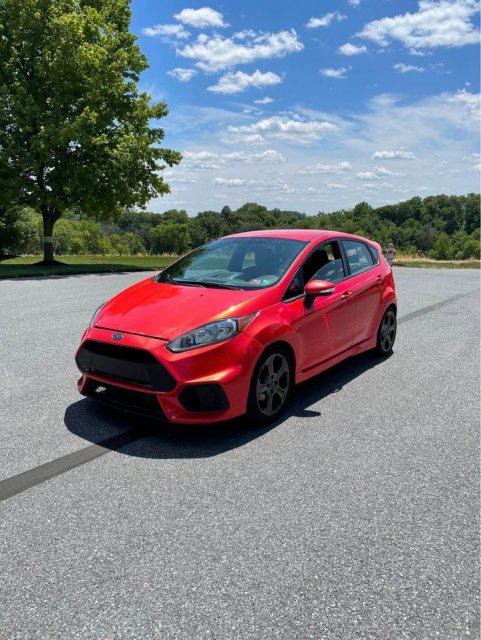
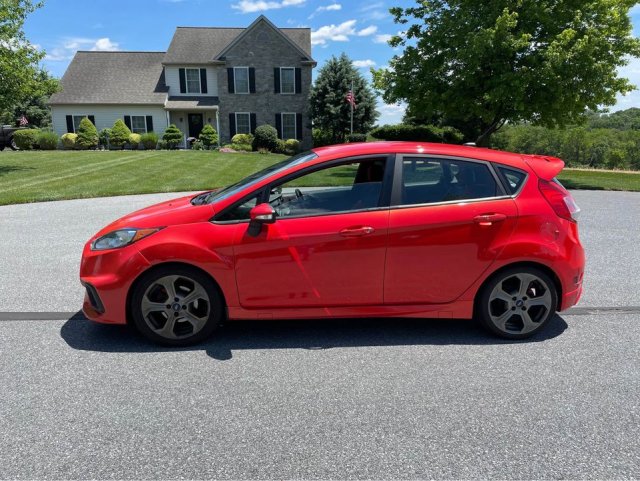
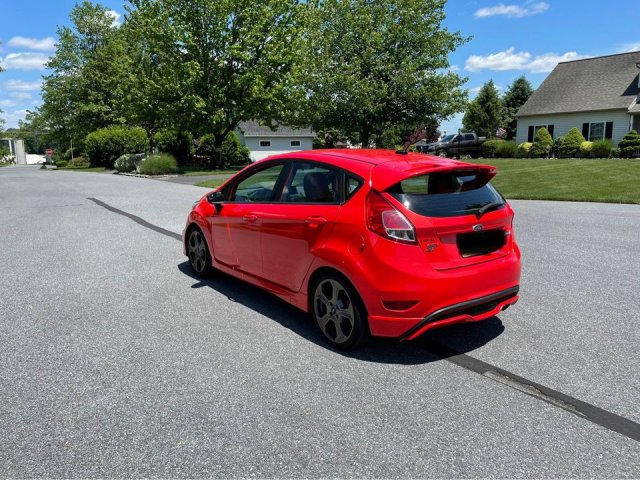
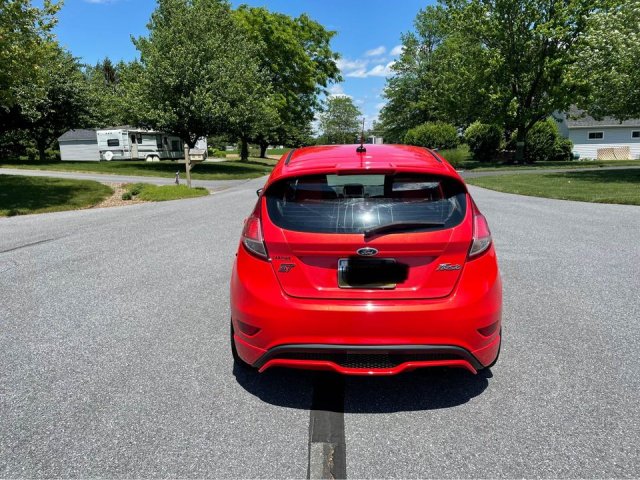
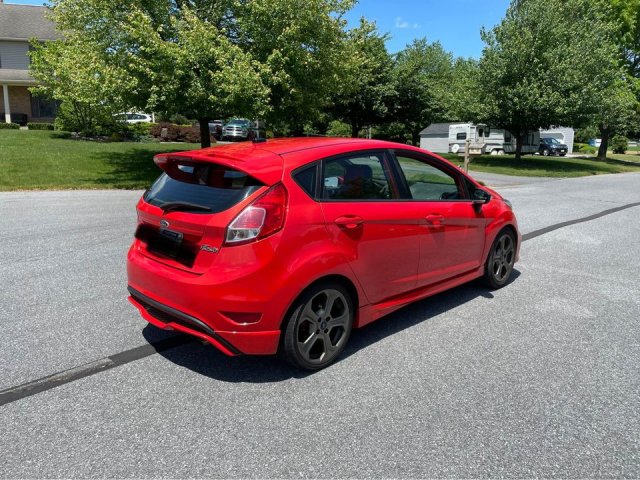
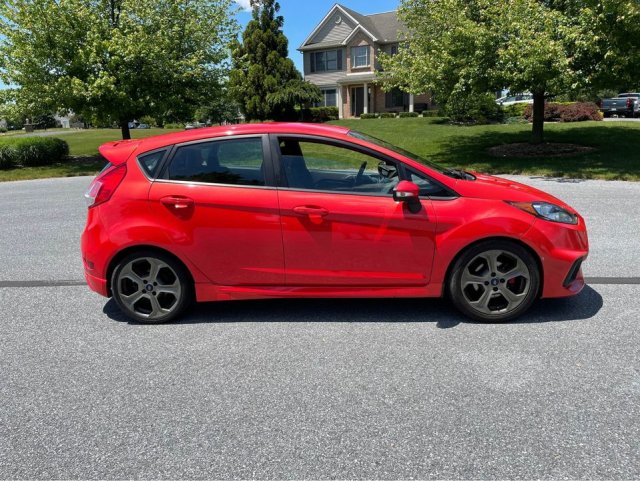
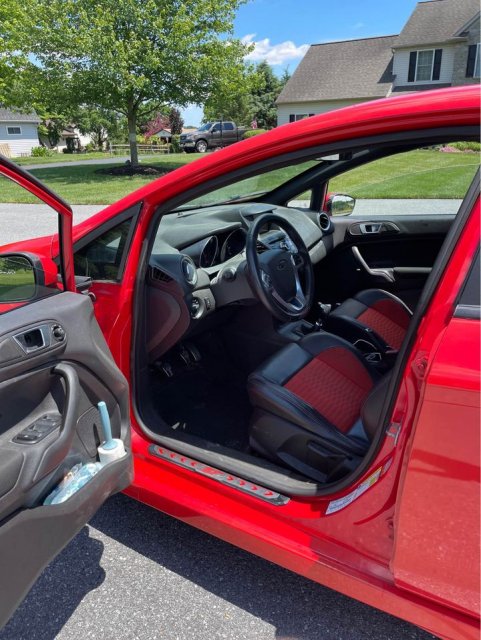
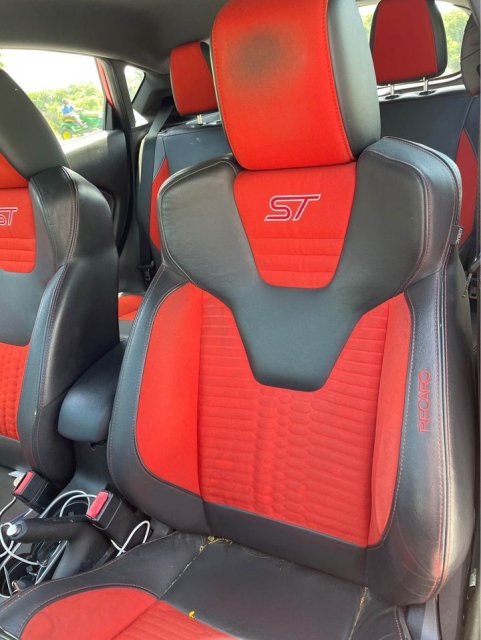
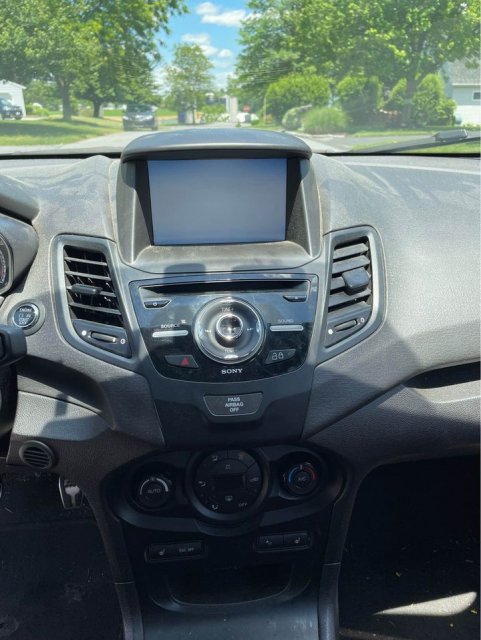
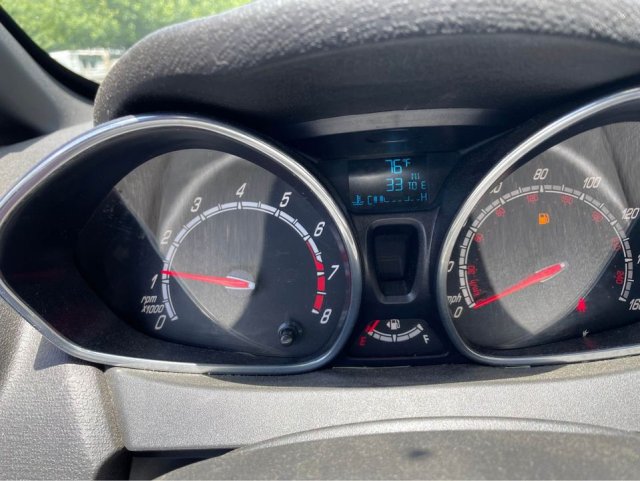
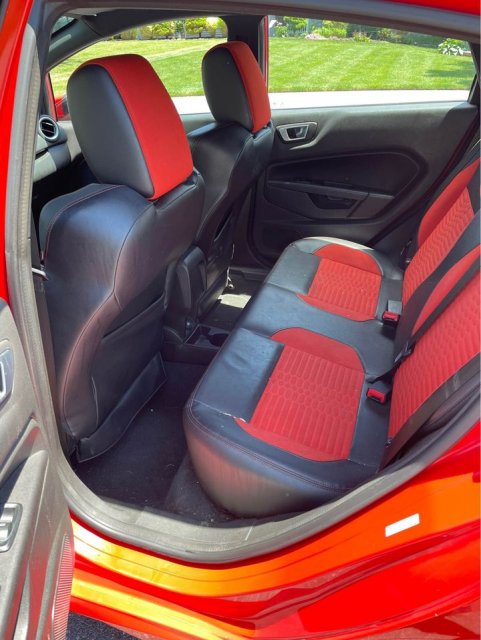
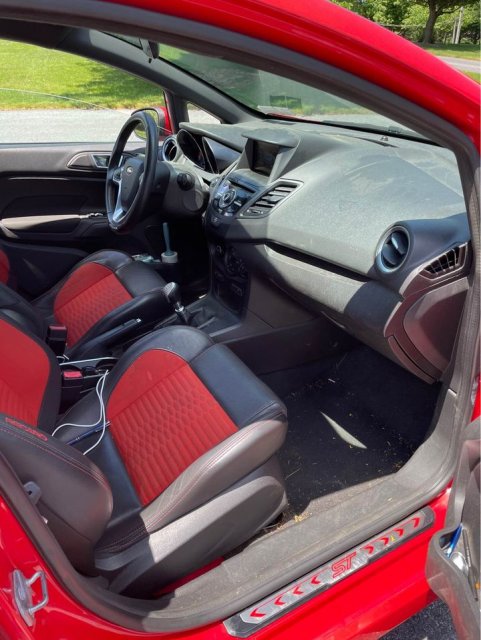
I did the new member intro and now it's time to move on to some progress. I bought this car as an R-title as it was in a front end collision and the previous, previous owner did a poor job of repairing it but I paid $6000 and figured I can get it into track shape pretty easily.

She's got 95,000 miles on it with a Spec Stage 3 clutch and some cheap looking intake installed. The RS bumper is some fiberglass trash that isn't even mounted at the top, bottom or inner fender locations; the only thing holding it on are the 3 bolts on each side under the headlights.

Attached are the pics from the for sale ad and below is the list of parts I have already ordered(some of which I've received).

Engine/Transmission
  • ATP GT2560 Turbo Kit
  • Cobb Intake
  • Cobb Intercooler Kit
  • Cobb Rear Motor Mount
  • MAPerformance Catted Downpipe
  • MBRP 3" SS304 Catback
  • Mishimoto Expansion Tank(
  • Mountune Radiator
  • Spec Stage 3 Clutch
  • Tial Blow Off Valve
  • Tial MVi 2.5 Wastegate Actuator(16psi)
  • Whoosh Hybrid Turbo
  • Whoosh V1 Catless Downpipe
Suspension/Brakes
  • ISC Suspension N1 Coilovers with "Track" springs
  • Pierce Motorsport Trunk Brace
  • Pierce Motorsport Traction Brace
  • DNA Rear Axle Stiffening Bar
  • DNA Rear Camber Plates
  • TB Performance Crash Bar with Tow Strap
  • TB Performance Subframe to Chassis Brace
  • Stoptech Slotted Rotors
  • Stoptech Stainless Braided Brake Lines
  • EBC Yellow Brake Pads
Wheels/Tires/Exterior
  • 205/40/17 Falken RT615K(Street Set)
  • Team Dynamics Pro 1.2 15x8(Track Set)
  • 1.jpg 2.jpg 3.jpg 4.jpg 5.jpg 6.jpg 7.jpg 8.jpg 9.jpg 10.jpg 11.jpg 12.jpg


Last edited:
OP
T
Messages
95
Likes
137
Location
Lovettsville, VA, USA
Thread Starter #2
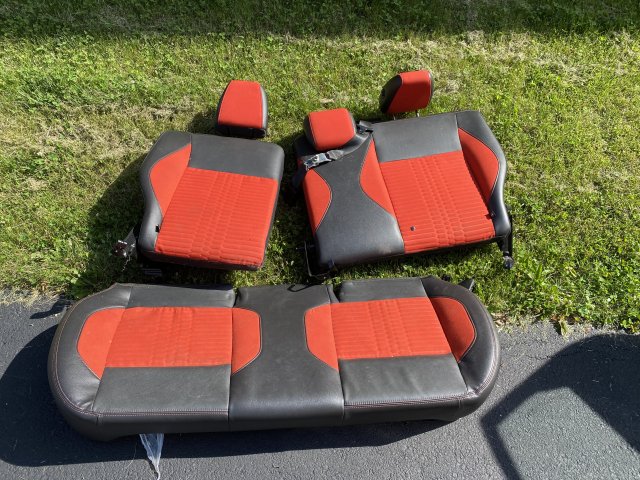
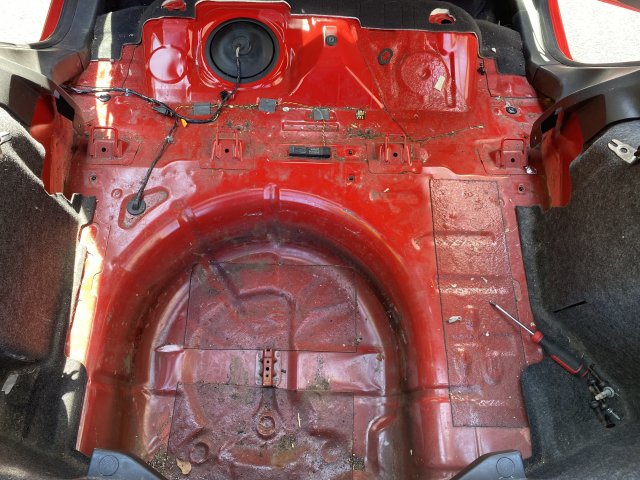
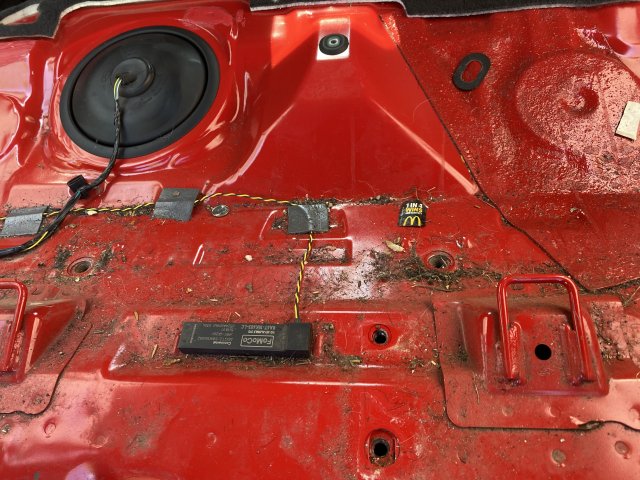
First step was shedding some unnecessary weight from this fiery little thing so the rear seats and trunk materials were immediately pulled. It was pretty nasty under there but I have since vacuumed and cleaned it out with a spray on cleaner wax. Still want to remove the seat belt reels and the inner hatch plastics but that will come on another day. IMG_7700.jpg IMG_7701.jpg IMG_7702.jpg


Last edited:
OP
T
Messages
95
Likes
137
Location
Lovettsville, VA, USA
Thread Starter #3
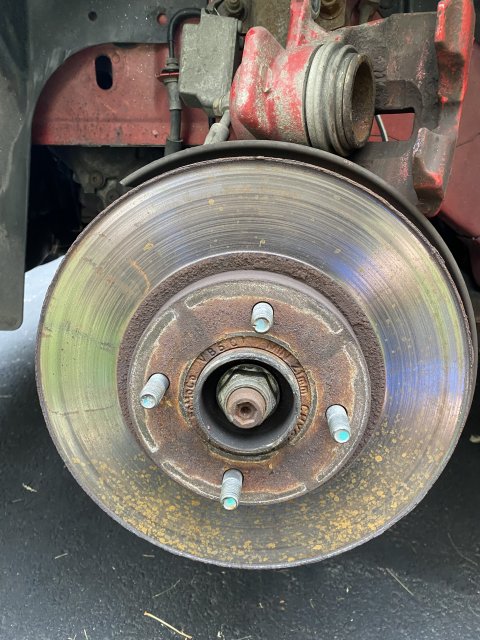
Pads, rotors and lines arrived today so I went ahead and threw the pads/rotors on there. It started raining halfway through I figured I’d hold off on the lines until the coils arrive and install/bleed everything then.

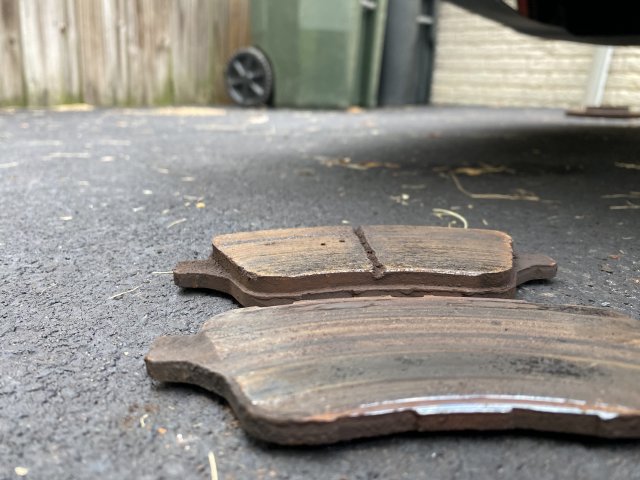
Drivers side brake was making a tom of noise and it turns out the inner pad was beyond gone and was dragging on the rotor. Forgot take pics of the new brakes installed while running inside to escape the rain but that will happen ASAP. A07EC7C7-D3CC-4AC6-9630-1AFFA6ED557F.jpeg 4FB07500-6C8B-40B6-88F7-1A9079439EBC.jpeg


Last edited:
Messages
229
Likes
46
Location
Brunswick
#8
I did the new member intro and now it's time to move on to some progress. I bought this car as an R-title as it was in a front end collision and the previous owner did a poor job of repairing it but I paid $6000 and figured I can get it into track shape pretty easily.

She's got 95,000 miles on it with a Spec Stage 3 clutch and some cheap looking intake installed. The RS bumper is some fiberglass trash that isn't even mounted at the top, bottom or inner fender locations; the only thing holding it on are the 3 bolts on each side under the headlights.

Attached are the pics from the for sale ad and below is the list of parts I have already ordered(some of which I've received).

  1. Cobb Stage 2 Package with Stratified Custom Tune
  2. ISC Suspension N1 Coilovers with "Track" springs
  3. Stoptech Slotted Rotors
  4. Stoptech Stainless Braided Brake Linese
  5. EBC Yellow Brake Pads
  6. Mountune Radiator
  7. 205/40/17 Falken RT615K
  8. CAPA OEM replacement front bumper
  9. Whoosh Catless Downpipe
  10. Pierce Motorsport Trunk Brace
  11. Pierce Motorsport Traction Brace
  12. TB Performance Crash Bar with Tow Strap
where did you get that bumper?


OP
T
Messages
95
Likes
137
Location
Lovettsville, VA, USA
Thread Starter #9
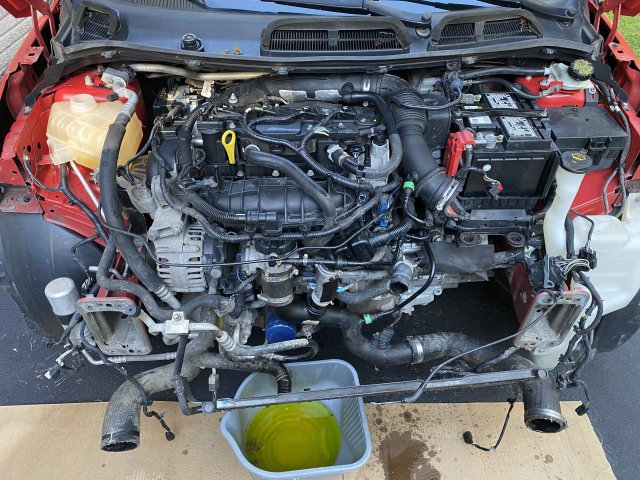
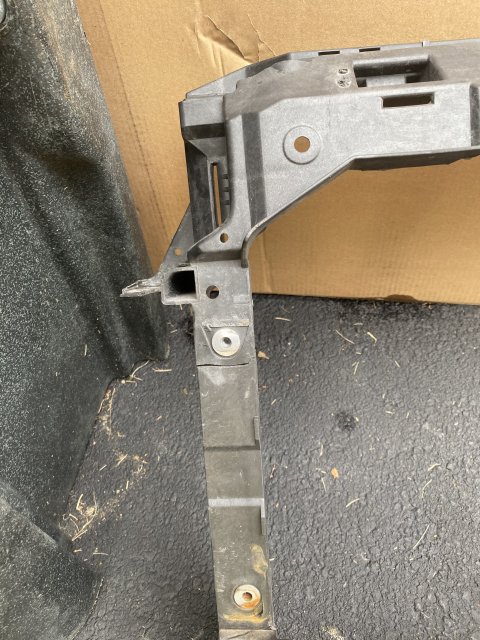
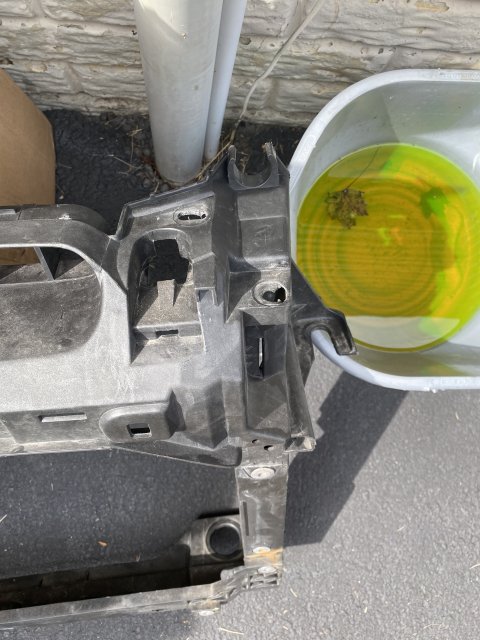
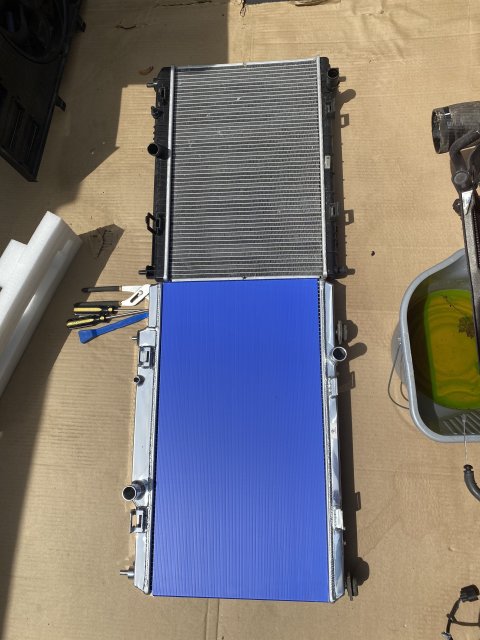
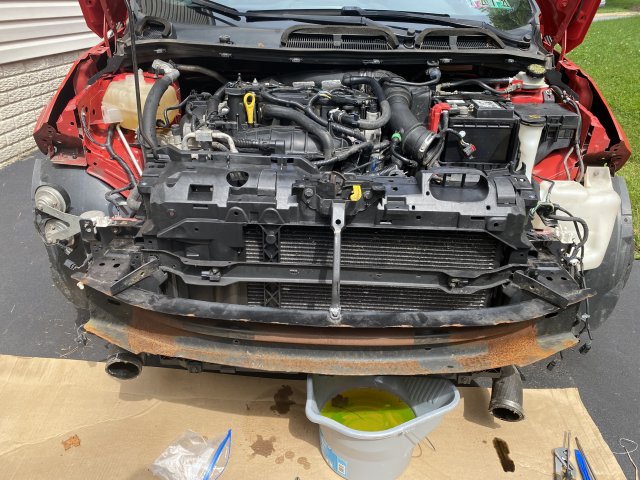
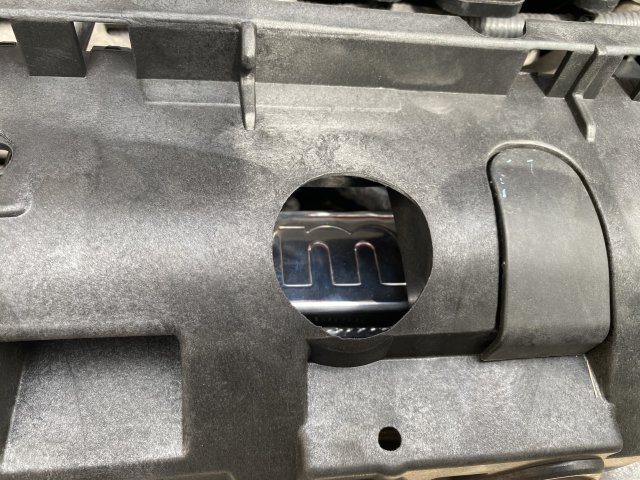
Spent some time after work getting the old, broken radiator support off, removing the OEM radiator, installing the Mountune radiator and putting it all back together. I love how easy it is to take this car apart, will make my track days that much easier.

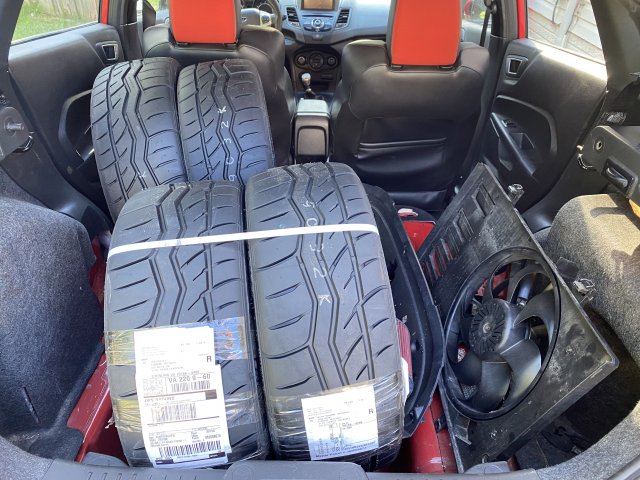
I also got my fresh tires and tossed them in the back for when its ready to drive again.

Tomorrow morning I’ll be installing the cobb rmm, whoosh downpipe, cobb intake and cobb intercooler, filling it with fresh oil and coolant and then firing it up again. If I have time I’ll throw the new bumper on and take it for a spin. I’m still waiting on the front bumper seal, coilovers, pierce bars and tb crash bar so those will have to be addressed whenever they arrive. 0C045A4D-D5CD-49B7-9AA6-1121C1C307C1.jpeg 3B741FF7-B761-408E-9964-7FFCC87C4B52.jpeg 4148888A-95F7-45DD-A425-6CB35528EA18.jpeg BC8ECD84-5048-48D9-8725-0CB9CFDEE81C.jpeg 35D4705F-75D3-4BD3-B528-D5BCAE66C77A.jpeg 8FF1B810-6089-4B11-B23D-551FB26E10DD.jpeg 64728930-7690-405D-A641-D668B21B8D43.jpeg


Last edited:
OP
T
Messages
95
Likes
137
Location
Lovettsville, VA, USA
Thread Starter #11
Well, got through removal of the intake, intercooler and downpipe but two of the downpipe bolts broke off in the turbine housing despite soaking them in PB blaster for 2 days so I pulled the trigger and ordered a Whoosh Hybrid turbo. I figure if I'm taking the turbo out to extract the broken bolts I may as well replace it while it's out.


OP
T
Messages
95
Likes
137
Location
Lovettsville, VA, USA
Thread Starter #12
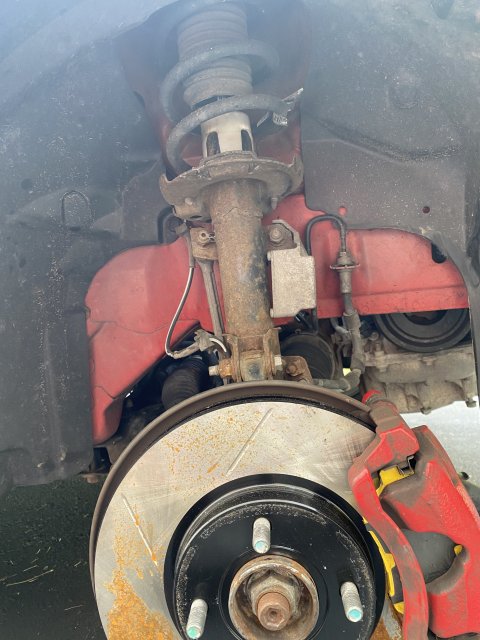
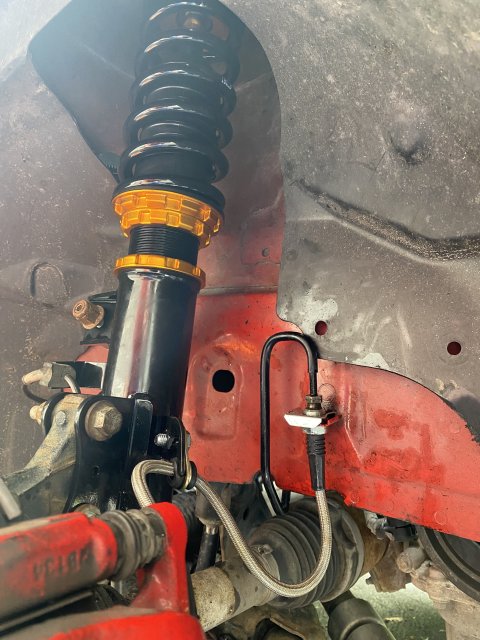
Make some progress this weekend. ISC coils went on pretty easily but I did have one of the endlink hexes round out before the nut came off so I have a set of whitelines on the way. The DNA rear camber plates went on really easily and I left the dust shields off in hopes that I wont have any ABS issues. Forgot to take pictures of the rears but if you’ve seen one of these you’ve seen them all. D8FBDA7C-583E-4F62-B795-A41DC189C85B.jpeg 15C3249F-FB19-412A-8329-5414B730D85A.jpeg


Last edited:

Jabbit

2000 Post Club
Messages
2,244
Likes
2,902
Location
New England
#13
Make some progress this weekend. ISC coils went on pretty easily but I did have one of the endlink hexes round out before the nut came off so I have a set of whitelines on the way. The DNA rear camber plates went on really easily and I left the dust shields off in hopes that I wont have any ABS issues. Forgot to take pictures of the rears but if you’ve seen one of these you’ve seen them all.
Can you take a picture of how you installed the rear spring? I can't figure mine out, I have the same coilovers. Thanks!


OP
T
Messages
95
Likes
137
Location
Lovettsville, VA, USA
Thread Starter #14
Can you take a picture of how you installed the rear spring? I can't figure mine out, I have the same coilovers. Thanks!
I’ve got the torsion beam brace on the way so I’ll snap some pics while I have the rear in the air again. I will say that mine look a bit odd as well.

The spring mounts only seem to fit on the bottom with the circular plate and bolt under the torsion beam holding the spring mount in place. The springs dont want to sit flat on the adjusters but I put the low point of the spring on the forward most part of the mount if that makes sense. After that I just used a jack to preload the spring 5mm and unthreaded the shock until it lined up with the lower mount.


Jabbit

2000 Post Club
Messages
2,244
Likes
2,902
Location
New England
#15
I’ve got the torsion beam brace on the way so I’ll snap some pics while I have the rear in the air again. I will say that mine look a bit odd as well.

The spring mounts only seem to fit on the bottom with the circular plate and bolt under the torsion beam holding the spring mount in place. The springs dont want to sit flat on the adjusters but I put the low point of the spring on the forward most part of the mount if that makes sense. After that I just used a jack to preload the spring 5mm and unthreaded the shock until it lined up with the lower mount.
Thanks for the write up. That's what I was going to try. So you used the plate/bolt on the underside and bolted it through into the perch? Did you use the plastic lower spring mount? I actually live pretty close to ISC so I was going to see if I could drop by in person and see what they say.


OP
T
Messages
95
Likes
137
Location
Lovettsville, VA, USA
Thread Starter #16
Thanks for the write up. That's what I was going to try. So you used the plate/bolt on the underside and bolted it through into the perch? Did you use the plastic lower spring mount? I actually live pretty close to ISC so I was going to see if I could drop by in person and see what they say.
I did not use the plastic lower mount, I didn't see how it would fit since it has a domed cap rather than an open hole that could slip over the spring adjuster.

Yes, I mounted the plate/bolt on the underside of the perch and used blue loctite before torquing to a reasonable spec for a steel bolt into aluminum threads.


Jabbit

2000 Post Club
Messages
2,244
Likes
2,902
Location
New England
#17
I did not use the plastic lower mount, I didn't see how it would fit since it has a domed cap rather than an open hole that could slip over the spring adjuster.

Yes, I mounted the plate/bolt on the underside of the perch and used blue loctite before torquing to a reasonable spec for a steel bolt into aluminum threads.
Have you driven it? Any issues with noise? I was about to mount it that way but thought it was a lot of metal on metal.

So from the bottom on up - metal disk with bolt, car perch, ISC spring perch, ISC plastic spacer thing, ISC coil, top coil mount?


OP
T
Messages
95
Likes
137
Location
Lovettsville, VA, USA
Thread Starter #18
Still waiting on my hybrid turbo so I haven't driven on it yet. The lower spring perch shouldn't make any noise since it's fastened securely to it and it should have spring pressure helping to keep it planted as well. I guess only time will tell.

Correct. Disk, perch, ISC perch, plastic spacer, coil, top mount.


Jabbit

2000 Post Club
Messages
2,244
Likes
2,902
Location
New England
#19
Still waiting on my hybrid turbo so I haven't driven on it yet. The lower spring perch shouldn't make any noise since it's fastened securely to it and it should have spring pressure helping to keep it planted as well. I guess only time will tell.

Correct. Disk, perch, ISC perch, plastic spacer, coil, top mount.
Got a reply back from ISC, thought you'd like to see it as well -

" Looks like that washer and bolt will go on the underside of your spring bucket / control arm and will secure the perch to the spring bucket.

To properly set preload, take a look at this video (this is a bmw, but the same principles apply)
View: https://www.youtube.com/watch?v=VarA-f7Vjn4&t=132s
"


OP
T
Messages
95
Likes
137
Location
Lovettsville, VA, USA
Thread Starter #20
Got a reply back from ISC, thought you'd like to see it as well -

" Looks like that washer and bolt will go on the underside of your spring bucket / control arm and will secure the perch to the spring bucket.

To properly set preload, take a look at this video (this is a bmw, but the same principles apply)
View: https://www.youtube.com/watch?v=VarA-f7Vjn4&t=132s
"
Perfect, that's exactly how I set preload. Now to adjust ride height and let it rip.... Once my turbo gets here that is


Top