What's up people!
Disclaimer: Dan (Velossatech) makes fantastic products, he's a great guy and I've supported him to the tune of several hundred clams via his wheel caps, emblems, and big mouth which my car proudly wears. I'm sure his diffuser fins are fantastic; in this case I felt like cooking up my own because I can, so I did. But kudos to him for the idea. Probably only the most patient and meticulous of us would do what I've done here; unless you fit into that category I recommend buying a set of these from Dan and save yourself the hassle. Hear me? Go give Dan some business, Dan is the man!!!
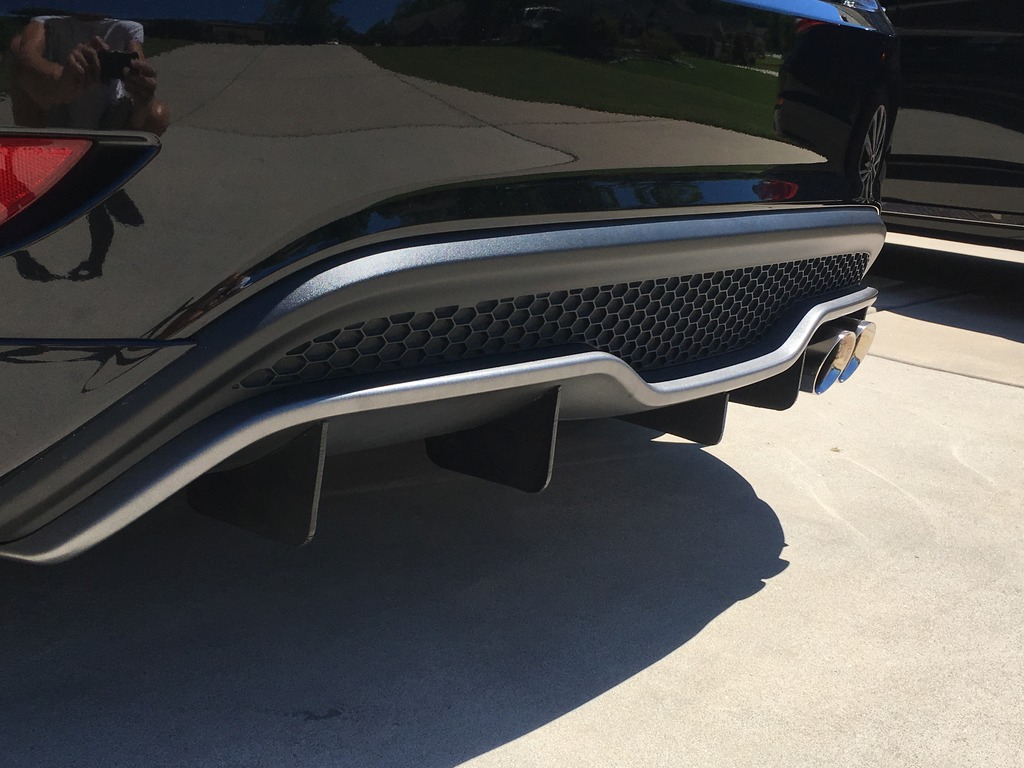
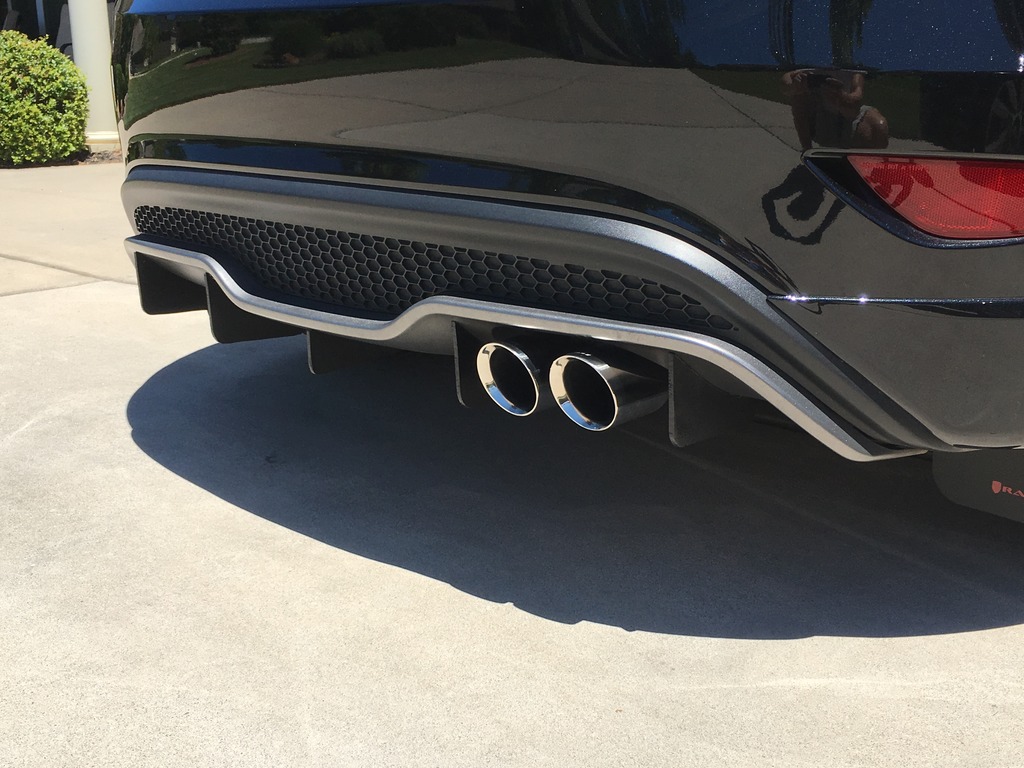
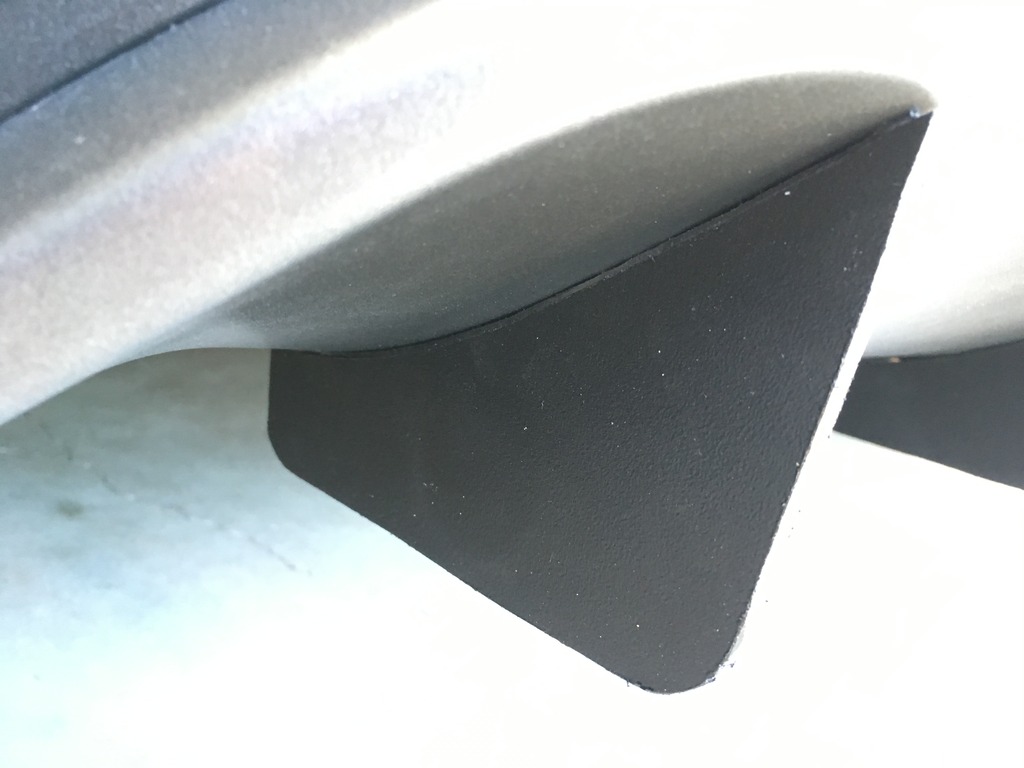
OK having said that, I made my own diffuser fins for the rear of the car. I was thinking of buying some for my next mod, but after my DIY mud flaps which turned out better than I'd hoped, I had a few leftover pieces of flap material laying there on my work table, they just happened to be in the shape of a diffuser fin....one thing led to another, and after about 3 hours of R&D I've come up with something.
I have yet to install these on the car because they are drying, but once I do I'll post pics.
For now, my progress:
1. MAKE A MOLD
This can be done easily with any sort of modeling compound (or play-doh), replicating the angle of the rear lower bumper and then forming a line parallel to the ground for the bottom. For curves I used simple 90 degree curves similar to the ones on my mudflaps, so that was easy. The good news is I only had to make 2 molds, one for the center and a second for the other fins. After testing fitting I might trim the fin to the right of the exhaust tips because for whatever reason it seems to stick out about 1/4" more, but that will happen later. So in reality there might be 3 different forms in the end.
2. MAKE A TEMPLATE
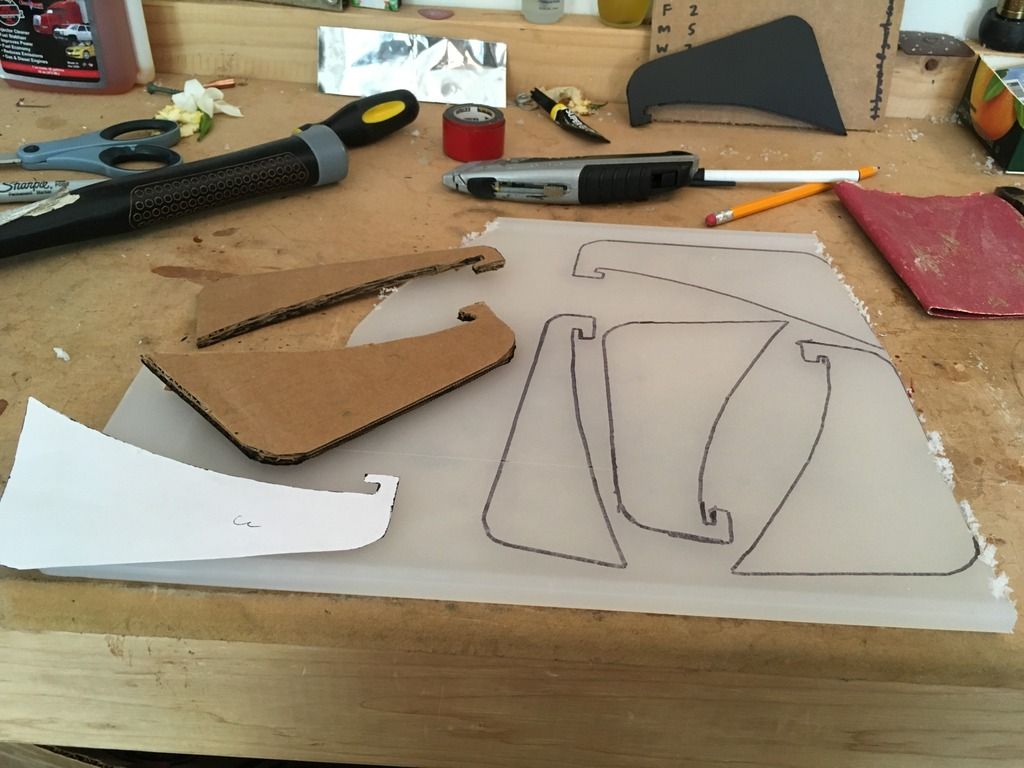
I then transferred all angles to paper, cut out a template, transferred it to thick cardboard, cut out a template, and test fitted it. This took some trial and error as my initial shapes weren't perfect. However after some trimming it's near perfect.
3. MAKE FINS
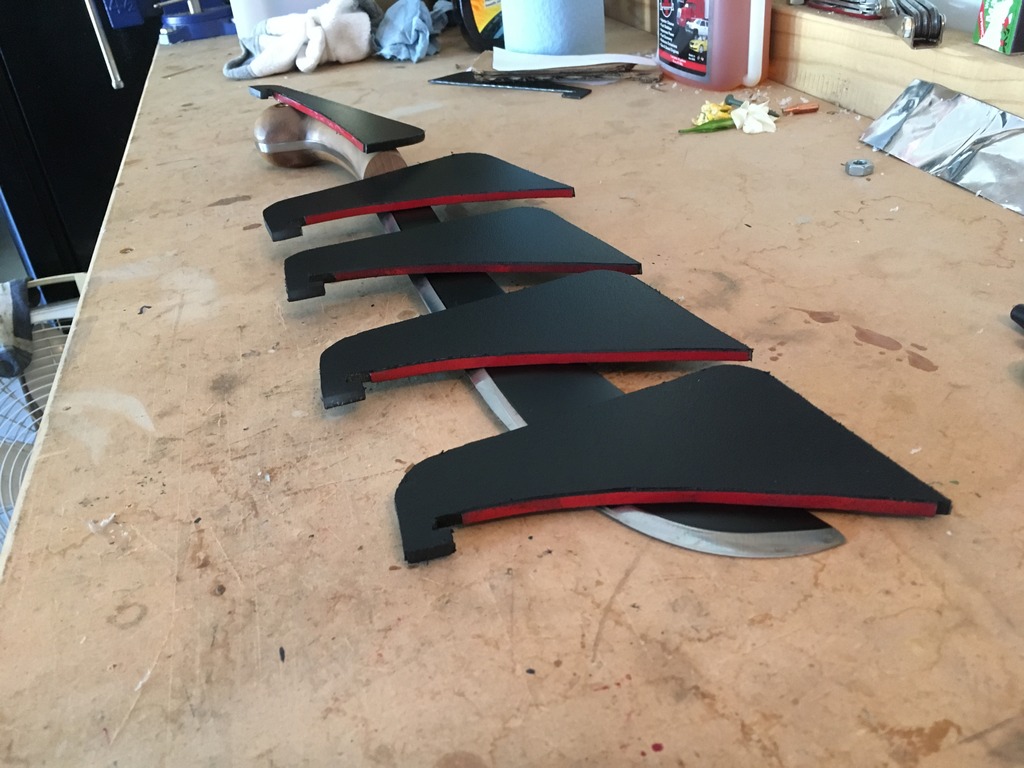
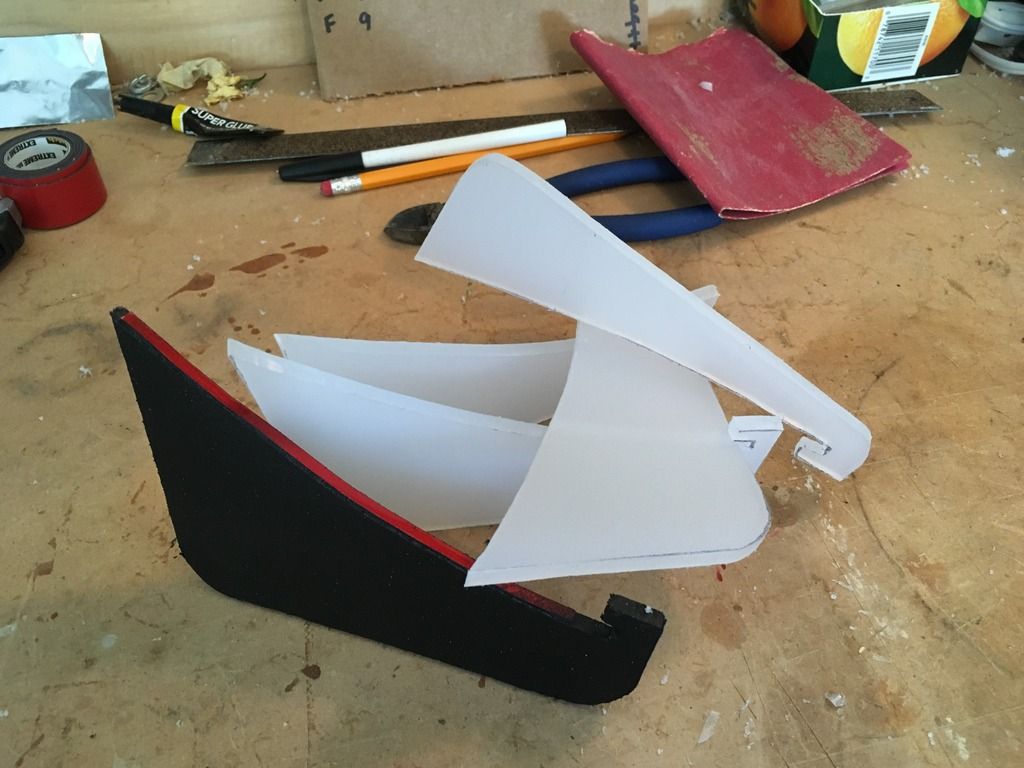
Then I went hunting at Lowe's and Wal-mart for the right material. There are sheets of plastic available online but I didn't want to wait. After looking at numerous options I stumbled into the cooking aisle at Wal-mart....then I decided that the best material for my project would be a cutting board. This cost a mere $6. It's thick, super strong, easy to cut, weather-proof, and cheap. I traced my template, cut the fins with my jigsaw, then cleaned it up with an exacto knife. A bit of further trimming was needed but after that I got a pretty close to perfect contour to the lower bumper area.
4. APPLY TAPE and PAINT
I cut/applied 3M heavy duty tape and then put 4 coats of Plasti-Dip on the fins. I suppose you could paint these any color you wanted, but I like black.
5. APPLY
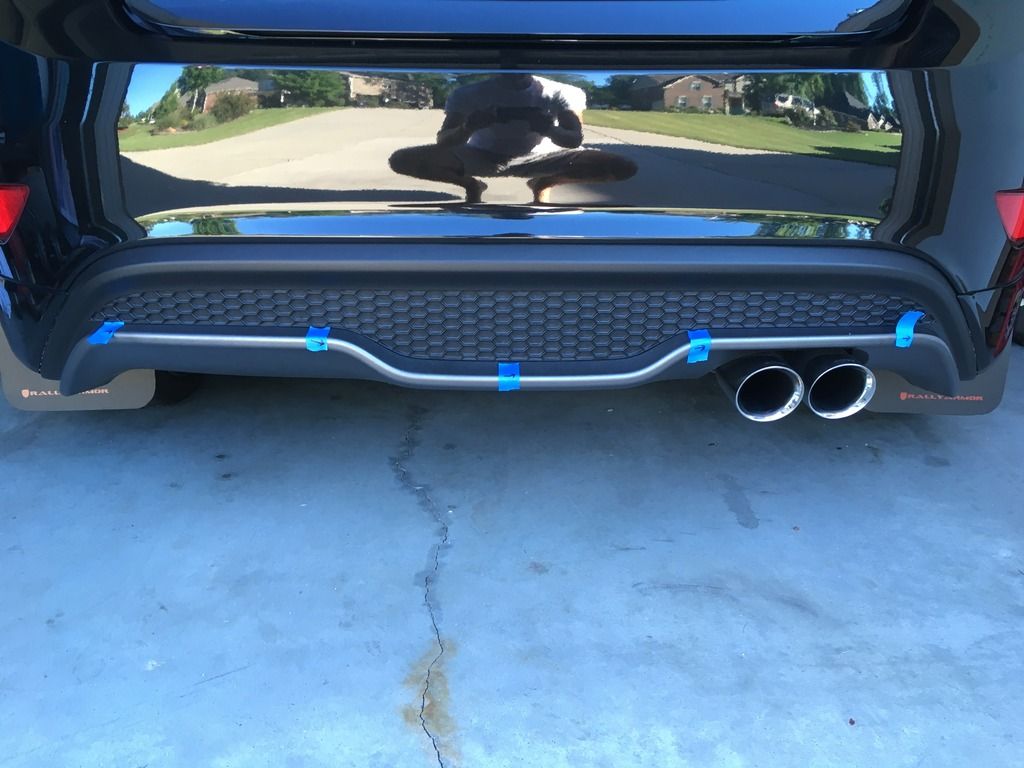
This will happen later as my fins are drying. I did some pre-measuring and marked everything....because of the honeycomb on the car it will be pretty easy to make sure the fins are symmetrical....
COST = $15
$6 cutting board
$5 Plasti-dip
$4 foam tape
*****
More pics to come once they are dry/installed, for now here are some of the R&D...


