-
Sign Up! To view all forums and unlock additional cool features
Welcome to the #1 Fiesta ST Forum and Fiesta ST community dedicated to Fiesta ST owners and enthusiasts. Register for an account, it's free and it's easy, so don't hesitate to join the Fiesta ST Forum today!
Fiesta ST Ram Air BIG MOUTH Intake Snorkel by Velossa Tech Engineering - R&D thread!
- Thread starter mercdank
- Start date
Would could I expect performance wise if I bought one for my stock tune FIST? I'm sure it's been mentioned but this is a pretty big thread. Thanks!
Don't listen to the clown who dis velossatech. Do what you want.....not what someone else wants. I have one....it was relatively easy to do. It blends in flawlessly with tge rest of the car once done. This draws more cooler outside air as you drive unlike some other "CAI" intakes I use that word "CAI" loosely due to the fact it just pulls in hot engine bay air defeating the cold air purpose. The only other true CAI is the one that goes into the cowl and may be too noisy for some. I will continue to rock the stock air box with a so called rock catcher/ green high flow filter as some call it. I plan on keeping this vehicle as "STOCK" looking as possible for certain reasons. I Have GMC Typhoon I save for my outlandish Mods and have gone to far now to turn back. But It was all worth it to me....good luck out there and Remember to go nowhere follow the crowd!
Anyone know if these will fit with the DHM Race Intercooler + Crash-bar + BOV that comes off the intercooler? Seems like the BOV would be in the exact same spot.
http://www.fiestastforum.com/forum/...ig-mouth-X-DHM-Race-Intercooler-and-Crash-Bar
It will work your aftermarket intake guys. It is a high pressure feed to your intake, it does not conflict.
Take a look at these varieties. We got lots of great colors out there and everyone gives me nothing but praise. This ram duct is really a no brainer if you're looking for function + form
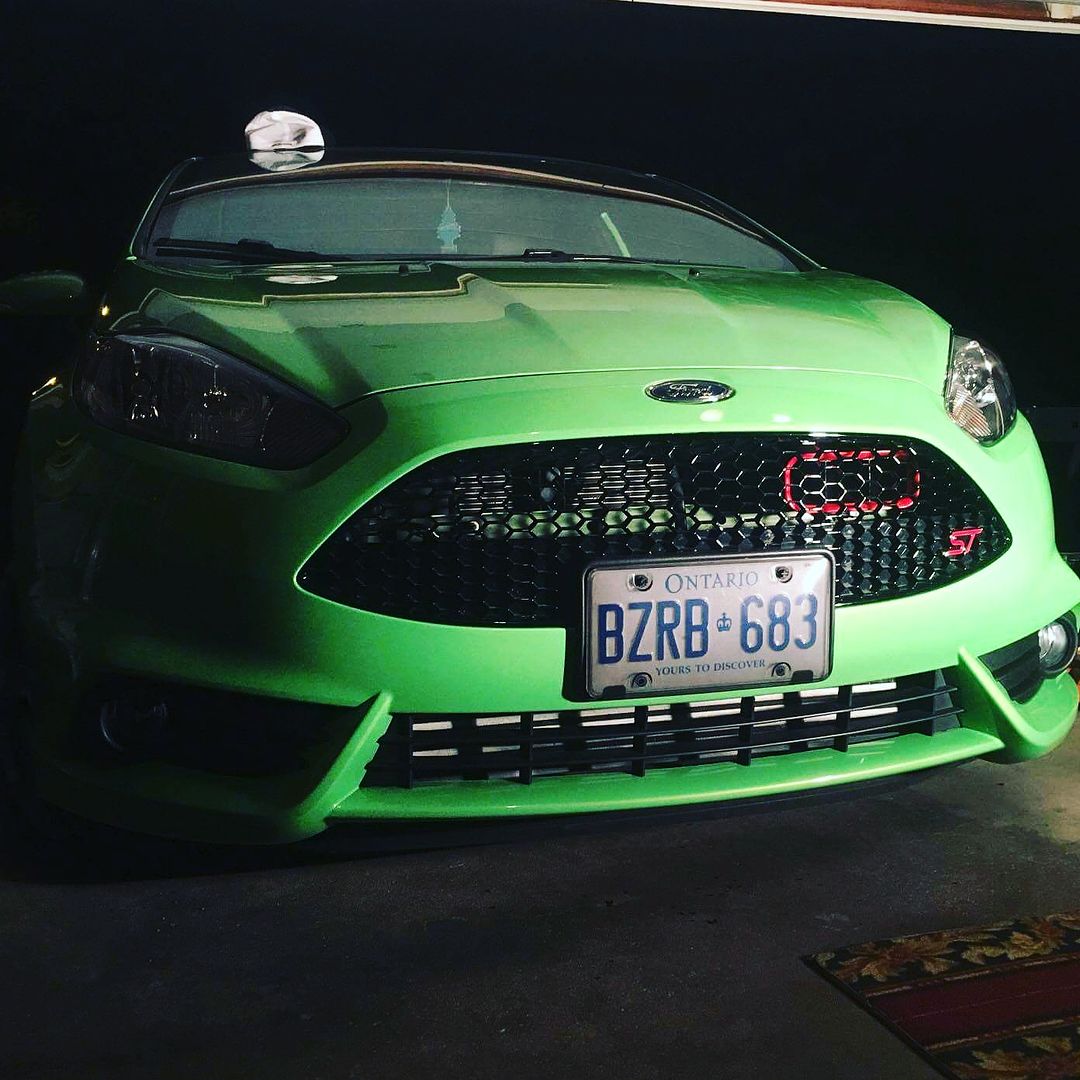
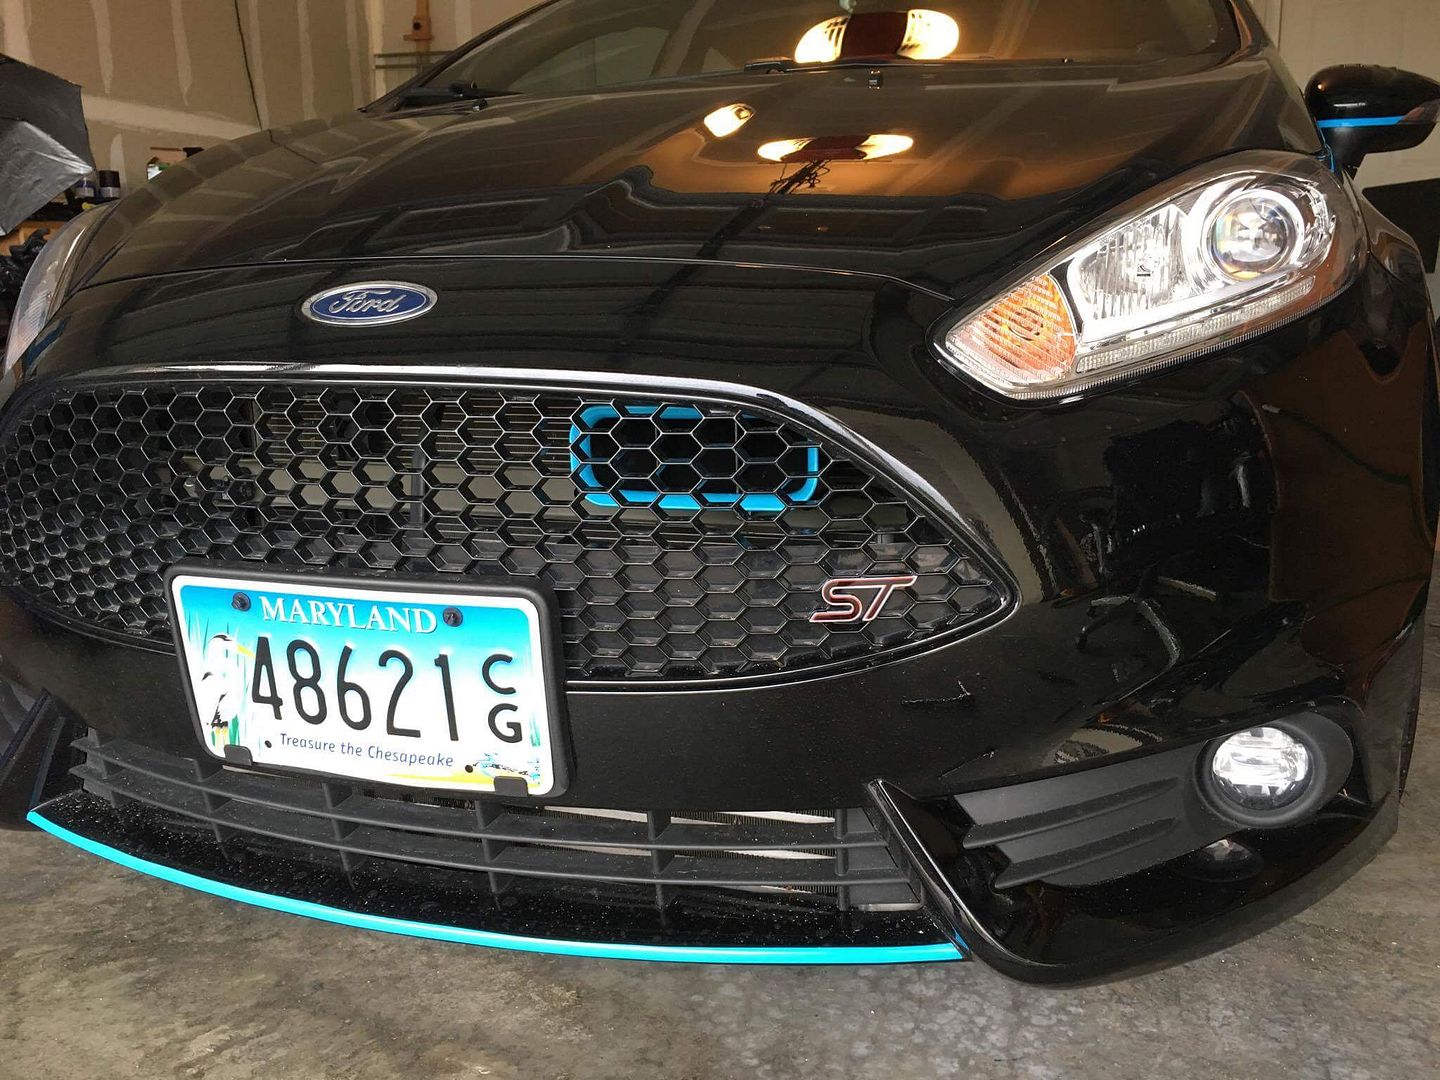
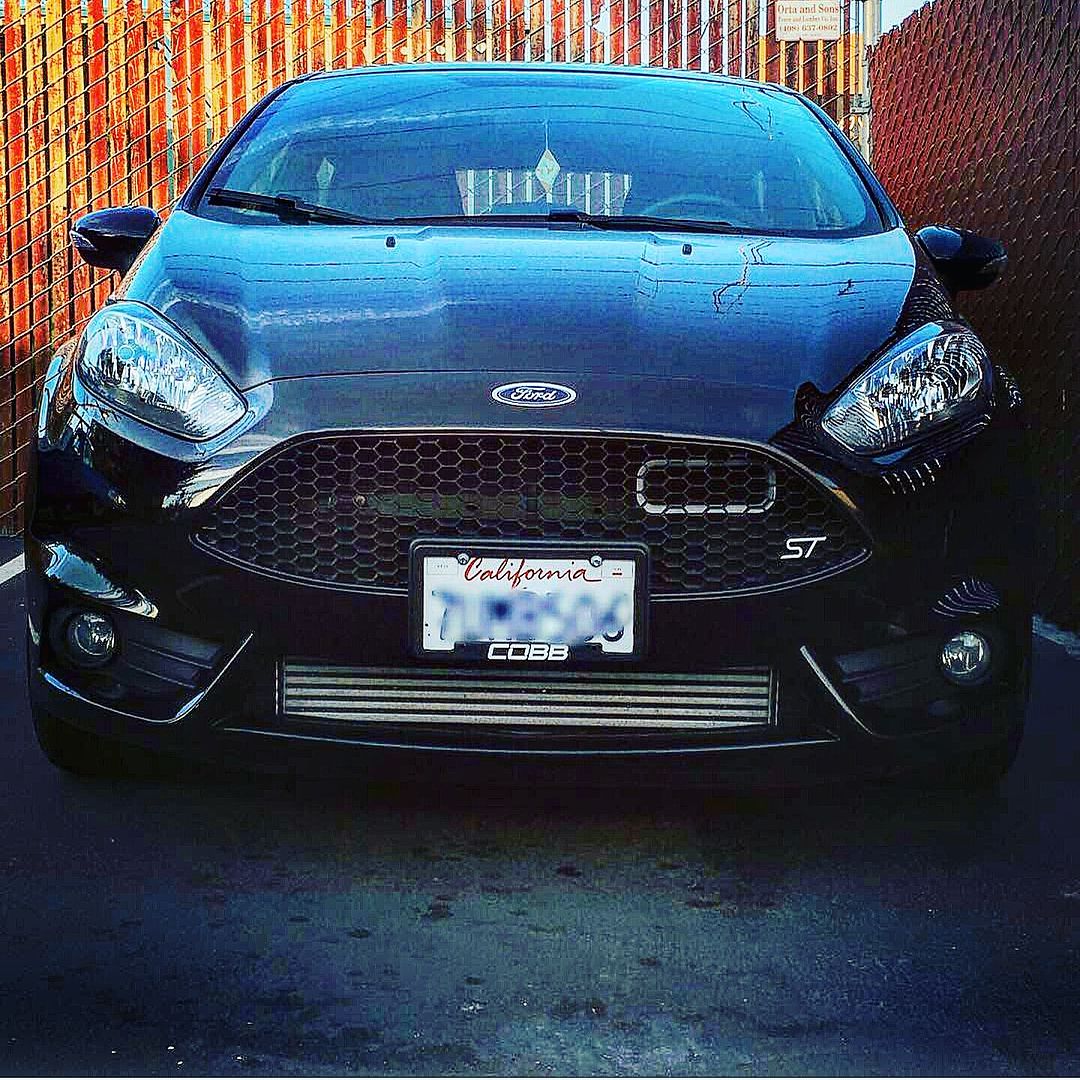
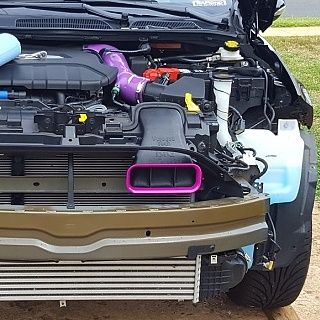
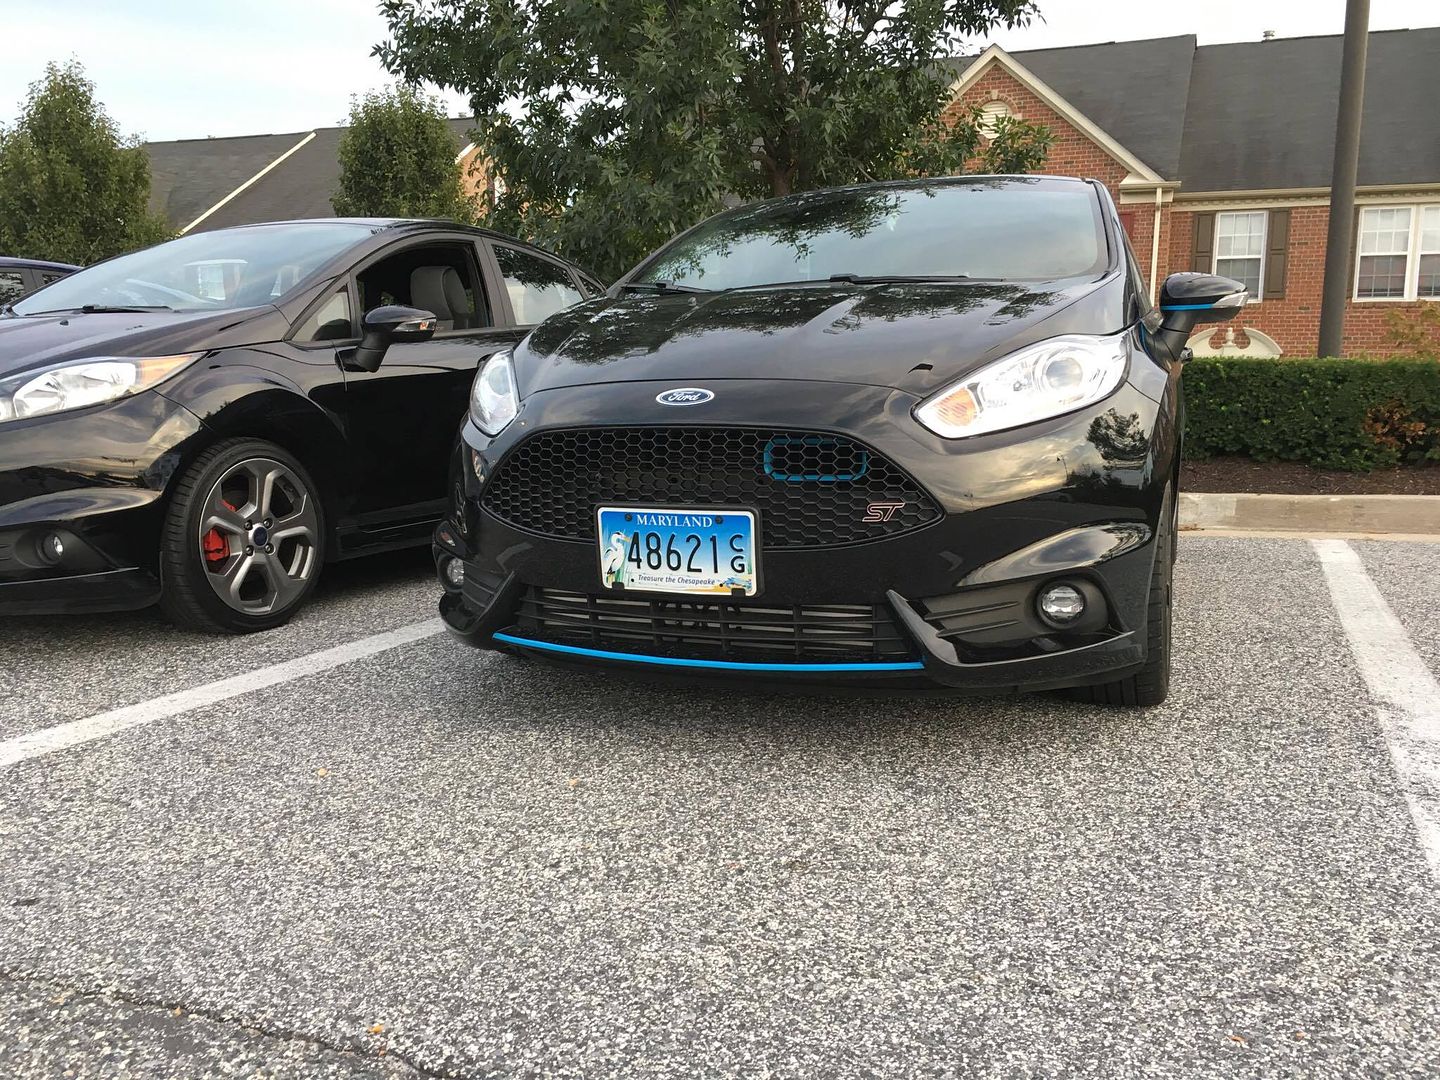
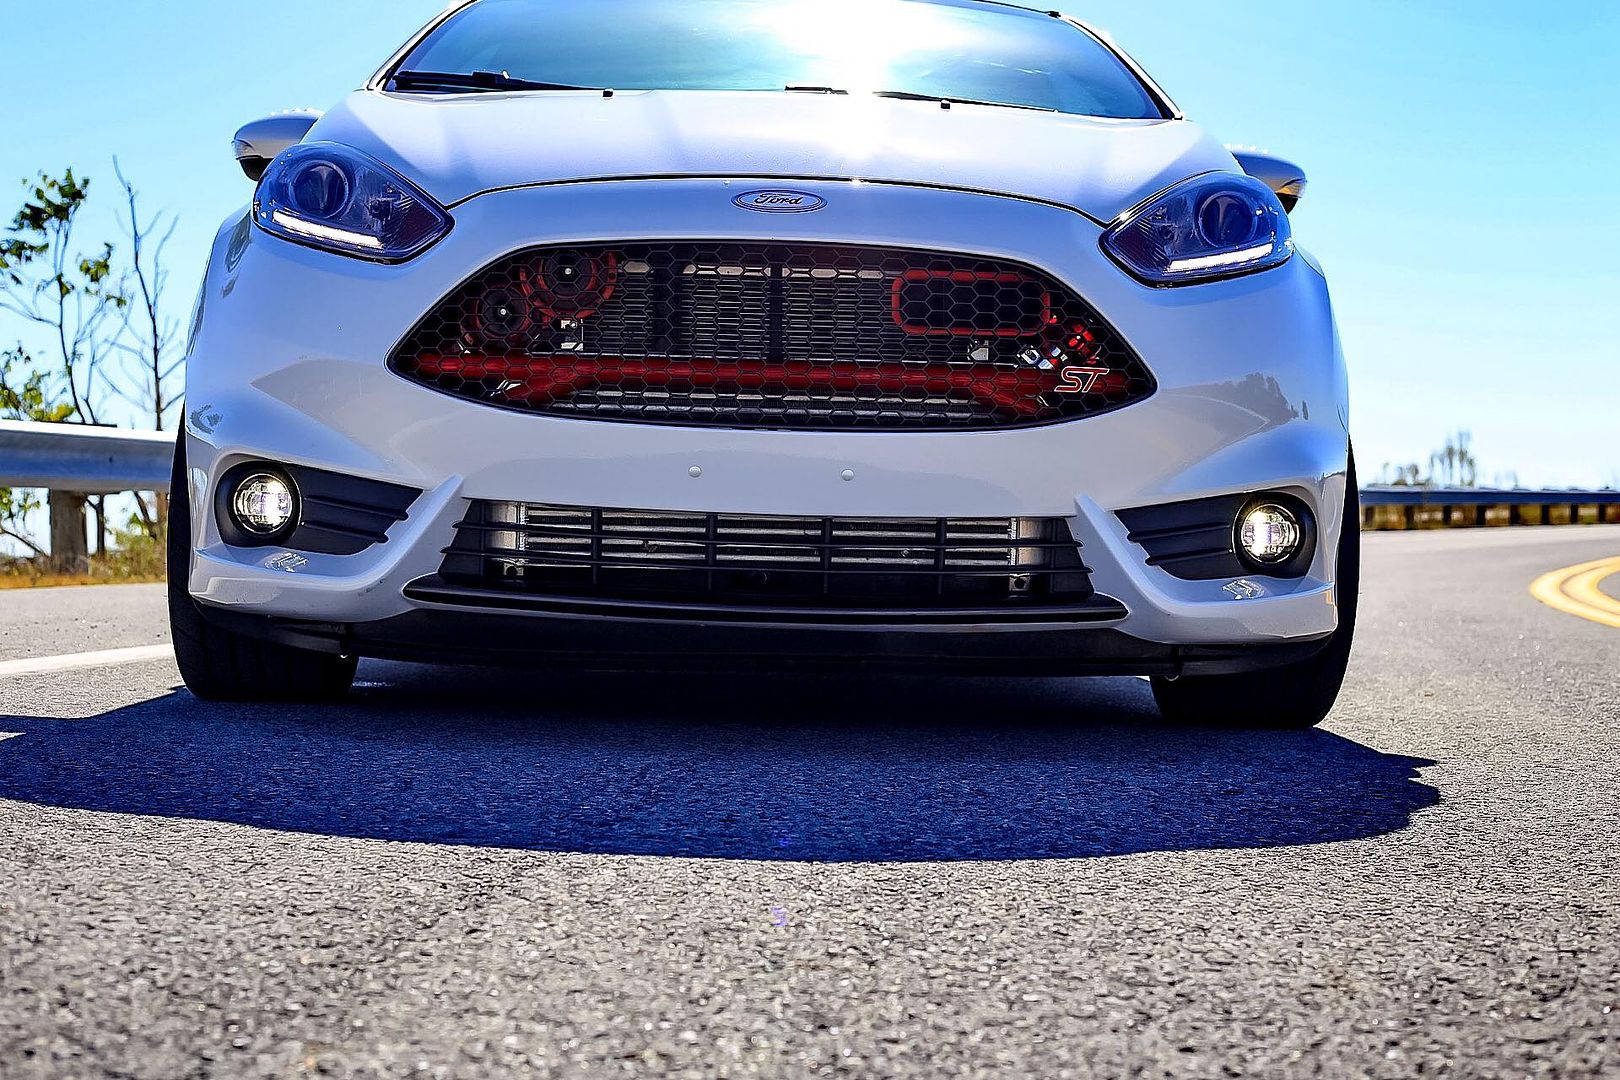
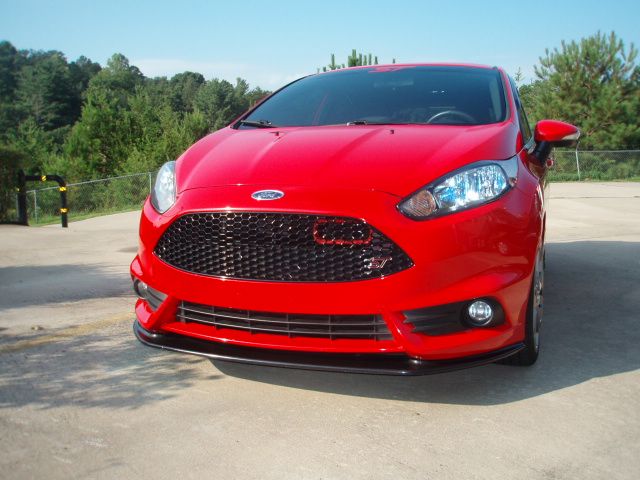
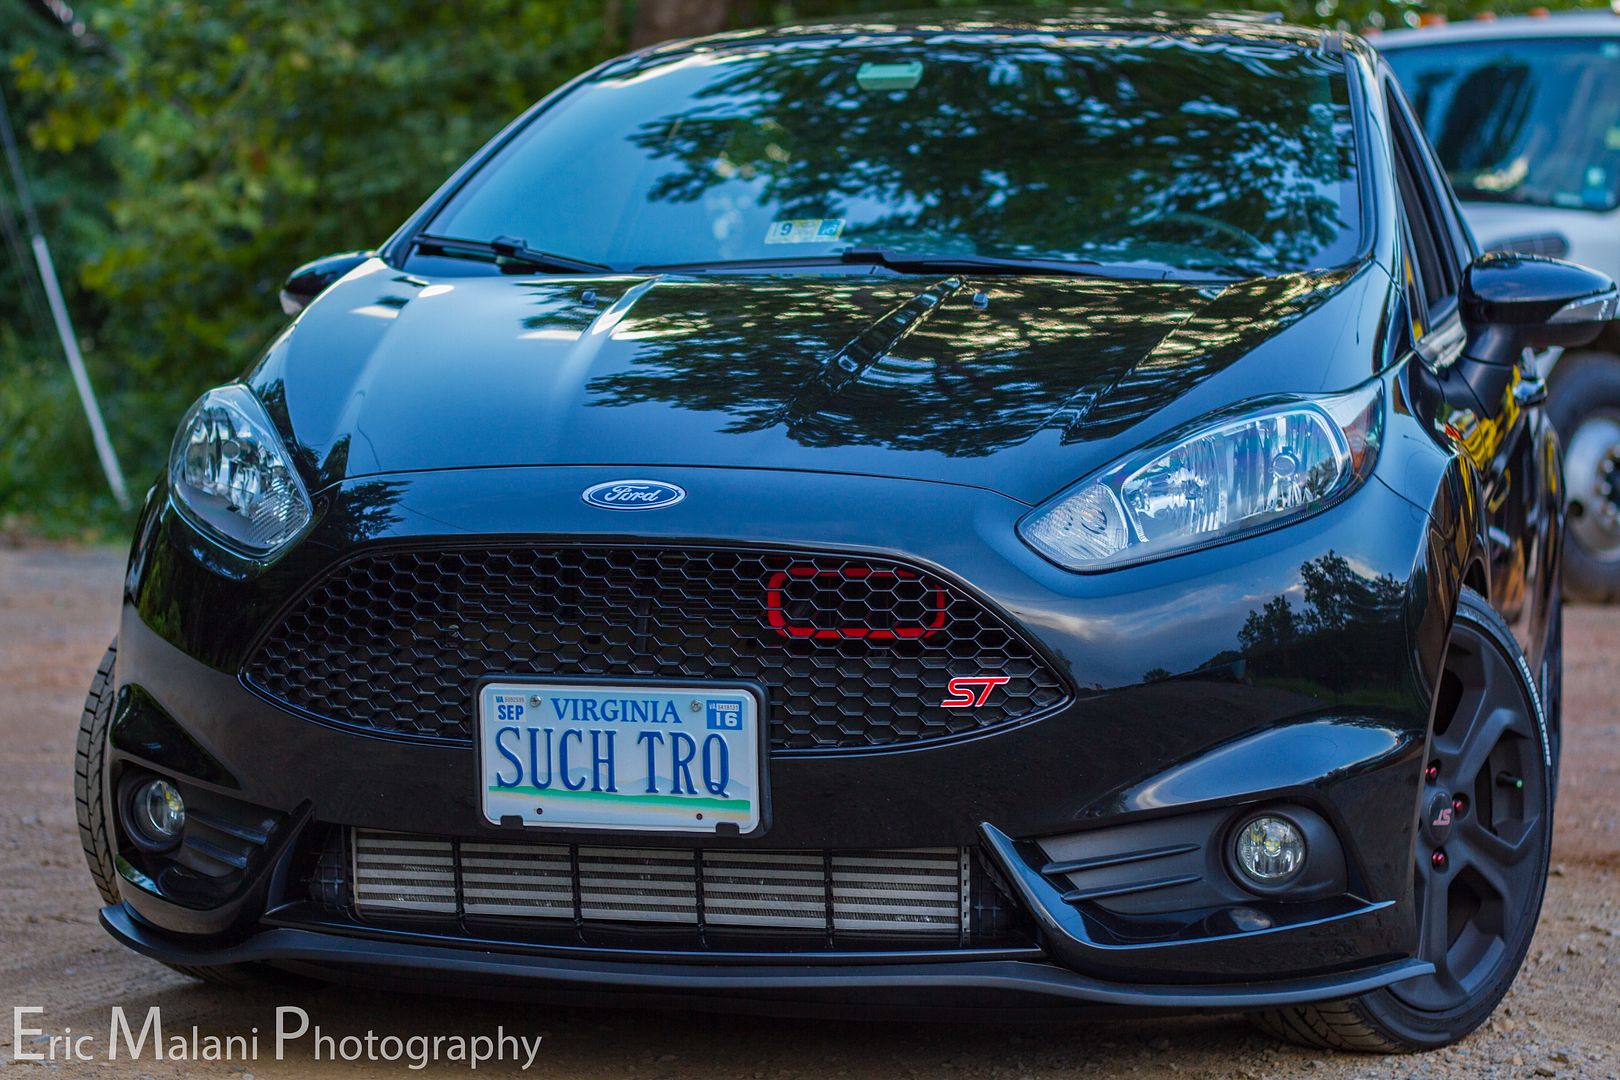
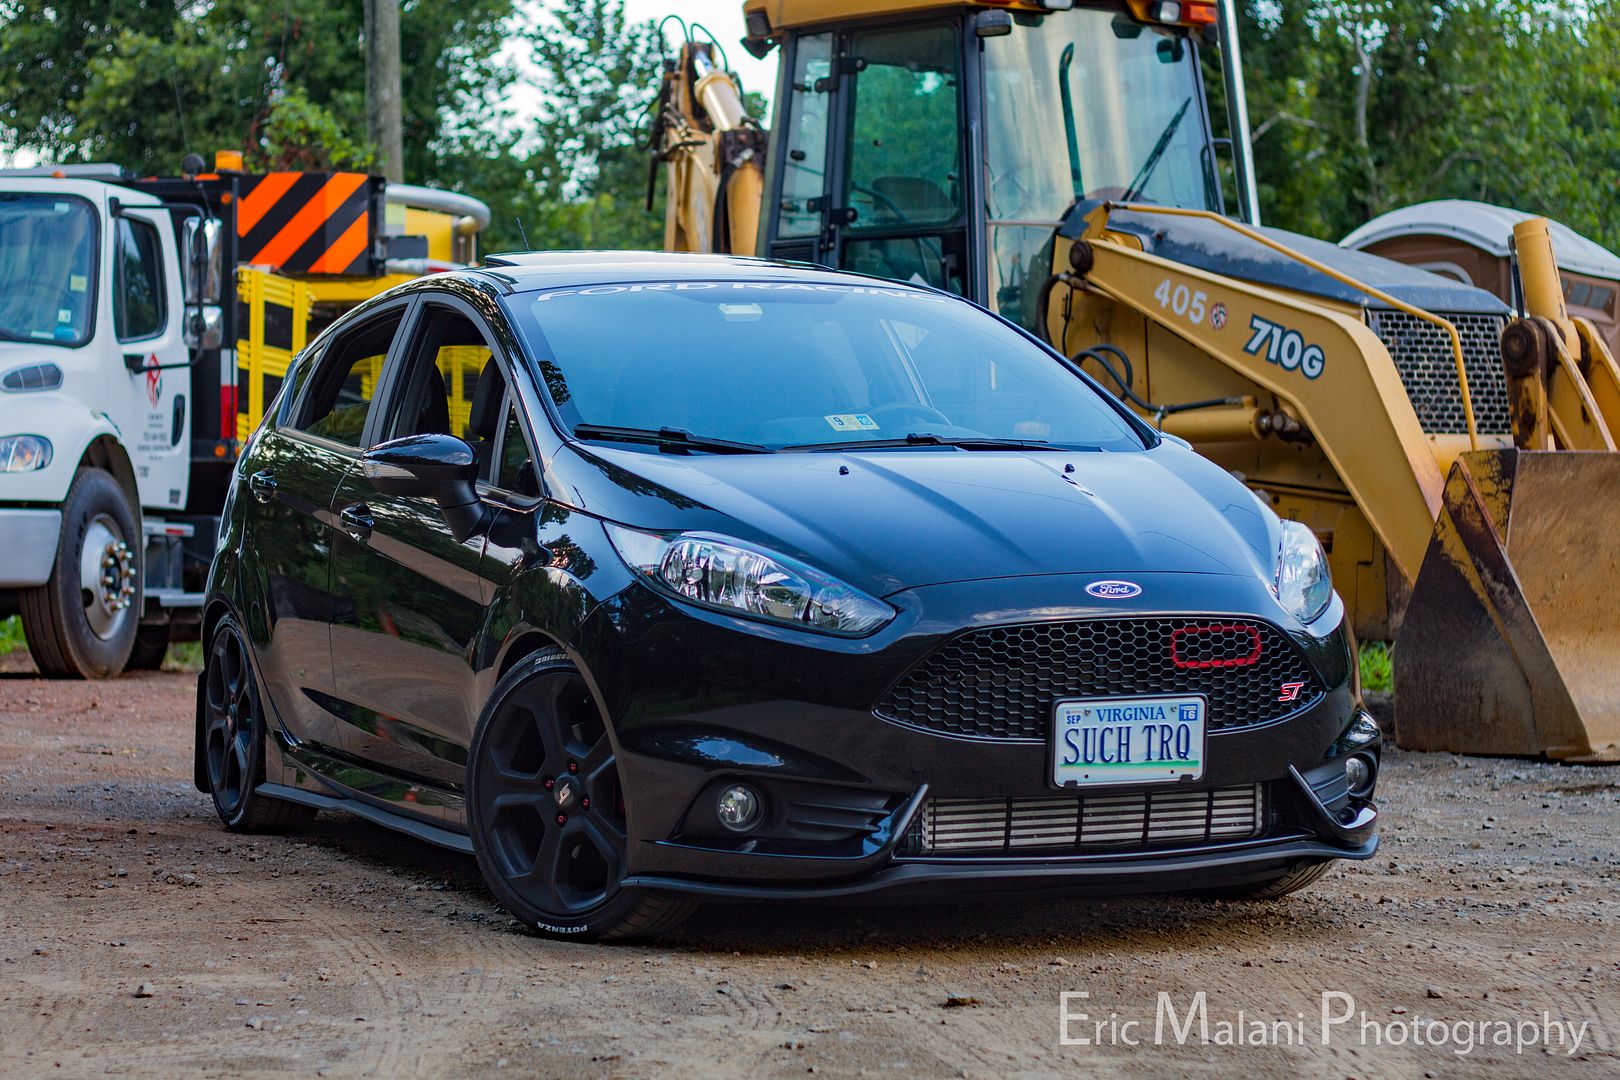
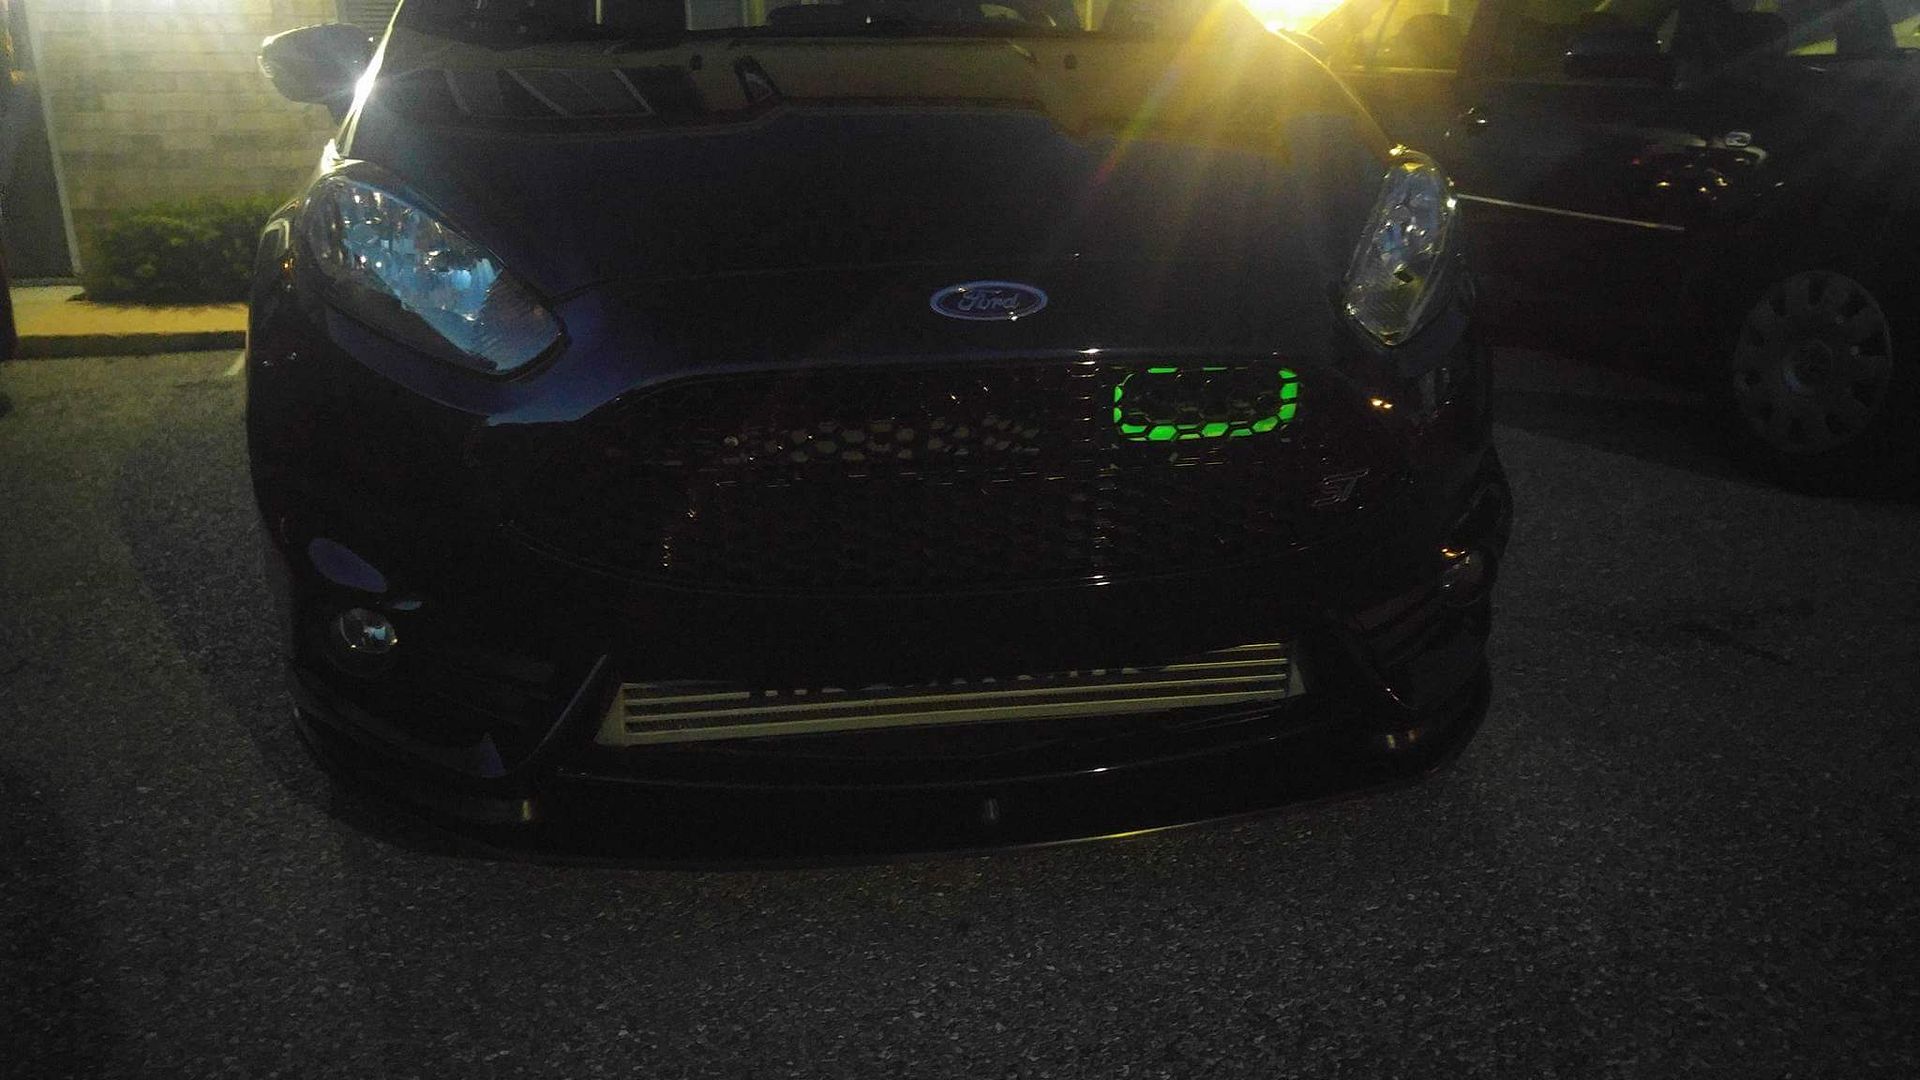
the glow in the dark one is pretty cool too
Take a look at these varieties. We got lots of great colors out there and everyone gives me nothing but praise. This ram duct is really a no brainer if you're looking for function + form


the glow in the dark one is pretty cool too
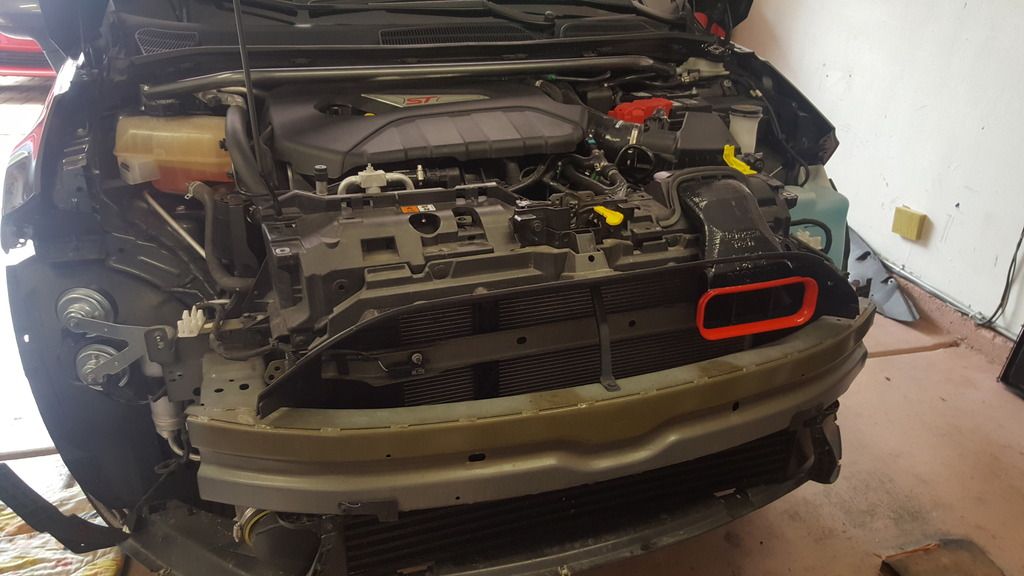
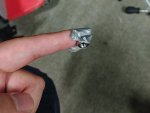
Tips for installation. I managed to get the nut on the hex bolt no problem. I used a strip of duct tape placed on the nail side of a my index finger. Long enough to extend to the nut without covering the hole. The nut threaded on the bolt in 1 shot.
The installation instructions were INCORRECT. They did NOT include 2 locknuts in my kit. Just one. Not a big deal but it wasn't accurate in my case. More importantly it was a 10mm nut not a 9mm.
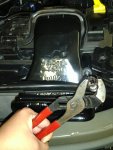
I could NOT fit a regular box wrench behind the plastic to hold the nut. The way the plastic is molded, you will need a 10mm OFFSET boxed wrench instead. I didn't have one handy. So I tried a socket with my flattest ratchet. I couldn't manage to get it on. There is very little space to maneuver. What finally worked for me was placing the 10mm socket over the nut by hand and holding it with Channel lock pliers.
Thoughts for Velossatech
1) I'm not sure everyone owns a offset box wrench. It would be nice if you could 3D print a small wrench or shallow socket.
2) Fix the fitment issues with the current design. I pressed the Big Mouth into the opening and it's flush. The nut is tightened down and the cowl still sticks up. The cowl cover issue is real.
3) Update the installation guide with accurate information. "Basic hand tools" is very vague and not true IMHO. Bumper removal requires T25 Torx bits, swivel sockets, long 1/4" socket extensions, etc. List the actual tools you will need to perform this task.
add Dremel and maybe a heat gun/hair dryer as a recommended tool.
4) Revise the suggested hole size needed to be cut. It's too big. I think the 2.5" side actually needed to be a little bigger. Better yet revise it and include a printed template for the hole and include it in the PDF.
5) If you can print "Velossatech Big Mouth" on it.. you should be able to print "Made in USA". Show some pride.
Attachments
-
141.4 KB Views: 34
-
328.9 KB Views: 36
Last edited:
Similar threads
-
SLD 2016 Ford Fiesta ST @115K Black Stock, $9K obo, Sacramento CA
- Started by JustAnotherZ31
- Replies: 0
-
-
Fiesta Mk6 2011 Fuel Pump & Sender Wiring Diagram
- Started by stark29
- Replies: 0
-
SLD [USA-NC] Set of 16" x 8" Semi-Matte Black Konig Dekagrams ET 40 and Hub Rings for Fiesta ST - $550 Local Only
- Started by razr_m3
- Replies: 7
-
Help!!! EU Fiesta ST180 Wiring Diagram needed
- Started by Mario Popov
- Replies: 0
-
-
we've added another intake option: RAMAIR Performance Cone Air Filter & Heatshield Induction Kit 2014-2018 Fiesta ST
- Started by ron@whoosh
- Replies: 21
-
HPS Black Shortram Air Intake + Heat Shield for 14-15 Ford Fiesta ST 1.6L Turbo
- Started by Redline360
- Replies: 0
-
Fairly new TB fiesta st owner 2015 Sacramento
- Started by wargamedt
- Replies: 7
Ford Community Posts
-
-
-
-
Not going all the way into reverse
- Latest: kobin.richards

