• Sign Up! To view all forums and unlock additional cool features

    Welcome to the #1 Fiesta ST Forum and Fiesta ST community dedicated to Fiesta ST owners and enthusiasts. Register for an account, it's free and it's easy, so don't hesitate to join the Fiesta ST Forum today!


WestcoaST Performance blue build

OP
W

westcoaST

1000 Post Club
Messages
1,157
Likes
290
Location
Corona
Thread Starter #121
Which specific rear camera unit did you order? I have been looking at them, emailed over the weekend, got a message back that was not much help.

Like the angle driver tool, might have to get one add to the pile of air and power tools I already have, dozens, a mans gotta have his tools!
I picked this up at autotoys.com. it's the same one that D1JL purchased.

Additional information
Car type (YEAR MAKE AND MODEL) - We do NOT USE this info to CONFIRM applications. For tech sheets2014 Ford Fiesta ST

SKUProductItem priceQuantityTotal
SKU316971
reorder thisFORD MYTOUCH CAMERA INTERFACE #31698
please review this product #31698
$365.00 1$365.00
Subtotal: $365.00
Coupon saving (SAVE25): $25.00
Discounted subtotal: $340.00
Shipping (includes our handling fees) : $17.20
Total: $357.20

Here is the camera I picked.

Additional information
Car type (YEAR MAKE AND MODEL) - We do NOT USE this info to CONFIRM applications. For tech sheets2014 Ford Fiesta ST


SKUProductItem priceQuantityTotal
SKU16793
reorder thisBOYO VTL422C Bar Type License Plate 1/4" Color CMOS Back-Up Camera - Zinc Metal Black Chrome #16793
please review this product #16793
$73.00 1$73.00
Subtotal: $73.00
Coupon saving (SAVE5): $5.00
Discounted subtotal: $68.00
Shipping (includes our handling fees) : $5.00
Total: $73.00


OP
W

westcoaST

1000 Post Club
Messages
1,157
Likes
290
Location
Corona
Thread Starter #123
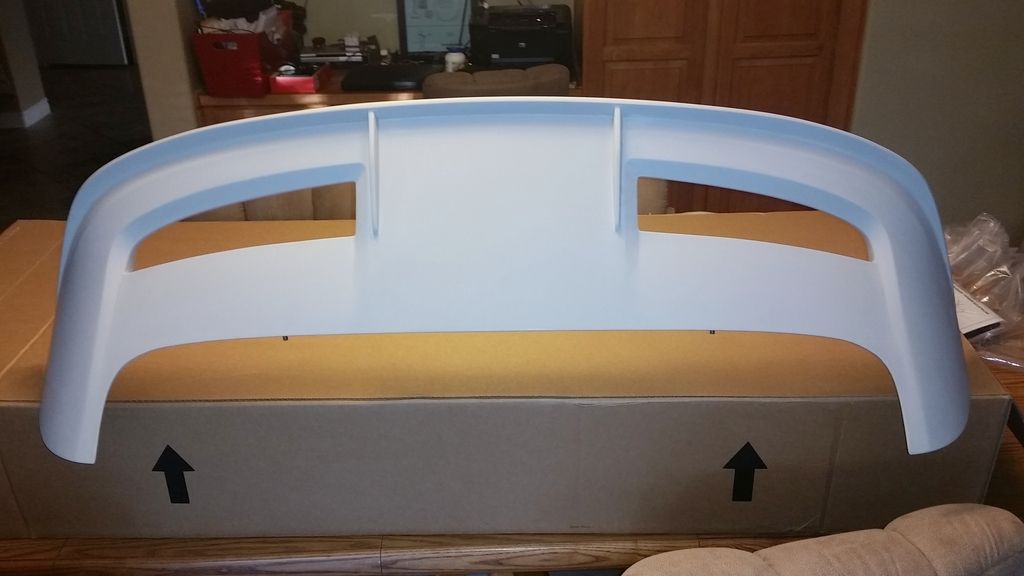
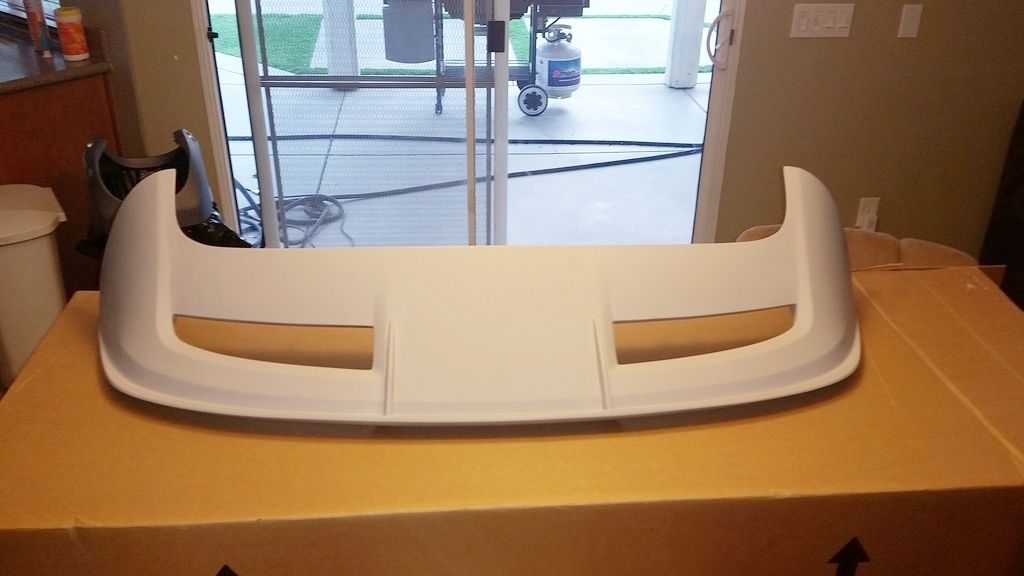
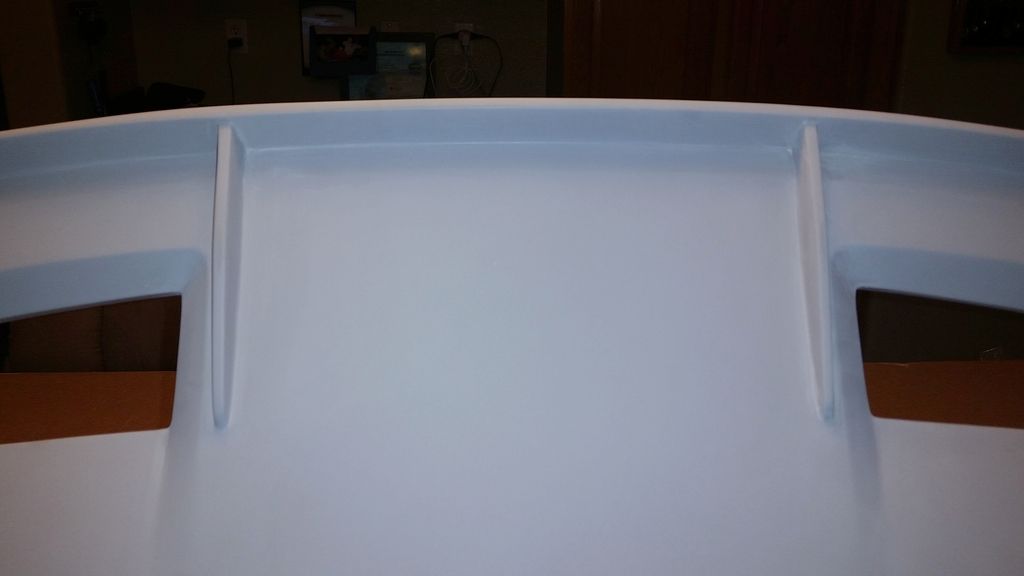
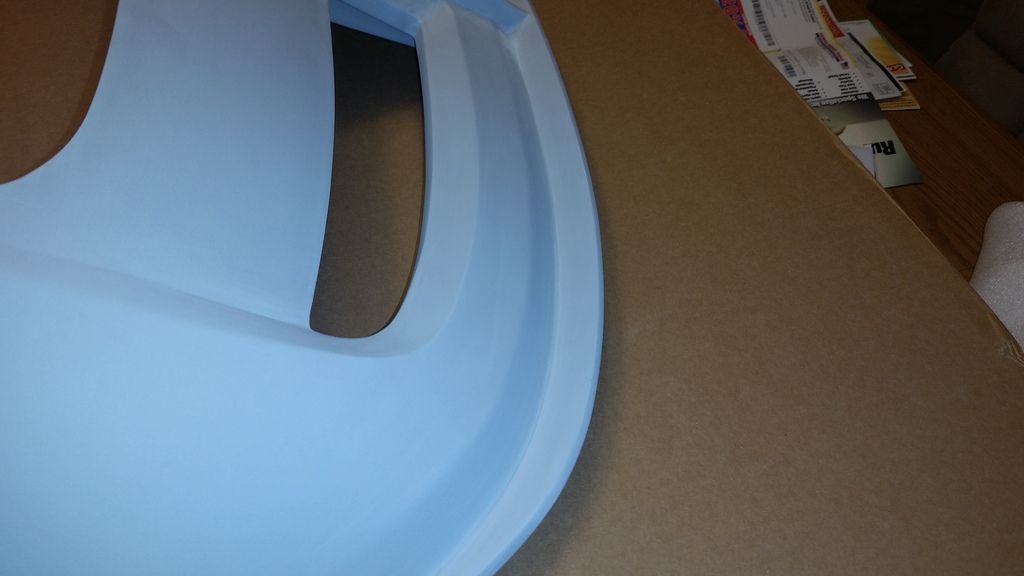
I just received my Polyurethane rear wing spoiler from Air Design USA. This is the supplier that provides this rear wing to 3D Carbon, who then provides it to places like lethal performance, among others. Here are a few photographs after I pulled the wing out of the box. I'm hoping that my body guy can close up those two holes in the wing, as I do not believe they do anything other than increase drag.


RAAMaudio

5000 Post Club
Messages
5,268
Likes
925
Location
Carson City
Cool:)

Yes, make him close them as they create a reverse rolling vortex, I believe that is the term I was told by somebody that knows far more about all this than we do on the forum.

I really like the look of it, closed it will be far better than open and actually provide a bit more DF than stock.

I would flush mount the area to the top of the wing to cover the step up after the opening.

Looking forward to seeing pics of this when done:)

Rick


Hijinx

3000 Post Club
U.S. Air Force Veteran
Messages
3,290
Likes
1,669
Location
Auburn, AL, USA
I just received my Polyurethane rear wing spoiler from Air Design USA. This is the supplier that provides this rear wing to 3D Carbon, who then provides it to places like lethal performance, among others. Here are a few photographs after I pulled the wing out of the box. I'm hoping that my body guy can close up those two holes in the wing, as I do not believe they do anything other than increase drag.


Very nice. How much? Link?


OP
W

westcoaST

1000 Post Club
Messages
1,157
Likes
290
Location
Corona
Thread Starter #126
Very nice. How much? Link?
$278.72 shipped from Mexico

Monica Fernandez
AIR DESIGN USA, LLC
3820 Oceanic Drive, Ste. 301
Oceanside, CA 92056
Ph 1-844-280-2775
Ph (760) 435-0095
Fax (760) 435-0092


meFiSTo

Senior Member
Messages
865
Likes
229
Location
Redmond
That's a smart thought regarding the filling of those holes. I just got thise piece as well, but had them paint it at the factory. For me, I figure this is really more of a cosmetic addition, so I'll live it as is unless the new setup (in combination with the little mountune lip/splitter bit) becomes somehow aerodynamically unstable (seems unlikely given the mild power upgrades my car got).

Your car is a never ending journey, my friend. It's looking good. I hope you are having fun as well.


OP
W

westcoaST

1000 Post Club
Messages
1,157
Likes
290
Location
Corona
Thread Starter #128
I could not find anyone willing to fill in the holes in the wing, so I'll probably fit some pieces, top and bottom, and bolt them together, and see if there is any improvement. I plan on painting this wing this weekend (if my taxes cooperate, I do my own taxes). I should be able to install the wing next weekend. I'm looking at tinted lexan to cover the holes, with edge molding to protect the wing. I just need to find a vendor. Then I have lots of additional parts to install in the coming weeks.


RAAMaudio

5000 Post Club
Messages
5,268
Likes
925
Location
Carson City
I plan to just cover the top in one piece of ABS, leading edge to trailing edge then all across the flatter part of the top to cover the holes as well as lips in front of them as they are part of the problem so you might want to consider that. The smoother the top is back to the Guerney flap, the better the air will flow, less turbulence the better.

The bottom of the openings is not really seen and would not really matter if covered or not once the top is sealed up.

I went over this with somebody that knows a great deal about aerodynamics, his ideas, not mine, just what material I use and attach it were my own thoughts.


OP
W

westcoaST

1000 Post Club
Messages
1,157
Likes
290
Location
Corona
Thread Starter #130
That's what I was planning to do, using a dark grey polycarbonate sheet to cover the top, and heating it up to match the curvature of the wing. I can have the sheet cut by the supplier who is in San Diego. The only reason for covering the bottom is to provide a location for the fasteners to locate on. This sheet will be smaller than the top sheet. I plan on countersinking the fasteners on the top sheet, and using captive nuts on the bottom.


RAAMaudio

5000 Post Club
Messages
5,268
Likes
925
Location
Carson City
Makes sense.

My plan was to just use 1/8" aluminum pop rivets and the top grade 3M double sided tape, your solution will look better so you have me reconsidering what I will do:)


OP
W

westcoaST

1000 Post Club
Messages
1,157
Likes
290
Location
Corona
Thread Starter #132
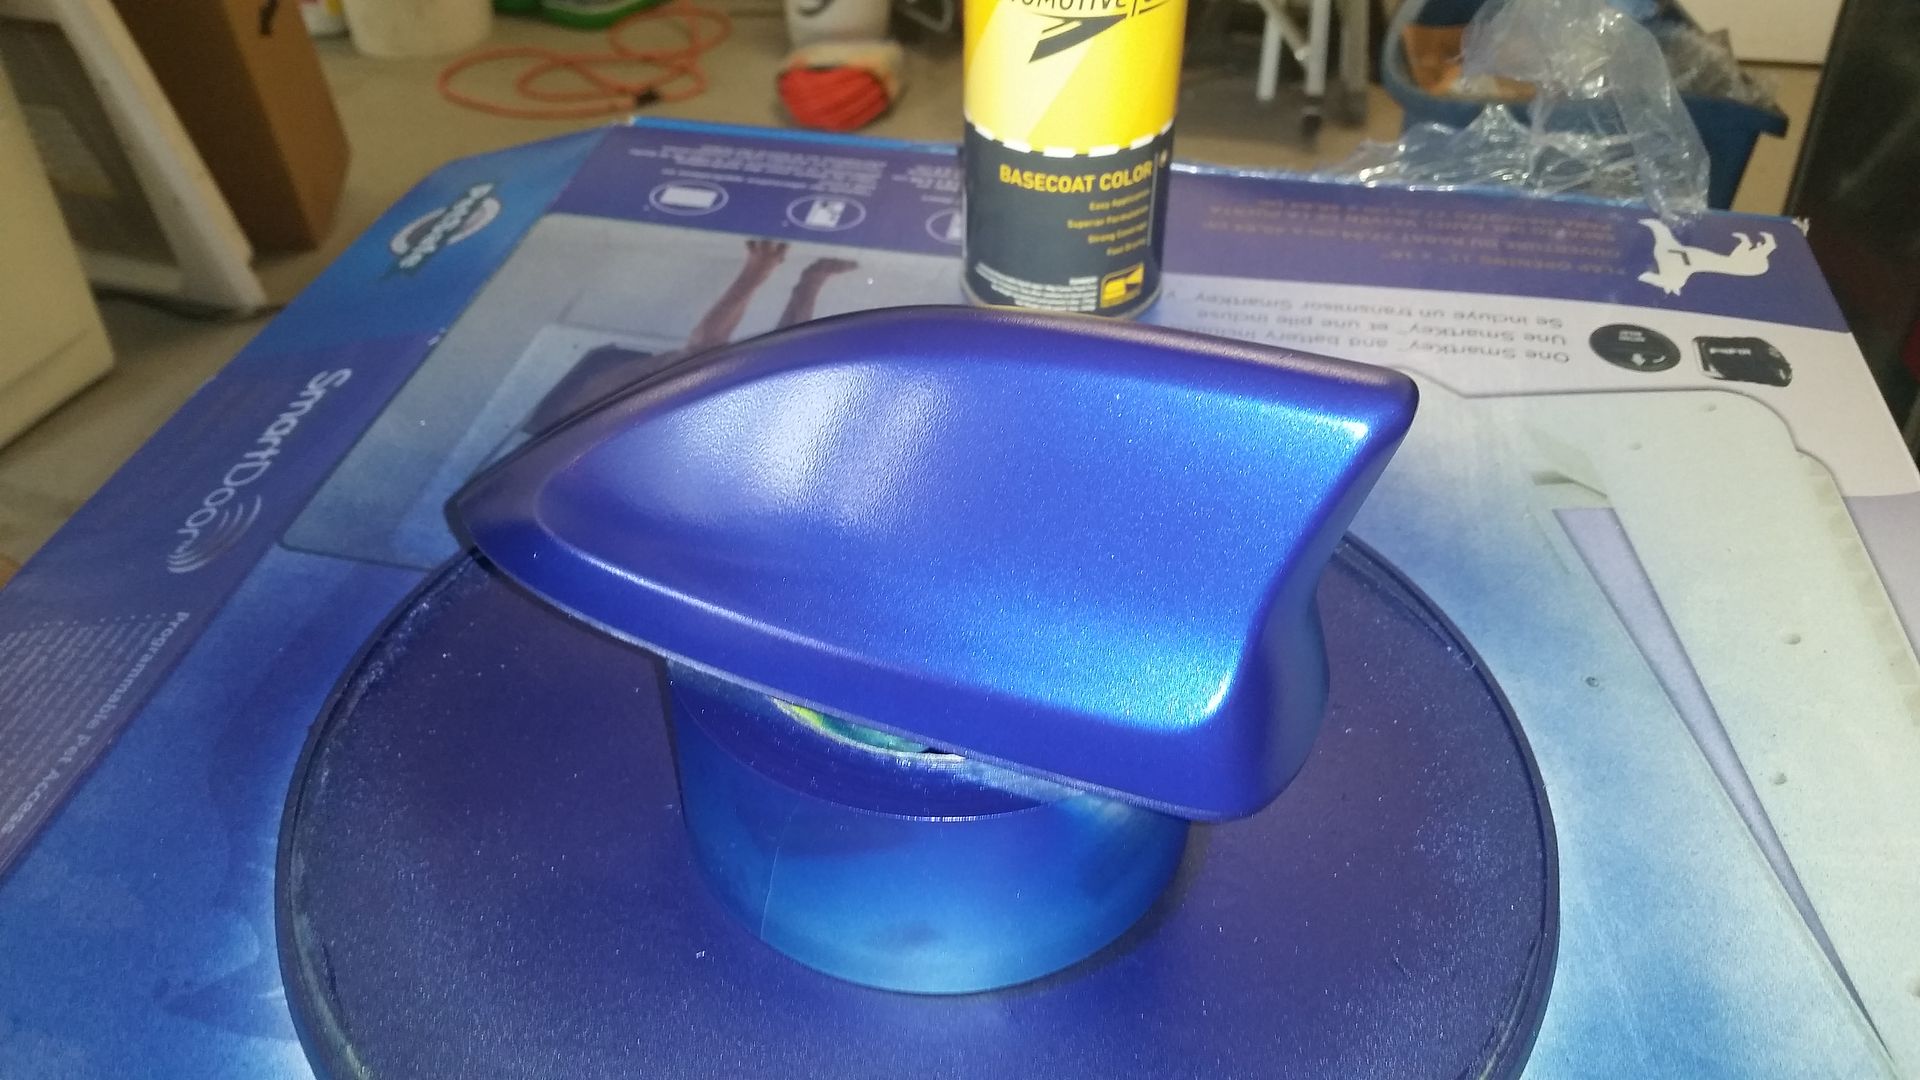
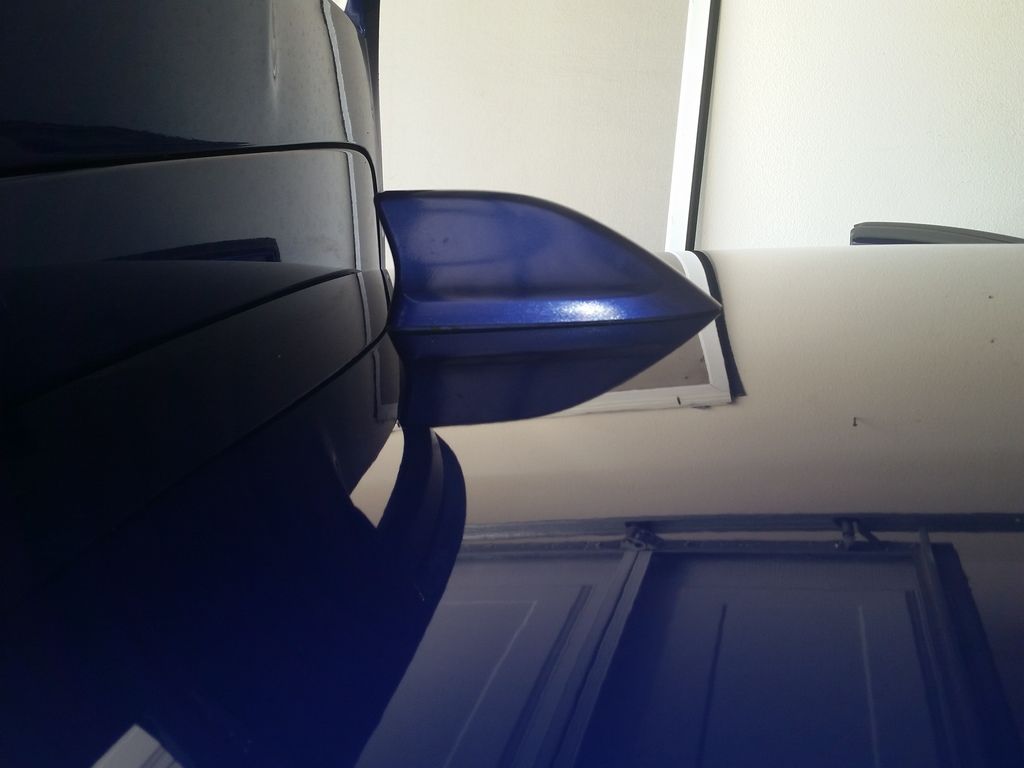
I installed my rear wing this weekend. I also painted the Edge shark fin antenna that's going on soon. I have so many things to install, I'm going to need to make a list!


meFiSTo

Senior Member
Messages
865
Likes
229
Location
Redmond
That's what I was planning to do, using a dark grey polycarbonate sheet to cover the top, and heating it up to match the curvature of the wing. I can have the sheet cut by the supplier who is in San Diego. The only reason for covering the bottom is to provide a location for the fasteners to locate on. This sheet will be smaller than the top sheet. I plan on countersinking the fasteners on the top sheet, and using captive nuts on the bottom.
Looking good. Hmmm. Maybe you could have extra pieces made up and some of us like-minded folks could help share costs and take the per unit charge down. Or maybe you could offer this as a package. Just saying.


OP
W

westcoaST

1000 Post Club
Messages
1,157
Likes
290
Location
Corona
Thread Starter #134
As soon as I catch up with my mods list, I plan on making a polycarbonate plastic cover. I'll create a template and post it to this build


OP
W

westcoaST

1000 Post Club
Messages
1,157
Likes
290
Location
Corona
Thread Starter #136
Automotivetouchup.com supplied the Perfornance Blue paint and the high build primer. I used Krylon paint for plastics for the black, and enamel for the red stripe. The big build primer was used to remove the grain from the surface of the cover. I sanded the primer, then applied the base coat, wet sanded, then top coated with clear.


OP
W

westcoaST

1000 Post Club
Messages
1,157
Likes
290
Location
Corona
Thread Starter #137
I installed my shark fin antenna today. This was really easy, for once. I followed Dave's (D1JL's) how to on this site. Last week I painted the shark fin in performance blue and several coats of gloss clear.


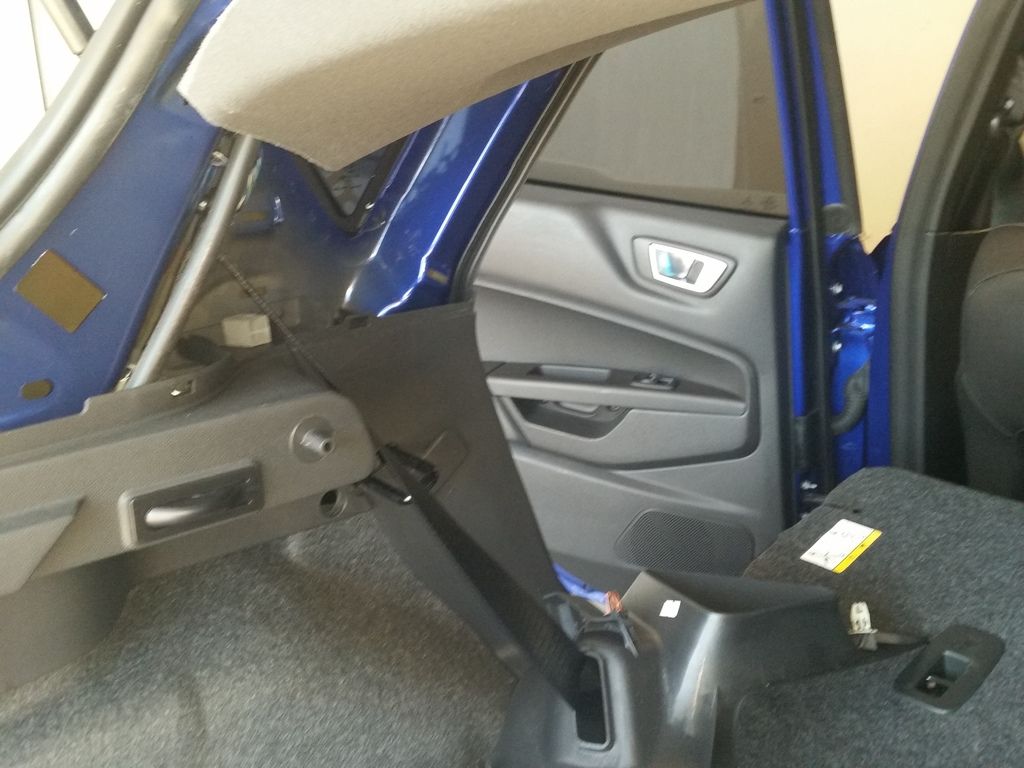
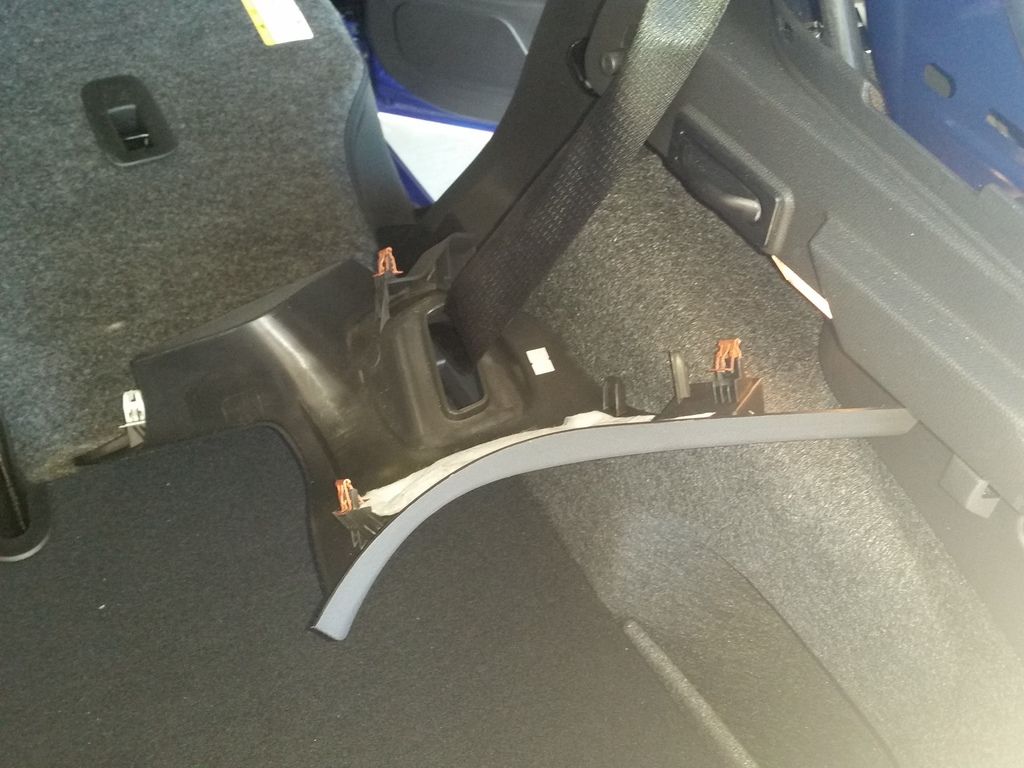
I previously installed the Focus add-on shark fin, so I had to remove that cover, then the OEM antenna. I lowered the rear seats, then pulled out the side panels with my plastic panel tools.


There are two large clips which hold the top panel in place. I used a plastic panel puller that looks like a crow bar to pop these out.


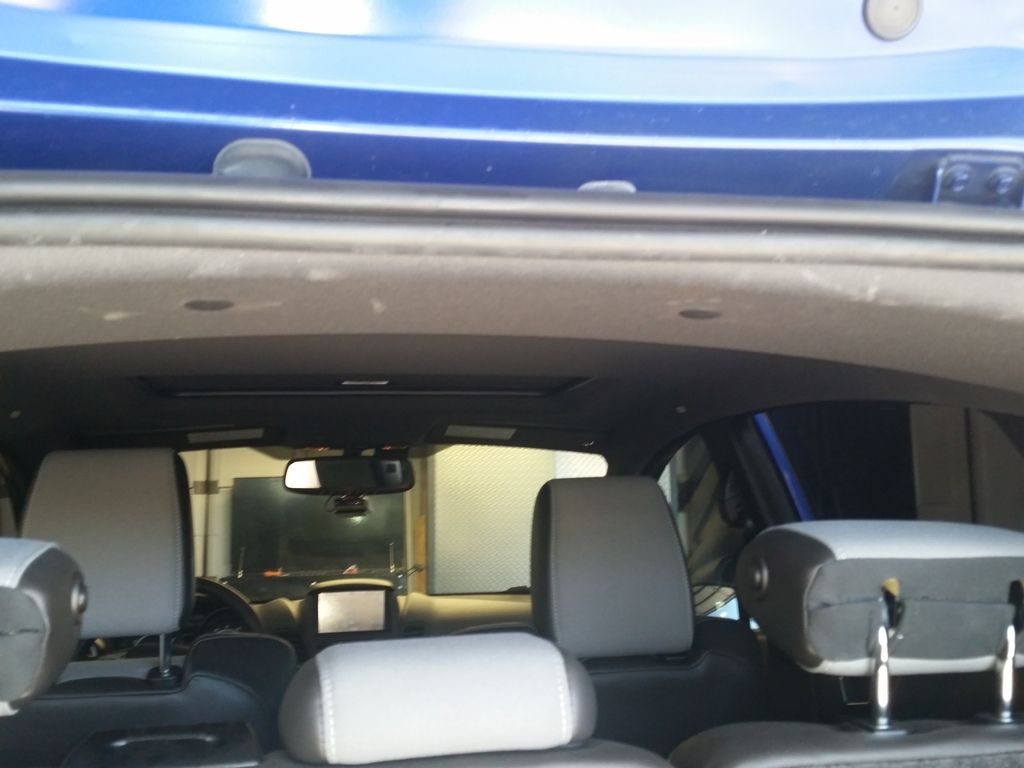
There is a 10 mm bolt that holds the OEM antenna. I removed that and then nothing budged. I got a plastic dead blow hammer and gave the OEM antenna a few wacks to loosen it. Finaly, I tool a small screw driver, placed a shop rag on the roof of the FIst, then popped off the OEM antenna. Then I had to remove the 3M double sided tape from the Focus add on shark fin. I am replacing this shark fin because Dave mentioned that the Edge shark fin had better reception on the HD channels. That is really all I listen to, so for me half of my ride is in silence since the HD radio cuts off. I figured I'd give the Edge shark fin a try.

I unplugged the two plugs that attach the antenna, then plugged in the Edge shark fin plugs. I used the OEM clip to hold the Edge shark fin in, as it was a better and stronger clip. The edge clip is part plastic. I torqued the 10 mm bolt down to 80 lb-inch, and then buttoned everything up.

It kind of looks the same as the Focus add-on shark fin, but reception is way better.


Top