Hey folks!
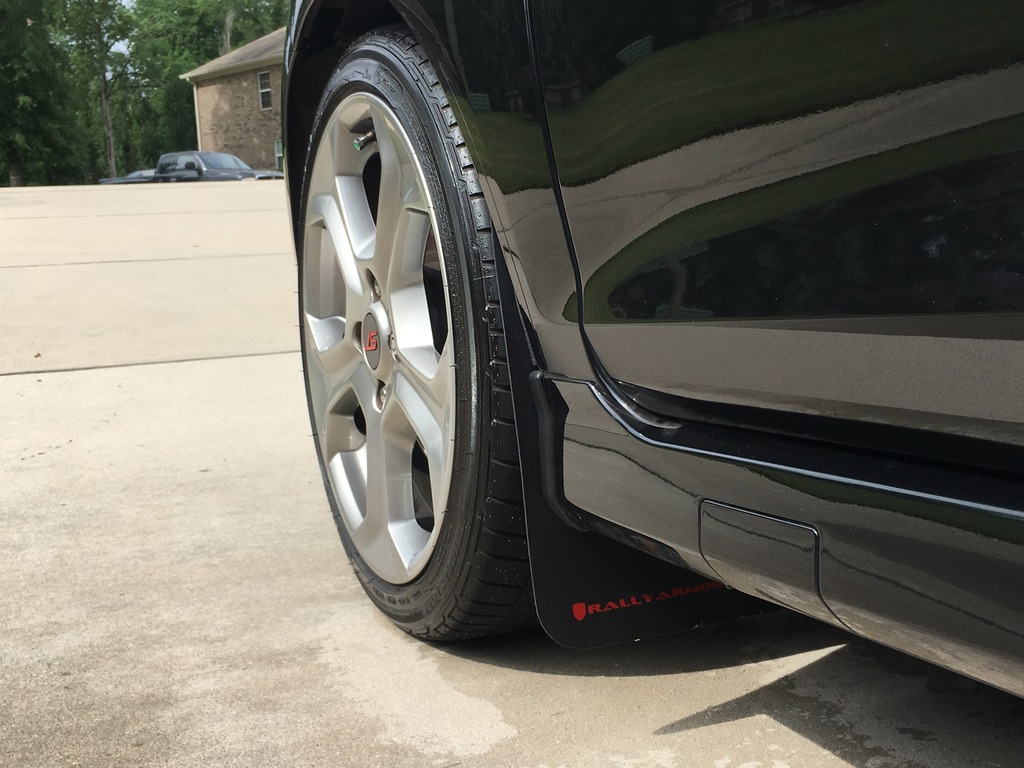
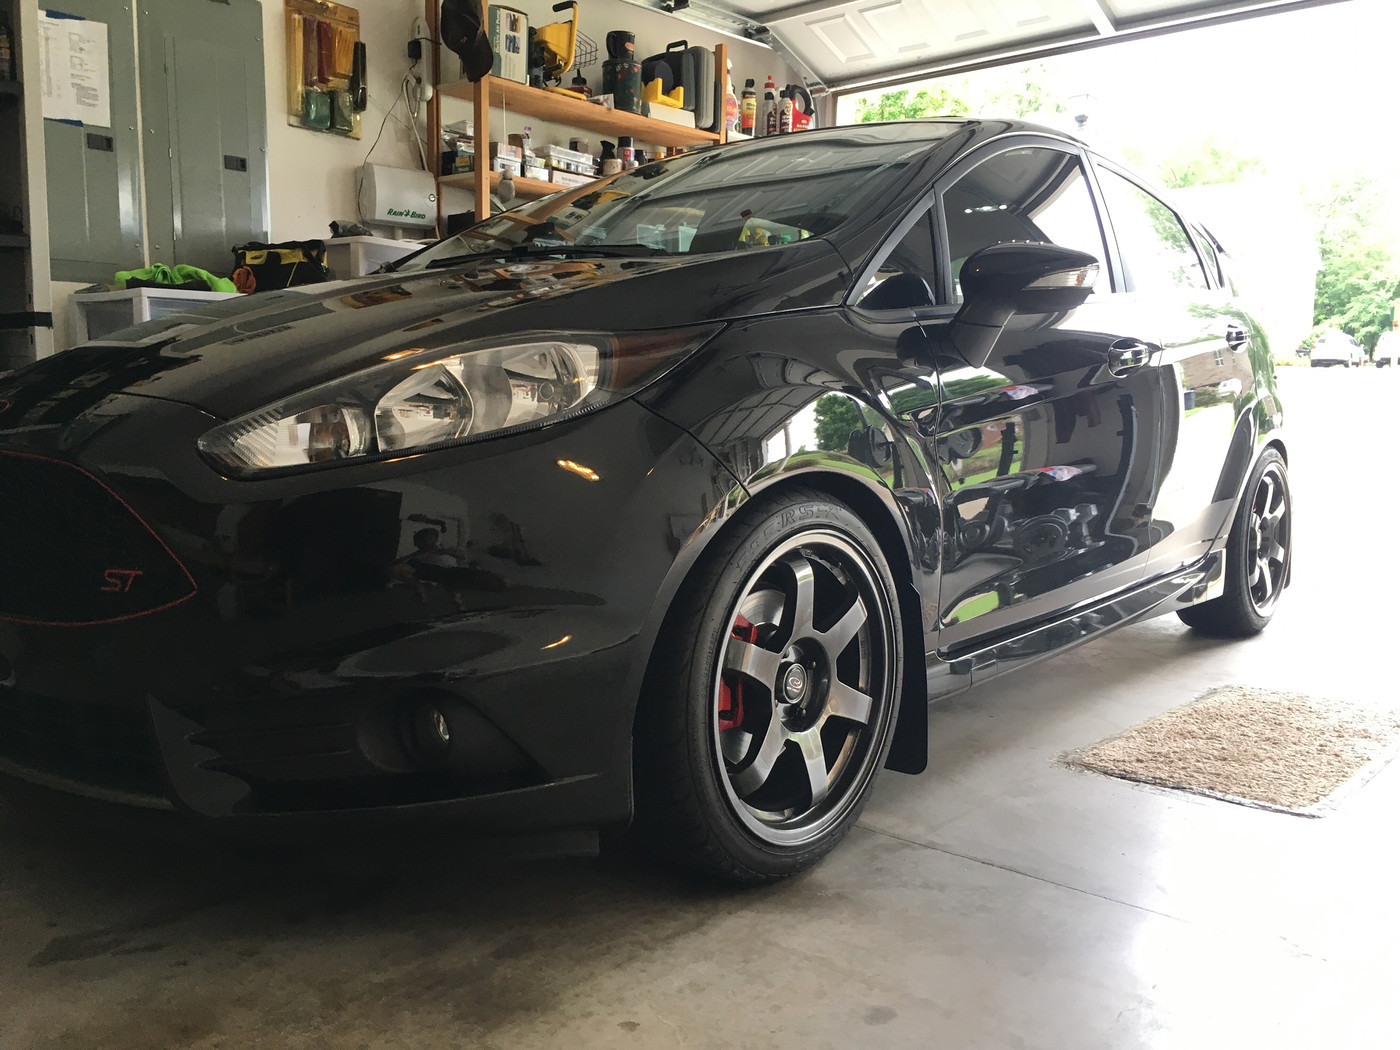
I've been wanting mudflaps for my car but wasn't happy with the aggressive look and high price of what's available, so I decided to do some R&D and customize some cheap ($21.83 shipped) Rally Armor universal flaps. I picked these over some other cheap versions because I like the red logo. They also make the universal ones without the red logo FYI.
Link to purchase RA flaps
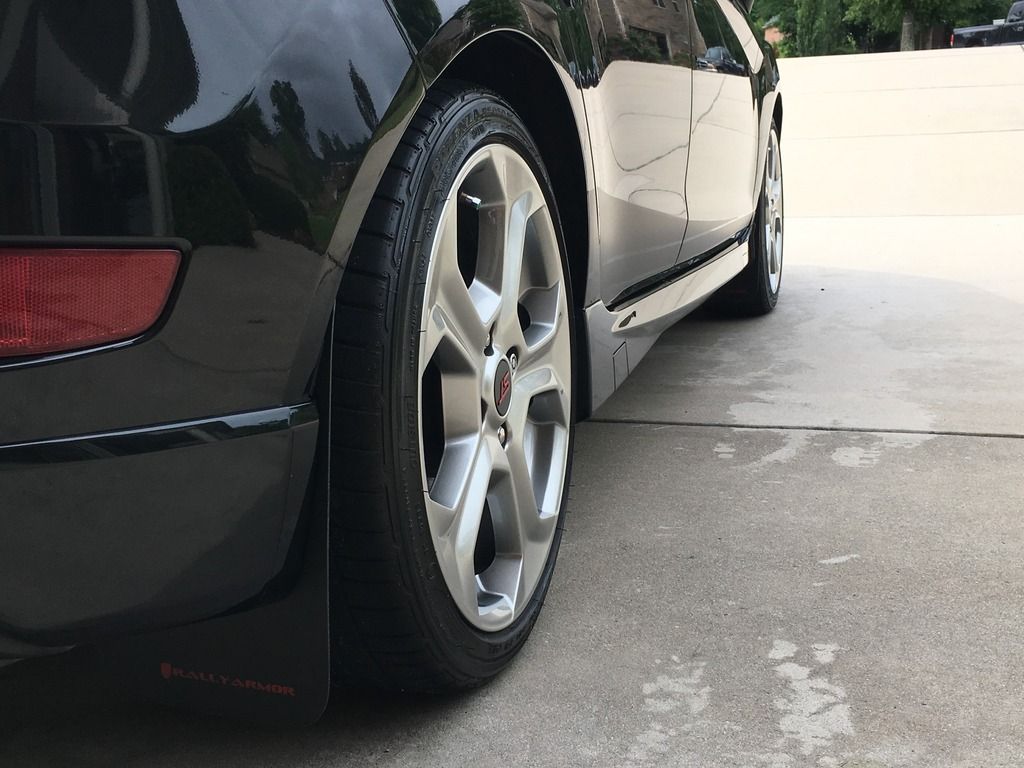
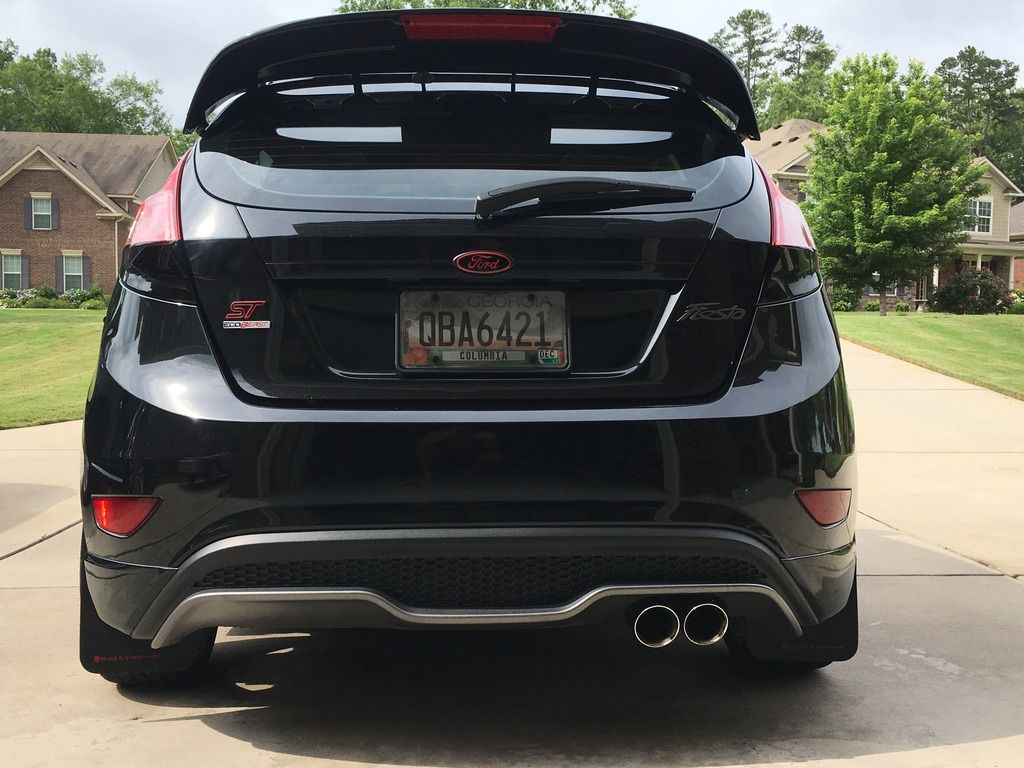
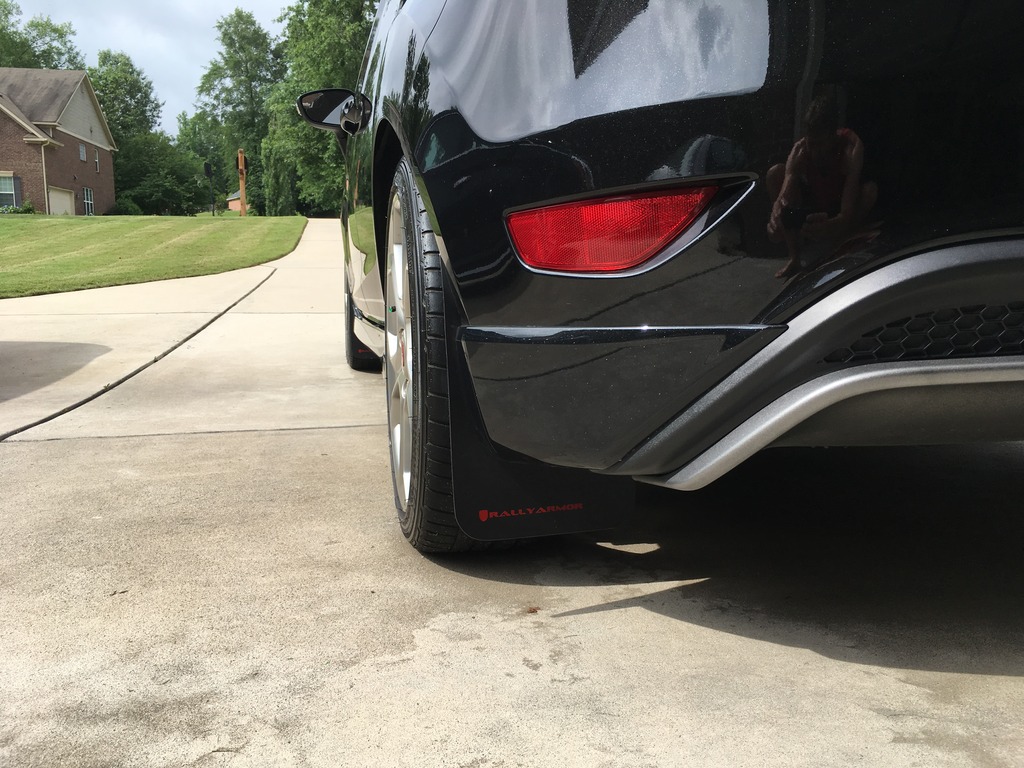
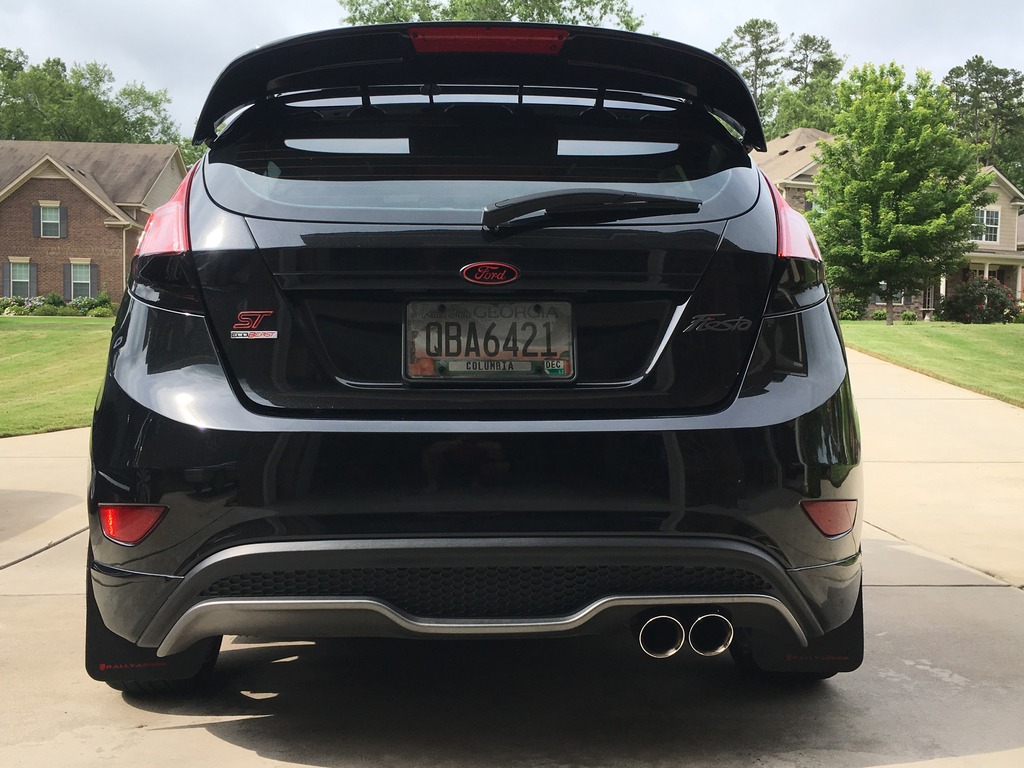
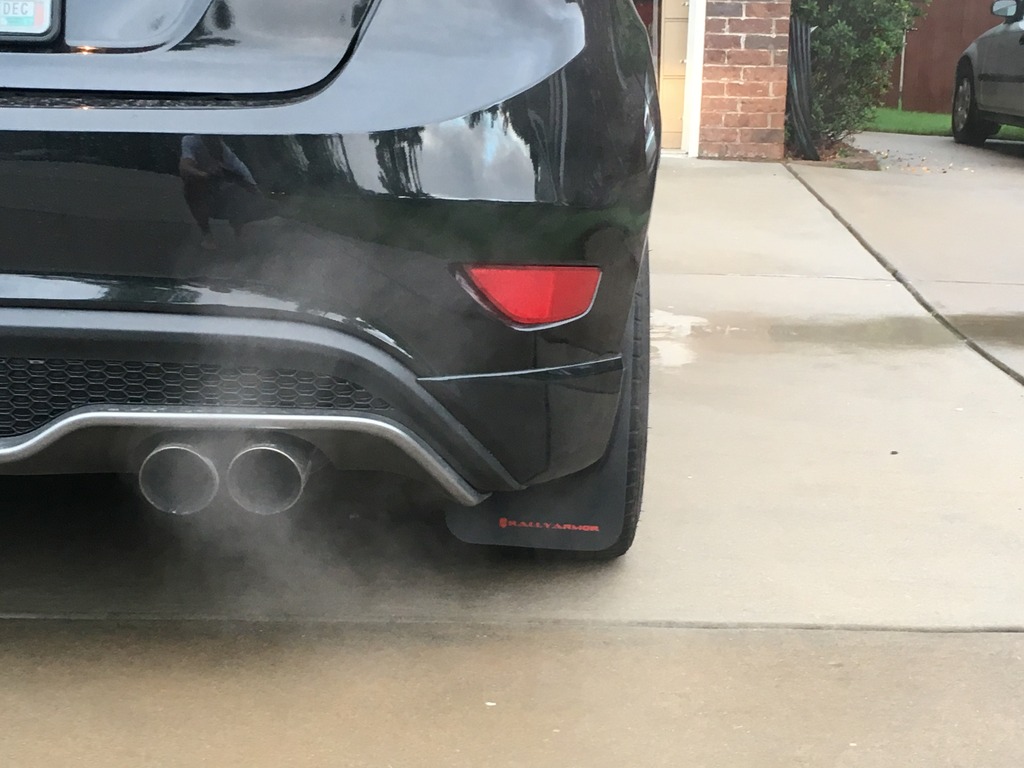
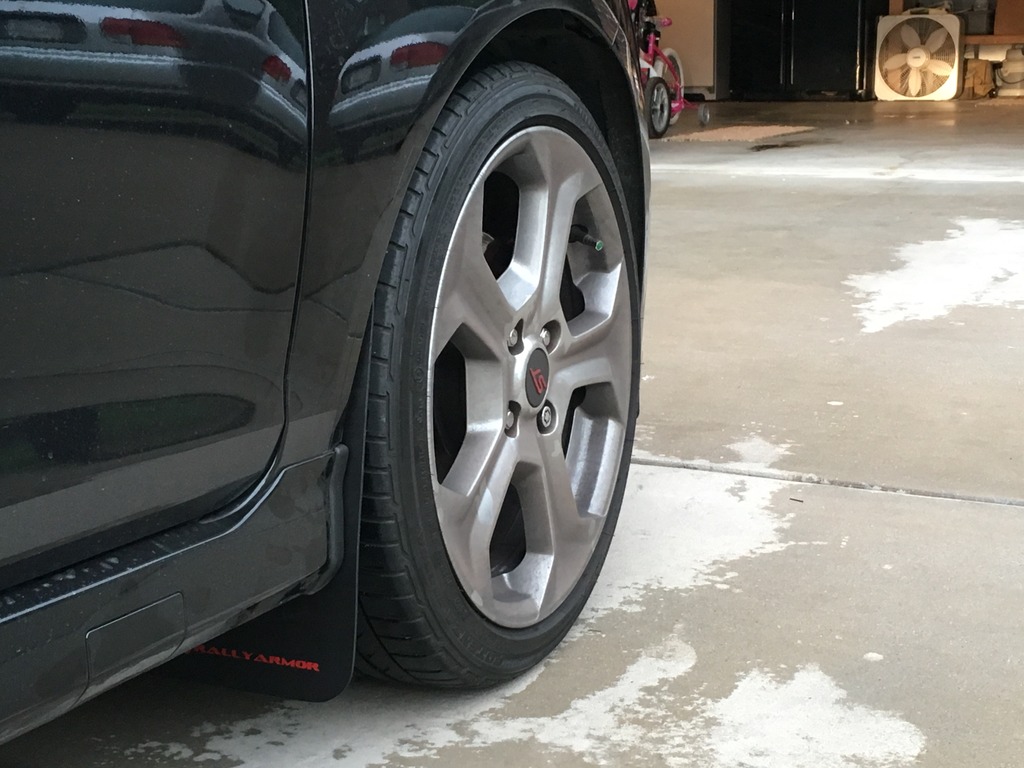
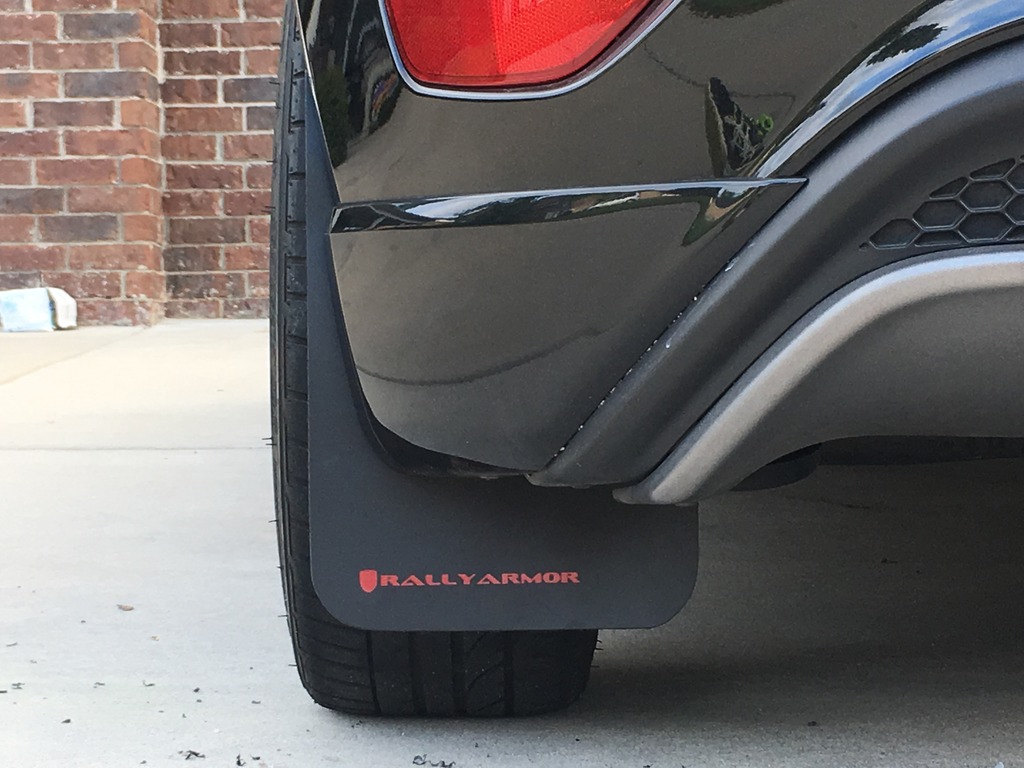
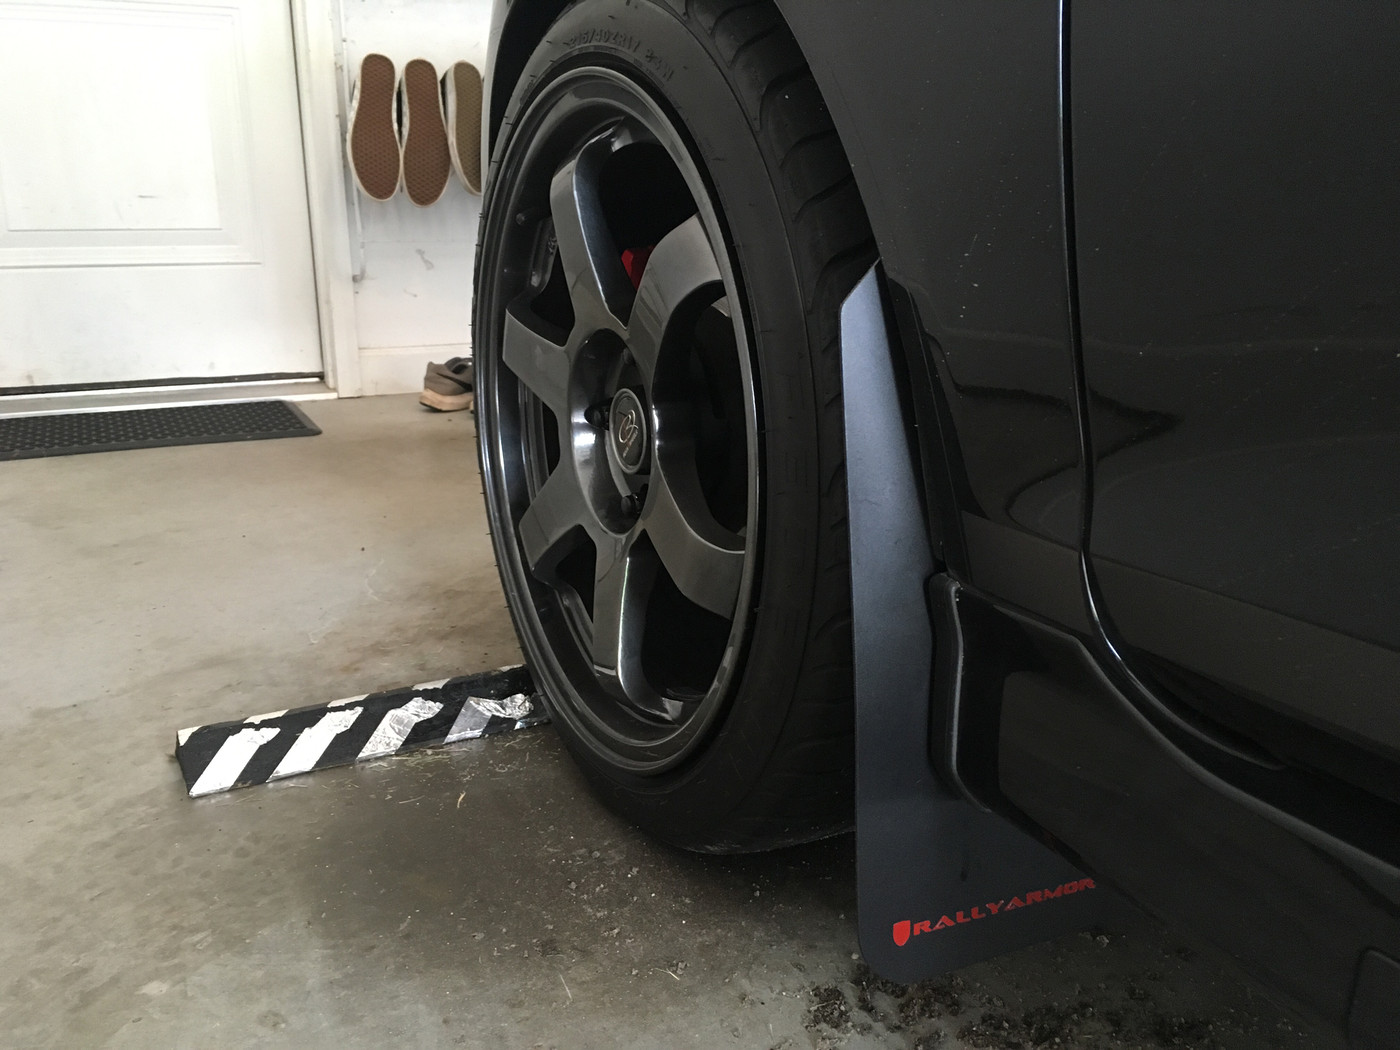
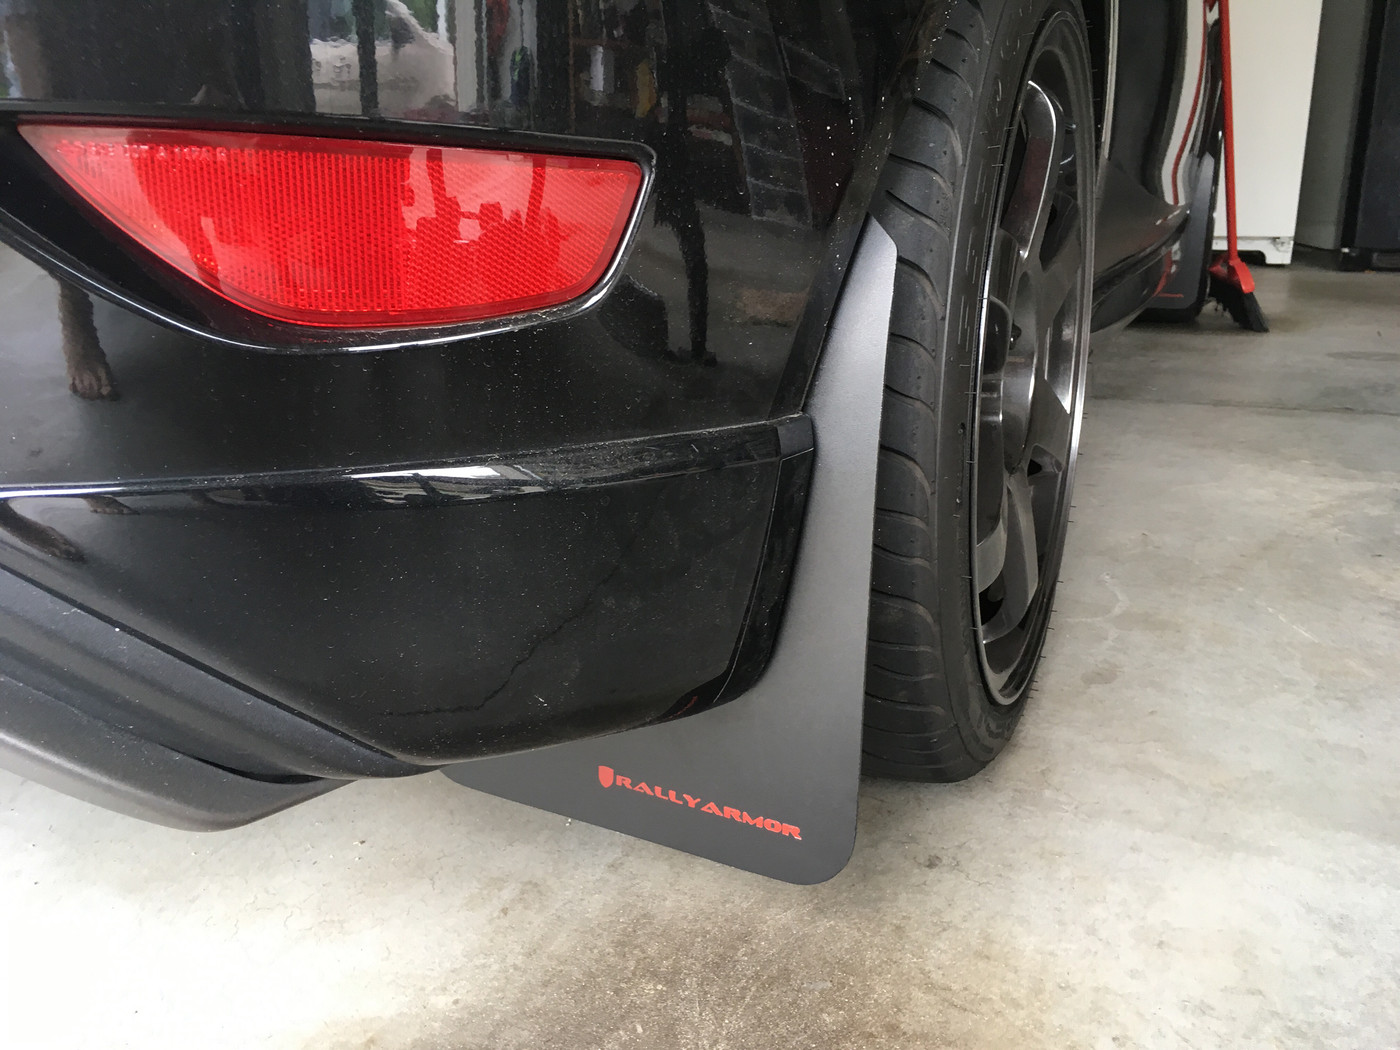
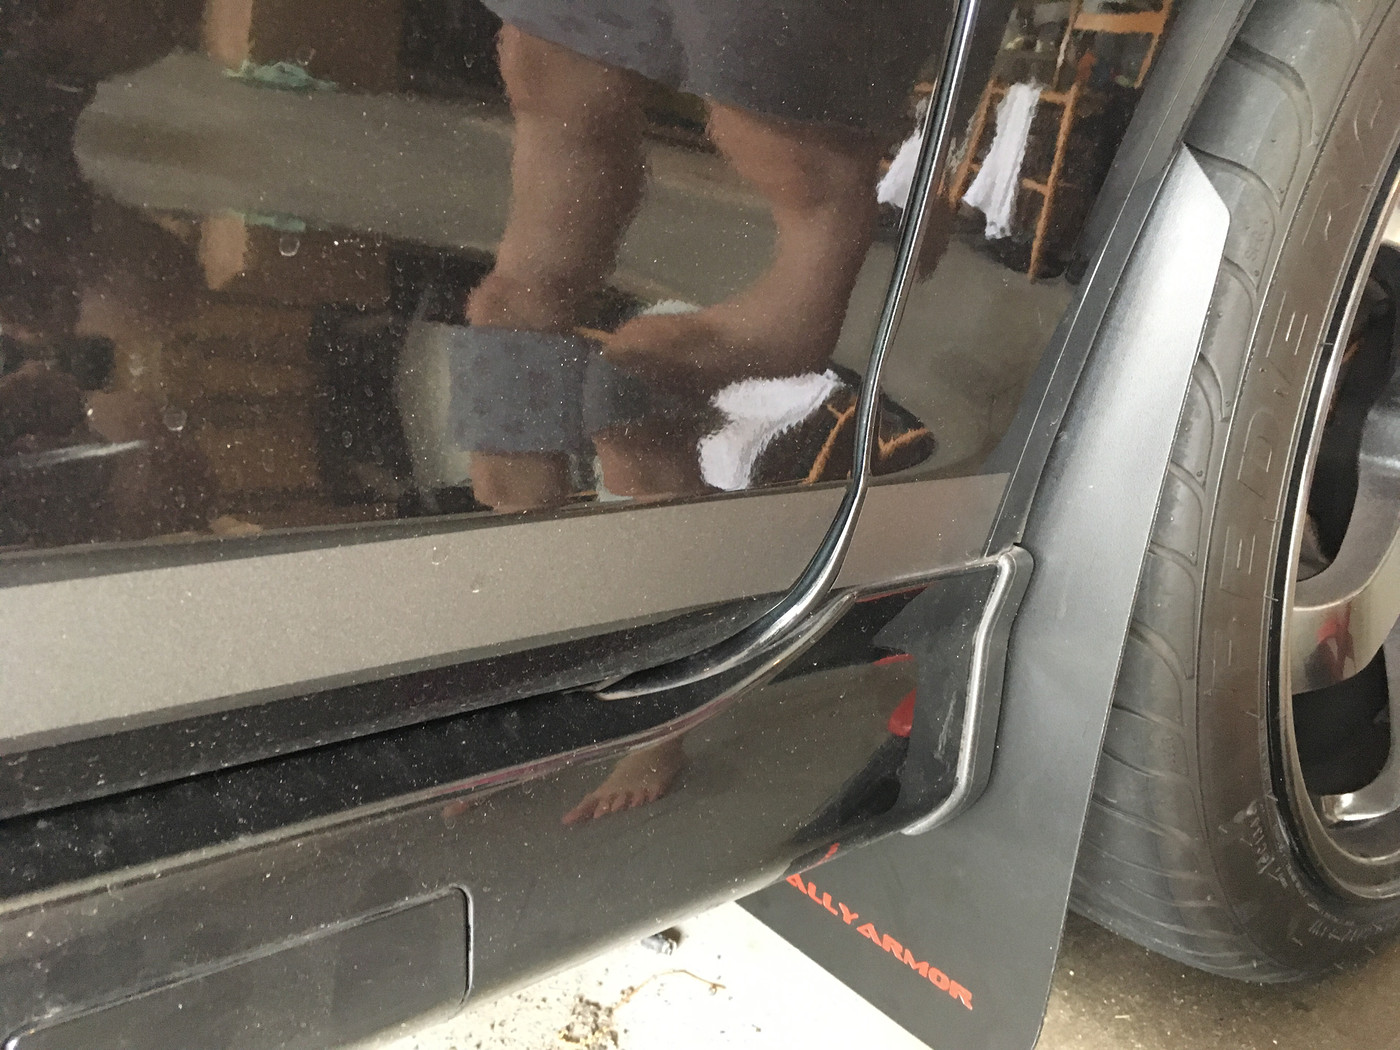
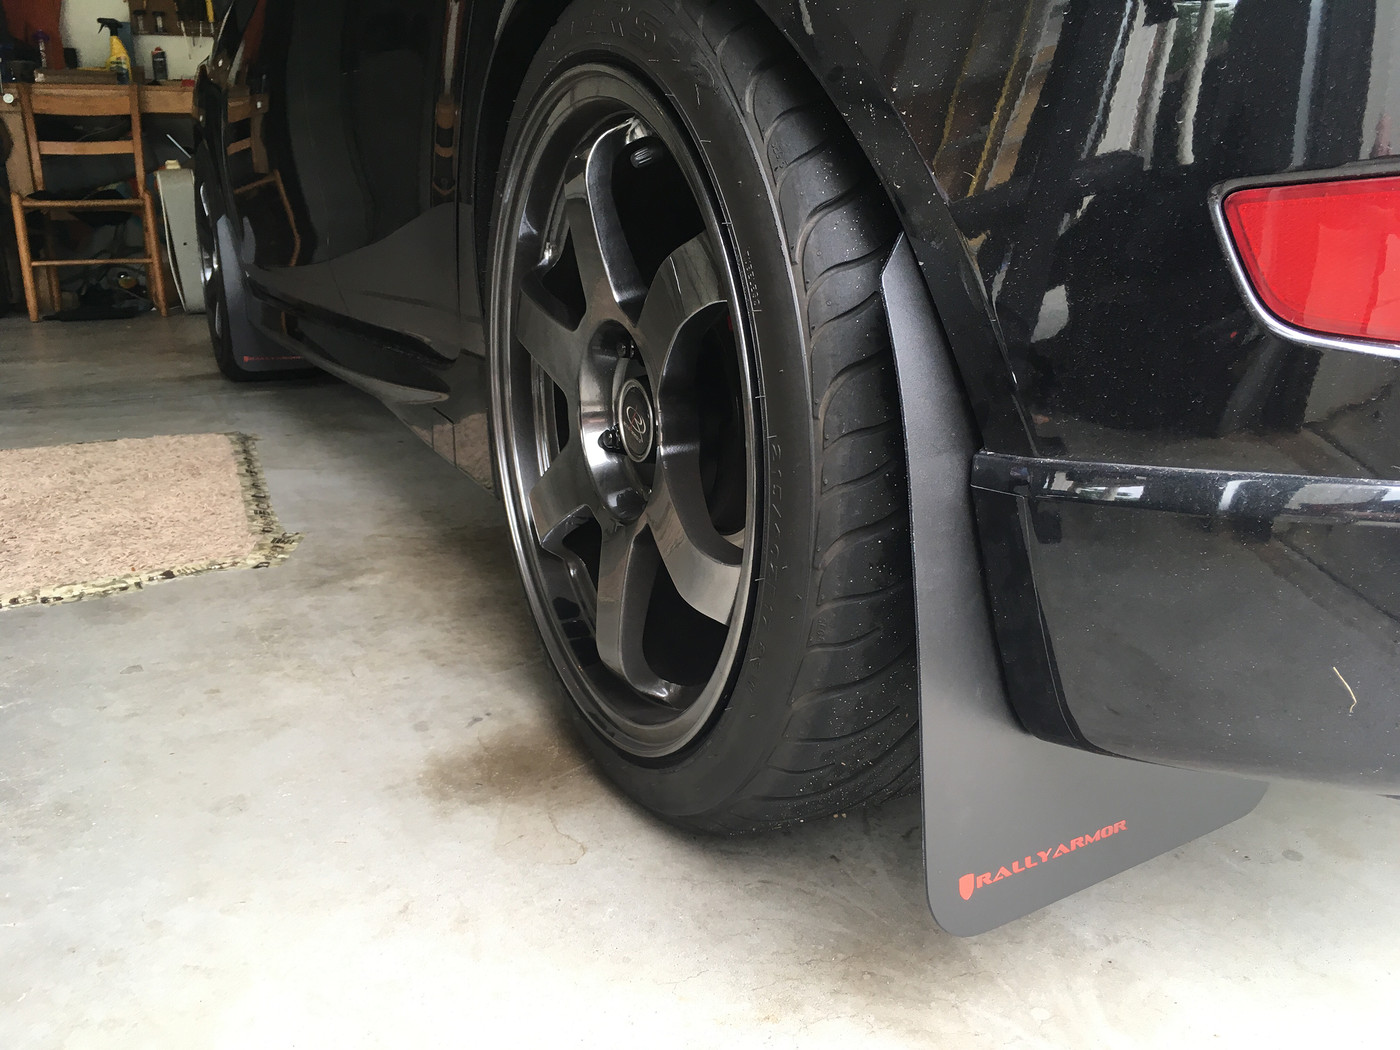
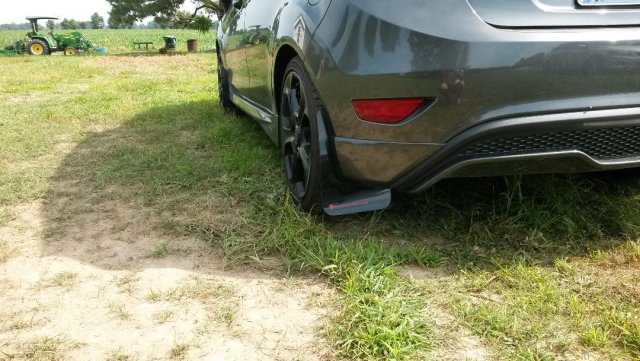
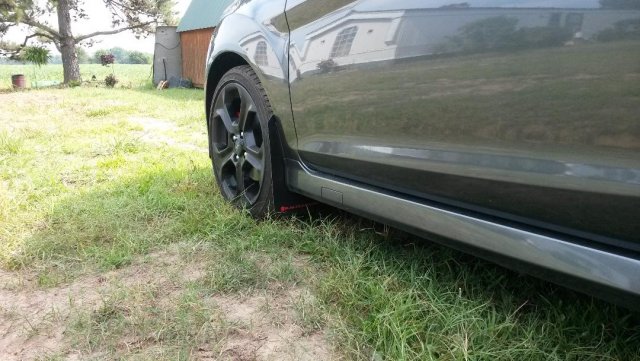
So the bottom line here is you have to have some ingenuity to make it look decent enough. I've only done one side and I'm happy with the results. It doesn't look perfect but most people probably would not notice. Plus I've read that even with the full-price custom fit RA flaps there is some gap, so even spending big money doesn't make it look perfect.
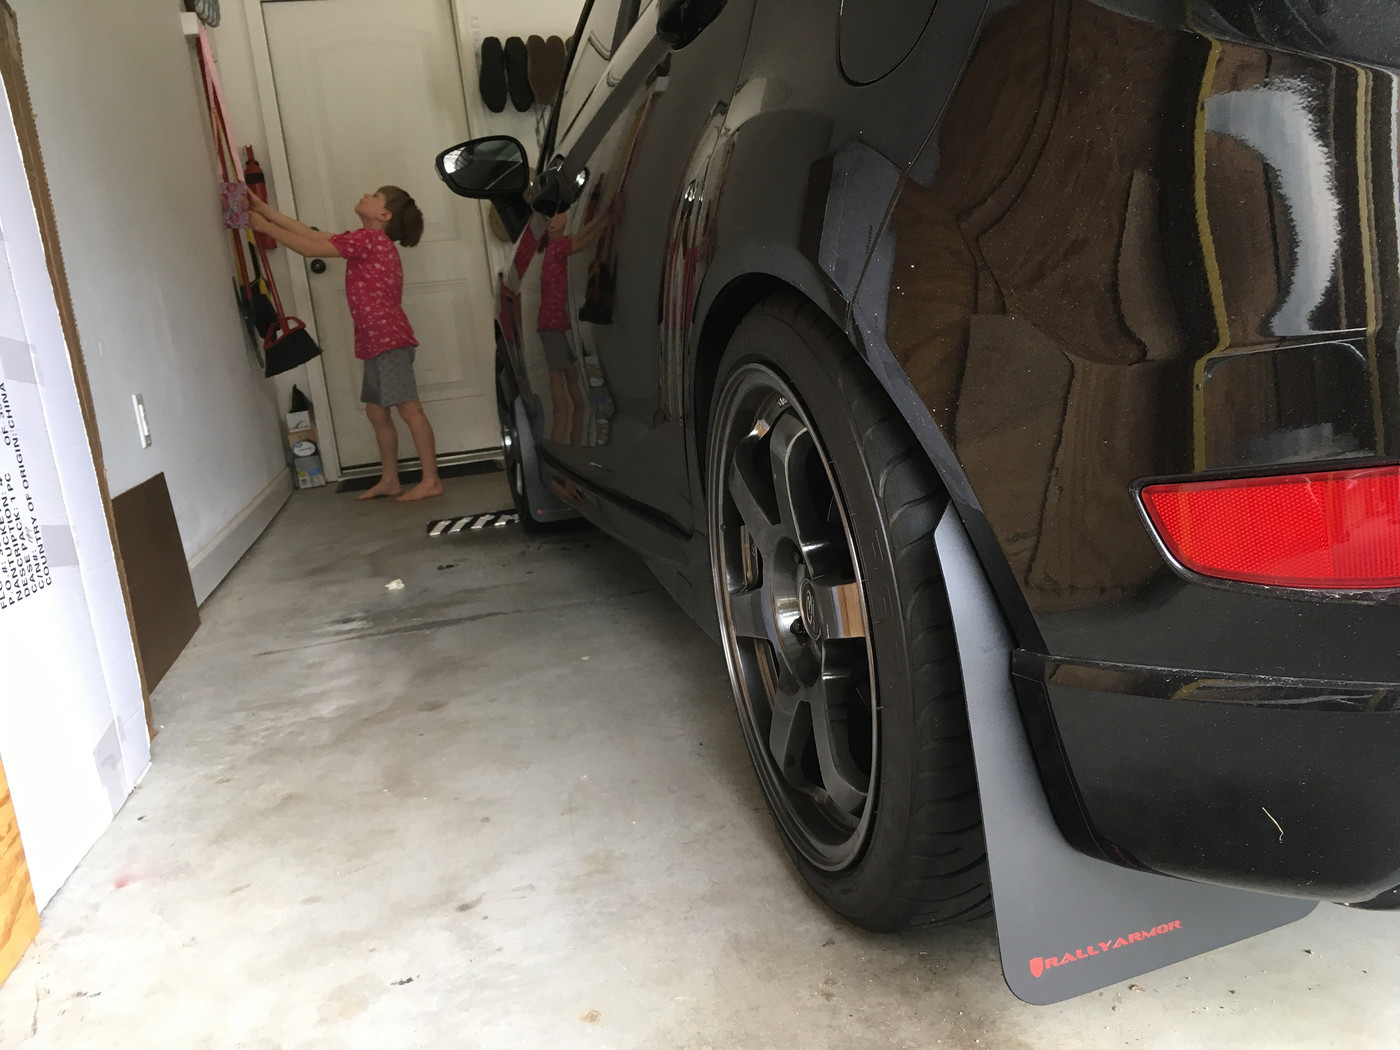
The deal here is I wanted flaps that didn't stick far out the side of the car like the ones made for our car. Unfortunately in order to keep this from happening and for it to look uniform both front and back (height from ground) I had to pull the back flap in toward the center of the car a bit; otherwise it would have shown that harsh angle like the custom RA flaps for our cars to, which I did not want. Still I'm liking it, the back tires have the oversized look now which is cool, and again most people would never even notice.
If you're doing this it's vital to fit both front and back before attaching as the way you do one will depend on how you did the other, if you want consistency of appearance that is.
Anyhow the basic steps here were (wheels off, of course):
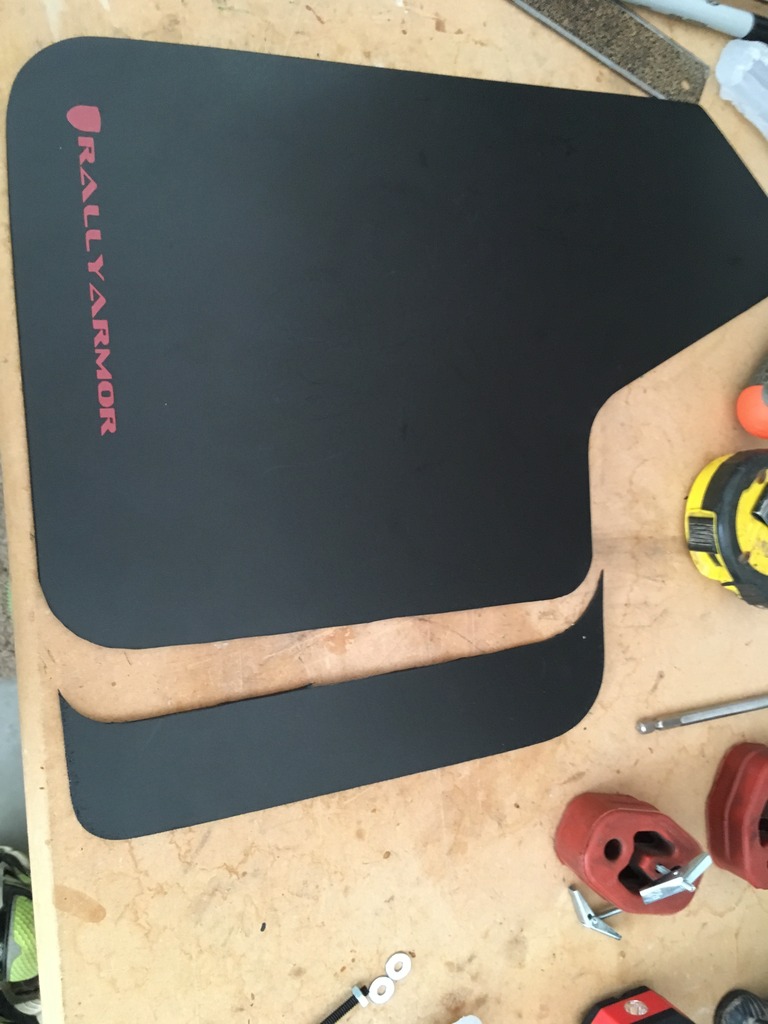
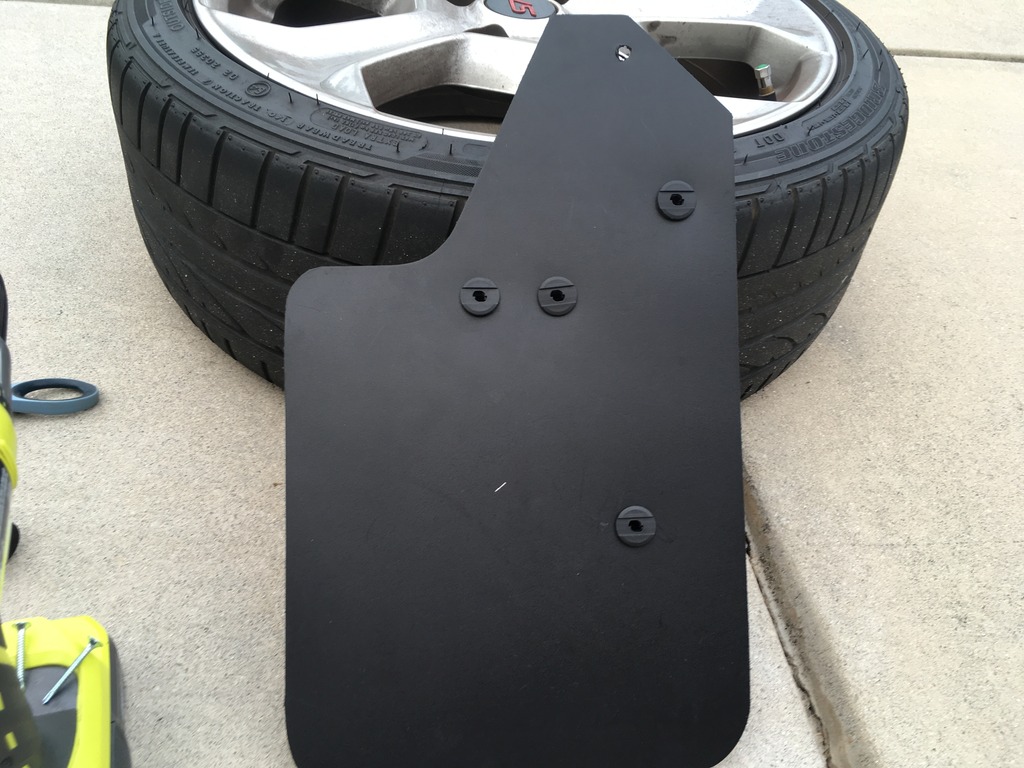
1. Trim flaps (they are pretty large) - I cut off 2 1/2" from the inner side of the flap, it looks much better this way.
2. Measure everything and decide on the correct height and horizontal placement.
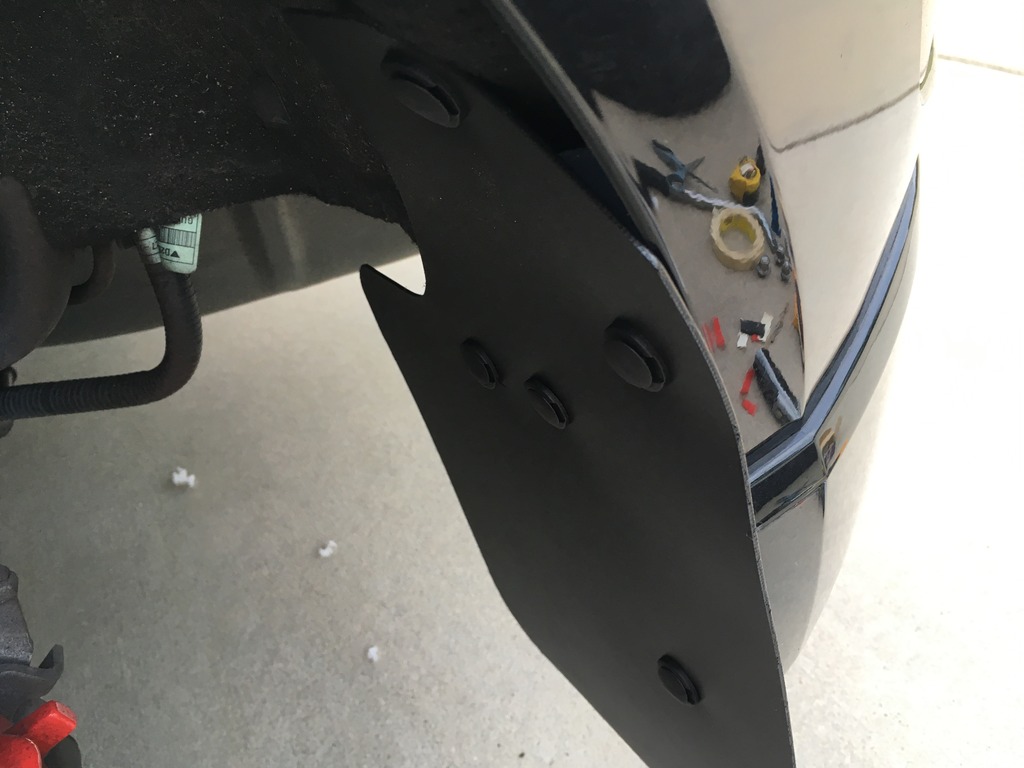
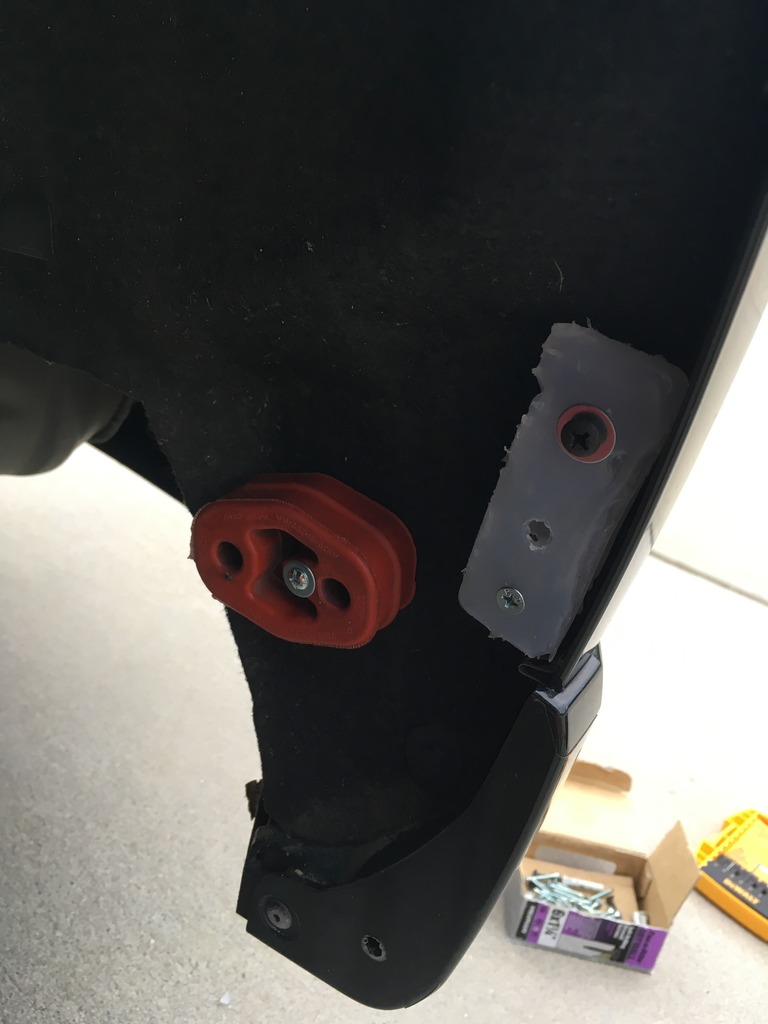
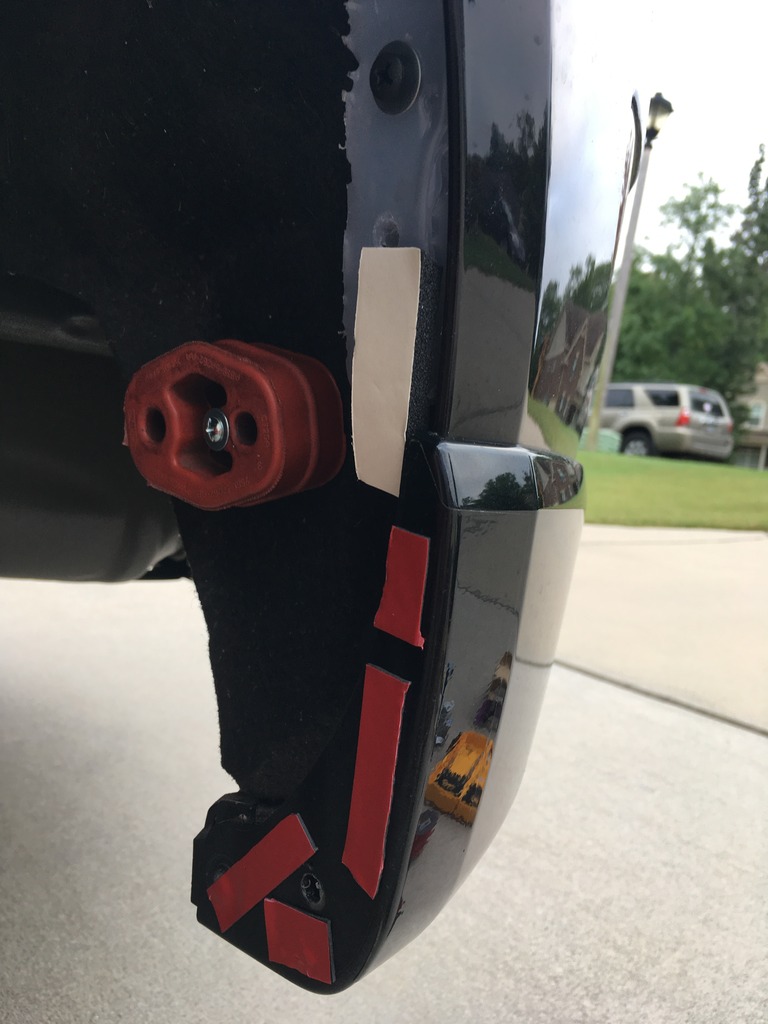
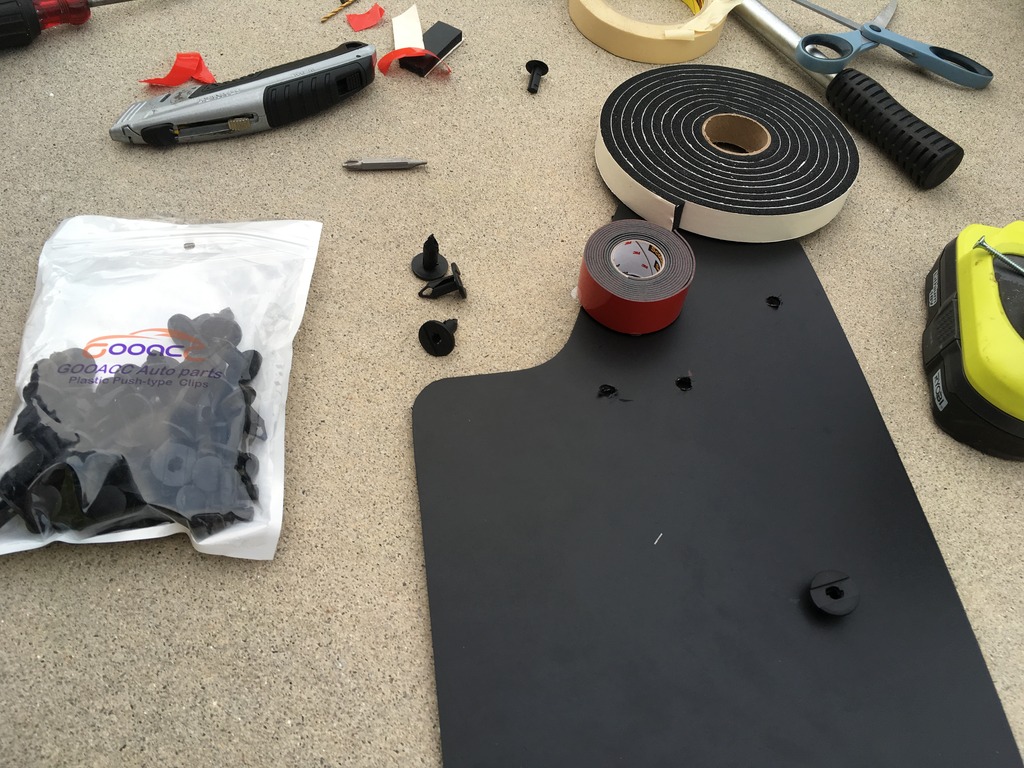
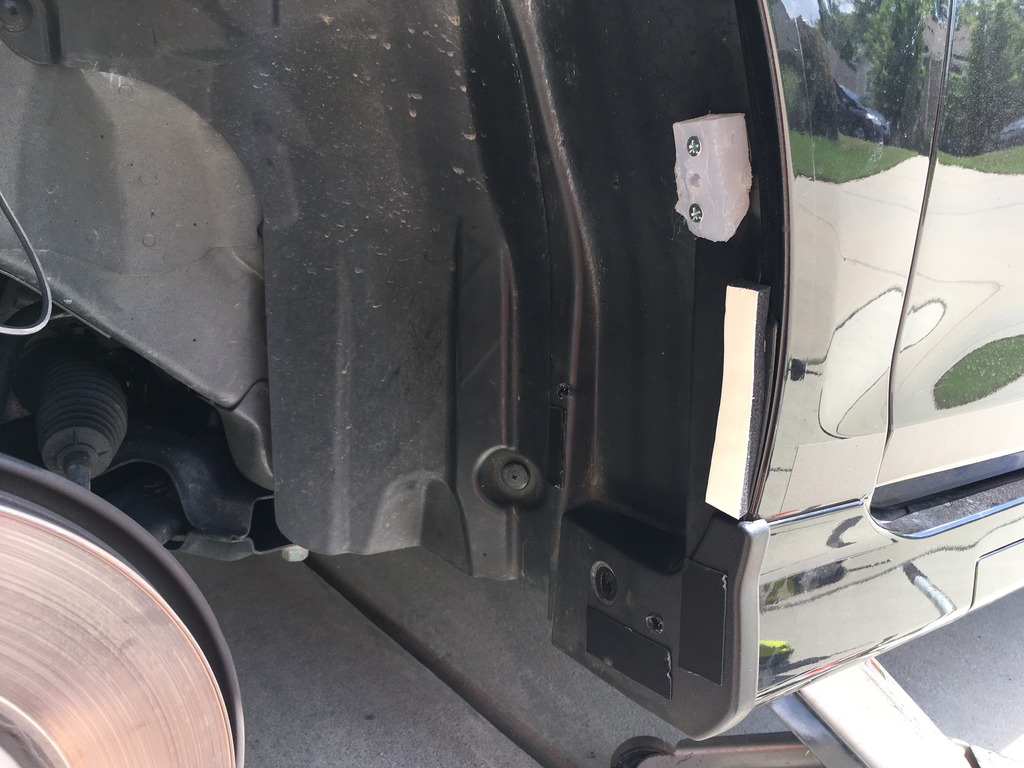
3. Fabricate some sort of mounting block for various areas that are not flush with the flap. You'll need this, otherwise the flap will be cocked and not hold well. In my case I used an old exhaust hanger and also made a contoured form out of hot glue for another area. These I bolted to the inner fender liner, then drilled holes into them into which the rivet clips would fit.
4. In addition to mounting the flap to the block you'll also want to mount it a few others places that are acceptable, like to the available parts of the car that are flush with the flap.
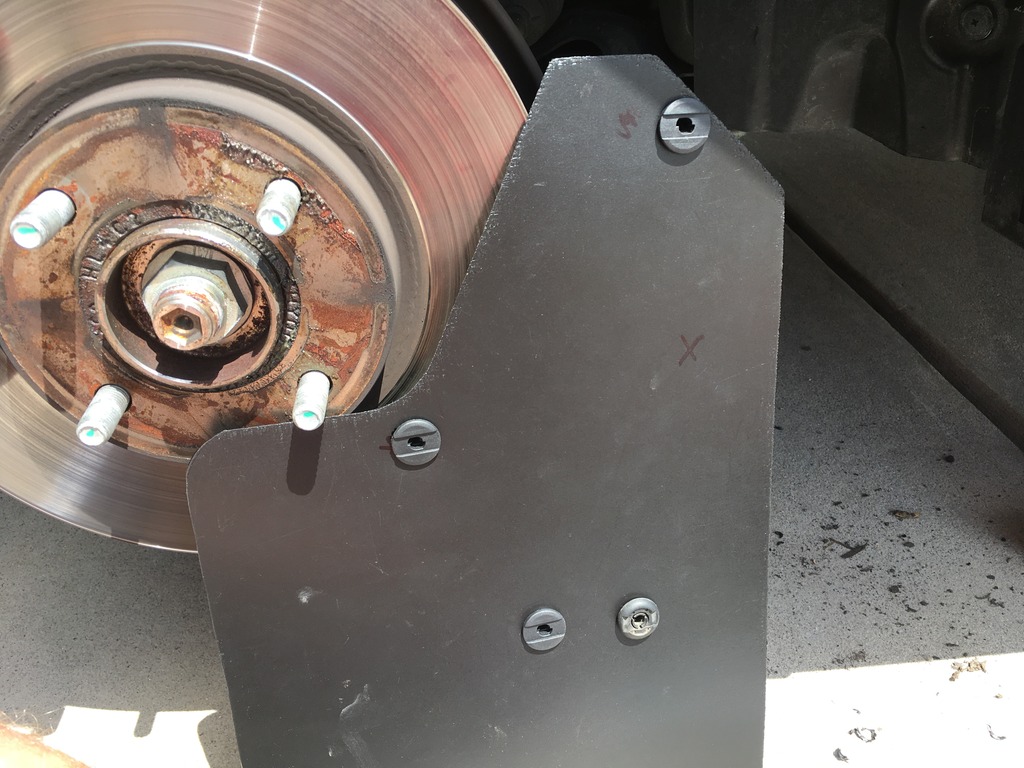
5. Once you measure all this you'll drill holes in the blocks/car and flap to receive the rivet clips. It is crucial that before drilling you make sure that the flap is positioned correctly. With the car in the air it is slanted so I lowered it before drilling with the flap taped temporarily in place so that I could make sure it was parallel with the ground before drilling.
6. Apply double-stick tape to help seal and foam tape to hide gaps.
7. Fasten flap to car with rivet clips.
The rivet clips are amazing - the flap is held quite firmly to the car, I don't know that I could even rip it off if I tried. I recommend using these or some type of mechanical fastener - the idea of tape only will not hold over time and will not look right as there is not enough flat surface to attach to. Screws look unprofessional in my opinion, the rivets look really clean.
This took me a full 4 hours because I was basically starting from scratch and doing all the R&D myself aside from having a universal piece of plastic to work with. So if you don't want the hassle I wouldn't recommend this. I didn't want to pay big money for a product that I didn't like the look of, plus it was a fun project, but definitely not for all. The passengers side should go much faster now that I already have the holes marked and know what I'm doing.
Materials used:
* flaps
* rivet clips
* foam tape
* double-stick tape
* hanger of some sort
* bolts, nuts, screws, etc.
Pics of my $22 mudflaps (plus another ~$13 for rivet clips and tape, so let's say $35 total):
EDIT
Pics moved a few posts down, Photobucket bamboozled me but I've got them re-linked below on Fotki now...
EDIT
Pictures don't do it justice, it really does look pretty good in person. I have pretty high standards and I'm happy with it. I might go back later and work with the front more to reduce the gap a bit more, for now I'm tired! I'll post more pics once I get the other side done probably in a week or so.....
*****
OK go spend your money on the full deal for $160 or save a bit of money and get a more subtle look like I did, I can see both being good options. Thanks for reading!
Last edited:

