• Sign Up! To view all forums and unlock additional cool features

    Welcome to the #1 Fiesta ST Forum and Fiesta ST community dedicated to Fiesta ST owners and enthusiasts. Register for an account, it's free and it's easy, so don't hesitate to join the Fiesta ST Forum today!


DIY: How to change your interior Cabin Air Filter on your Fiesta ST

Messages
35
Likes
36
Location
Roseville
#1
So it's true...it exists...the unicorn that is the Fiesta ST Cabin Air filter! What's hilarious about it, is I bought my FiST in 2013 and tried to buy a spare cabin air filter at the dealer....they told me it didn't have one. Then I went back in 2014 and 2015....same story. Heck even the internet hadn't caught up yet, but thankfully it is true, the car DOES have one and you can change it with some simple tools, a few swear words, and about 20 min....and I'm gonna show you how.


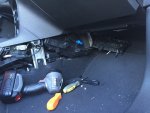
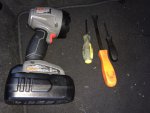
Step 1 the tools:

* flash light
* phillips screw driver
* Torx bit
* trim panel removal tool
IMG_9634.jpg

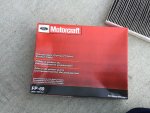
Step 2 The filter:

The Filter is a Motorcraft # FP-69
IMG_9630.jpg

Step 3 Remove the panel

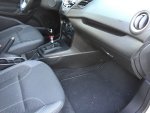
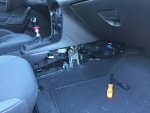
So the filter box is located on the passenger side for us 'Muricans, or the (right side). The long plastic panel on the side of the console, take out the one phillips trim panel fastener and pop the panel straight off.
IMG_9622.jpg
IMG_9623.jpg

Step 4 Pull out the air duct and undo the felt under panel

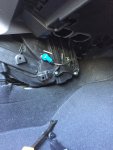
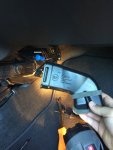
So in order to get the best access for this task you will need to pull the double barreled floor duct out of its home. Just pull. Also its best to undo the trim panel fastener that holds the felt piece under the glove box.
IMG_9624.jpg
IMG_9625.jpg
IMG_9632.jpg

Step 5 Unlock the magic door

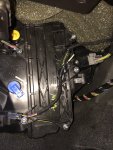
That gains you access to the magic door, which is securely bolted in place protecting against Armageddon with 5 torx bolts.
IMG_9633.jpg

Undo the wire harness, then unscrew the bolts.
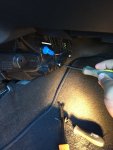
IMG_9626.jpg

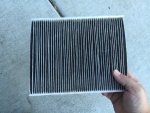
Look!!! There it is!! In all its 44,000 miles of glory!
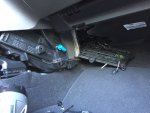
IMG_9627.jpg

Umm gross.....

IMG_9629.jpg

Step 6 putting the new filter in

Pay attention to the filter, it has an airflow arrow, so does the box. You will have to squish the filter to get it in place.
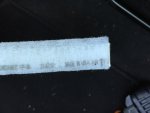
IMG_9631.jpg

Step 7 put back the magic door

Now put the door back on and hook the wiring harness back up.

Step 8 putting back the stupid double barrel thing

Yeah so that double barrel air duct connects to some nether region waay up inside the dash. You can not see it from under the dash. I got frustrated, smacked my head and finally tilted the glove box down to see where it went. I recommend tilting the glove box down, waaay easier. It goes here:
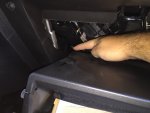
IMG_9635.jpg

Step 9 finish line

Put your felt panel back on, put your trim piece back on and BAAAM! you're done.


Attachments

MKVIIST

5000 Post Club
Staff Member
Premium Account
Messages
5,780
Likes
1,049
#2
Great tutorial.


CanadianGuy

4000 Post Club
Messages
4,097
Likes
945
Location
Southern Ontario
#3
Great write up. Changing the cabin filter always gives me the must pride as I can stand back and say I fought and won against the the beast. Well its the little victories that count :p


CanadianGuy

4000 Post Club
Messages
4,097
Likes
945
Location
Southern Ontario
#6
funny how ford didnt know about it... or maybe they didnt want to admit it because of how difficult it is to change.
I believe its the difficult part. My dealership will replace the engine air filter for free but charge $40 for the cabin filter (filter bought from the dealership). Yet on the Edge both are free install. Mind you the issue with the Edge one is all the content of the glove box gets spilled. So really there is no winning [rofl]


OP
romancommander
Messages
35
Likes
36
Location
Roseville
Thread Starter #7
Thanks guys.

While this cabin filter isn't the easiest I have ever changed, it is not bad. The honor of the worst design I have ever seen in the history of cars, an honor worthy of castration, gets bestowed upon the engineer who designed the cabin filter location on the 2004-2009 Mazda 3. You must start by removing your dash trim, then the glove box, then the threshold, then the kick panel, then the FUSE BOX, and yes it needs to come out of the vehicle, Then pull the carpet back, then the fuse box bracket, then you can gain access to the little door buried in hell. It took hours, only happened once then the car was sold. Watch in horror: https://www.youtube.com/watch?v=dhCctcVZiWs


TyphoonFiST

9000 Post Club
Premium Account
Messages
11,717
Likes
8,214
Location
Rich-fizzield
#9
I could've sworn this thread was done once or even twice already with pictures by both parties.


M-Sport fan

9000 Post Club
Messages
14,470
Likes
7,024
Location
Princeton, N.J.
#10
I believe its the difficult part. My dealership will replace the engine air filter for free but charge $40 for the cabin filter (filter bought from the dealership). Yet on the Edge both are free install. Mind you the issue with the Edge one is all the content of the glove box gets spilled. So really there is no winning [rofl]
HA! $40.00, that's a BARGAIN AND A HALF!! (But YES, I would STILL do it myself. ;) )

I guarantee that the stealerships around here get not less than $200.00 for that job, NOT including the filter!


Benjammer

New Member
Messages
3
Likes
0
Location
Toronto
#11
I think I messed it up

So I managed to sort of get those double barrel vent disconnected, it's still hanging on to something but seems to rotate around like it's mostly disconnected.

I didn't remove the felt cover under the glovebox, I couldn't get those plastic tabs off, I guess you just pull them really hard and they'll come off?

The glovebox accidentally came totally off :p
I can see where the double barrel thing connects but not sure how to get it re-connected.

I didn't even install the filter yet, I managed to pull the old one out, but I didn't want to squish the filter and deform it, to get it in.


TyphoonFiST

9000 Post Club
Premium Account
Messages
11,717
Likes
8,214
Location
Rich-fizzield
#12
You will need to compact /squish it back in....it will spring back into place. It's very resilient and will not be affected if you squish and push....just like with other things in life. Don't be afraid to give it alittle push...


Sent from my SAMSUNG-SM-G935A using Tapatalk


Messages
42
Likes
68
Location
Brookeville
#13
Nice write-up, most appreciated! I followed along and it worked like a champ. I would say that removing the glove box at the outset helps to get eyes on the filter and "walk" it out (and back in). I was surprised how much I had to squish it to get it to fit into the slot. The new filter really had to be carefully persuaded and massaged into its position to minimize damage/deformation. They really didn't design the car for this thing to come out too easily. It's baffling. Anyway, the filter was pretty grotty upon removal.

It had 79k miles on it and I'd say it was about to grow legs and run away. Blech!!

Again, thanks for the DIY. It worked a charm and I can breathe easier now. :)


LILIKE16ST

Senior Member
Messages
862
Likes
252
Location
Saltville
#14
This is useful info mine has over 36k on it now and I need to replace it. My question is is there a k&n cabin filter upgrade available for this car? Quick search didn't really find any concrete info. Just wondering. If not motorcraft will do but it would be cool to have a reusable filter that lasts longer and can be cleaned and reused. Thanks in advance...


TyphoonFiST

9000 Post Club
Premium Account
Messages
11,717
Likes
8,214
Location
Rich-fizzield
#15
This is useful info mine has over 36k on it now and I need to replace it. My question is is there a k&n cabin filter upgrade available for this car? Quick search didn't really find any concrete info. Just wondering. If not motorcraft will do but it would be cool to have a reusable filter that lasts longer and can be cleaned and reused. Thanks in advance...
K&n makes reusable cabin filters for some cars...not sure if they do for Fiestas...by I have seen them. I just change mine every 20k

Sent from my SM-N950U1 using Tapatalk


KKaWing

Active member
Messages
702
Likes
206
Location
Somewhere
#16
D'oh... I didn't pull out the "double barrel" duct. I just used electrical tape to secure my drive bit to a 1/4" wrench... oh my back hurts just remembering how contorted I was getting that panel open and closed. Watch me forget another 2 years down the road X_X


jeff

2000 Post Club
Messages
2,310
Likes
3,232
Location
Evans
#17
Thanks to OP for posting this.

D'oh... I didn't pull out the "double barrel" duct. I just used electrical tape to secure my drive bit to a 1/4" wrench... oh my back hurts just remembering how contorted I was getting that panel open and closed. Watch me forget another 2 years down the road X_X
Helpful video here:

https://www.youtube.com/watch?v=E9YIuKQmWG0&t=1s

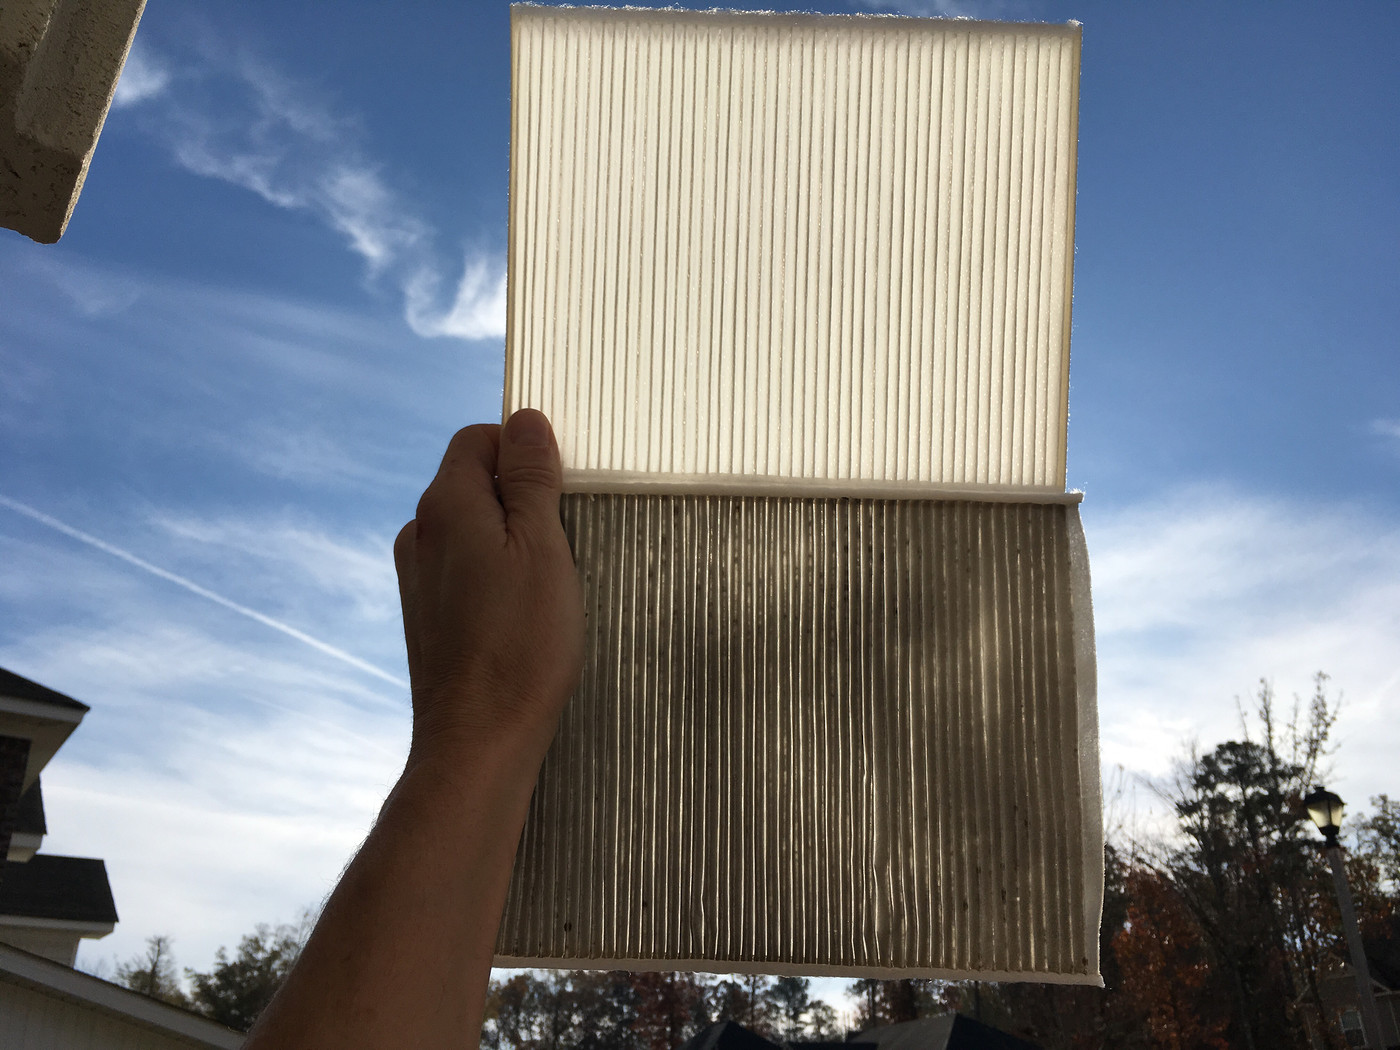
I just did this in about 25 minutes, I didn't remove the glove box or duct but that would have definitely made it easier. As long as you have a tiny ratchet that can receive bits into it's center (not sure what those are called, it has a hole in the middle so the bits go in and only stick out maybe 1/2" for tight places) you can do this without removing that stuff. But as above then you have to contort your body to see. Take a few extra minutes and remove the glove box, you'll be glad you did.

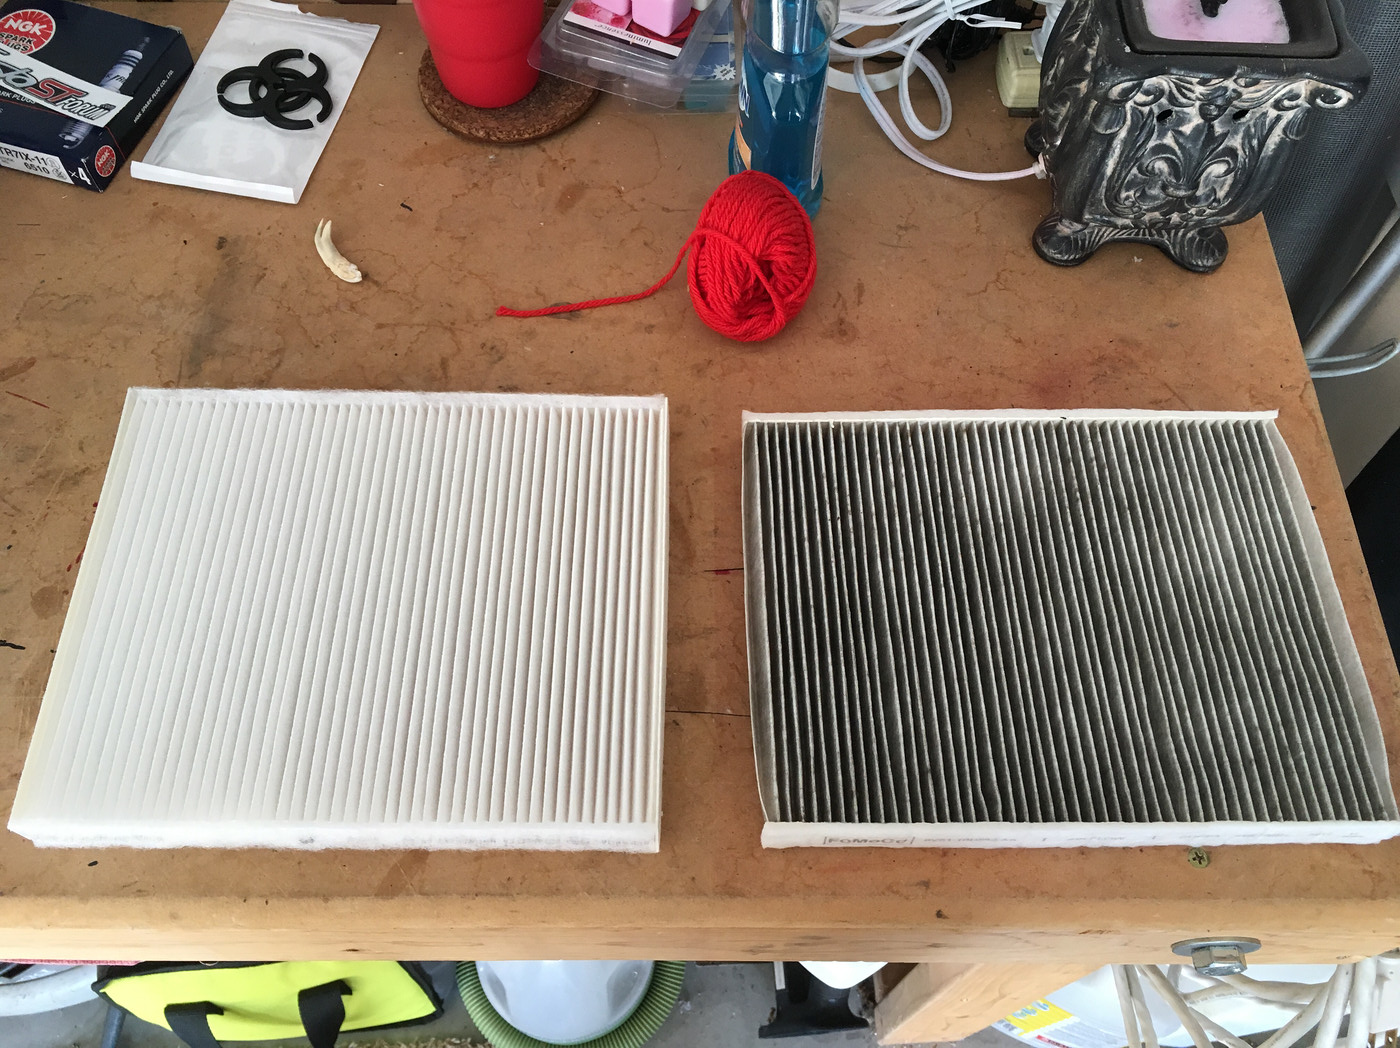
Before/after, 23,900 miles of use:

Hosted on Fotki
Hosted on Fotki


Top