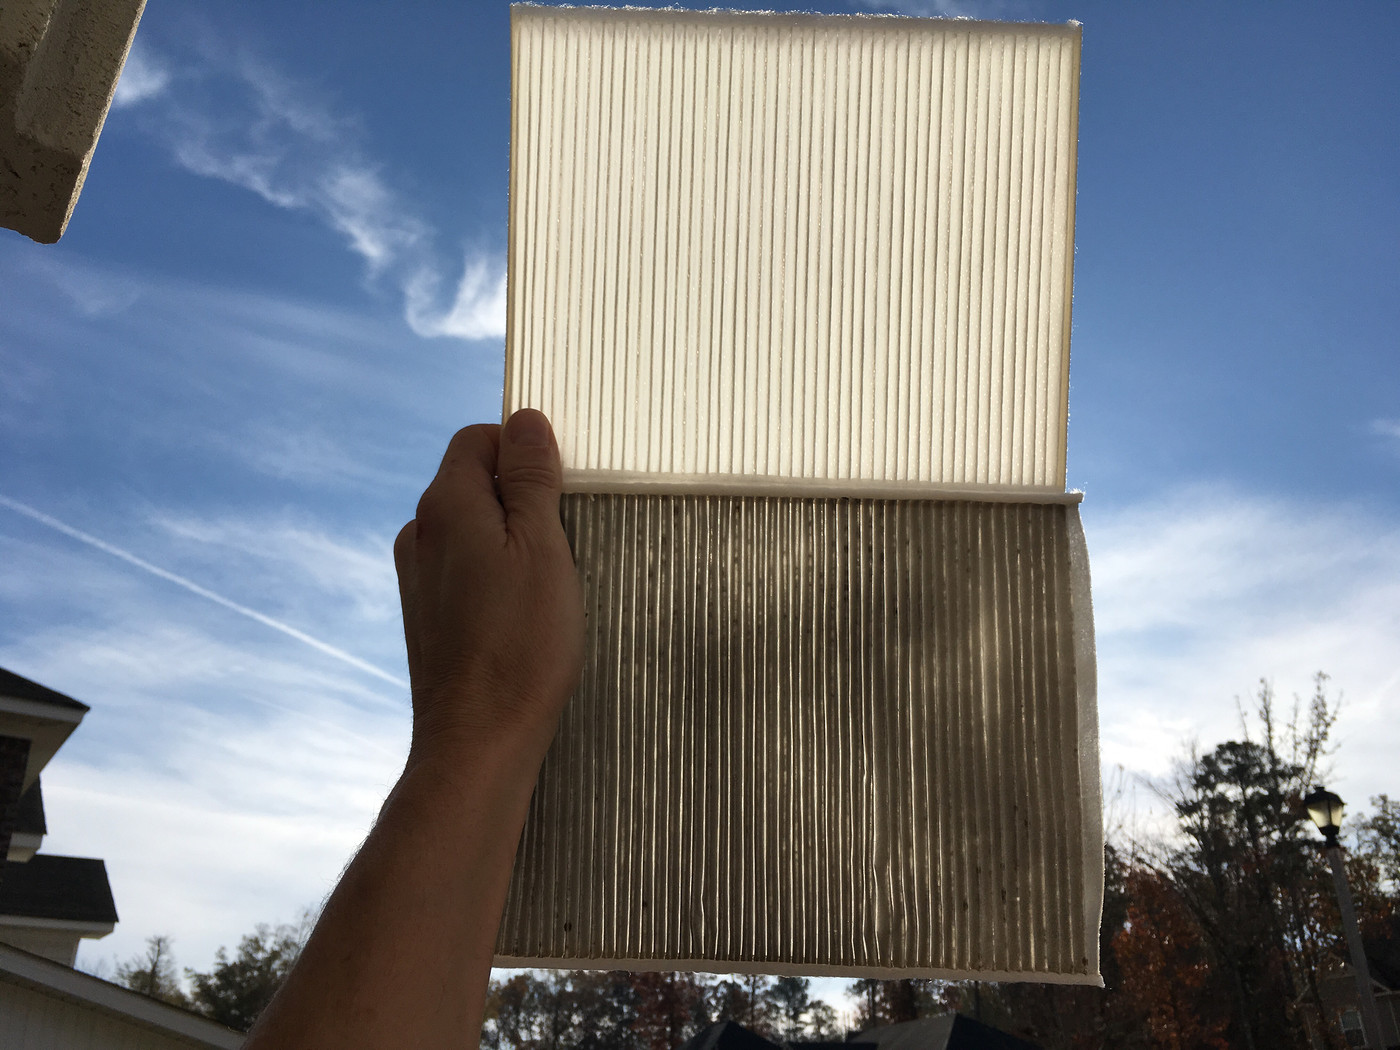
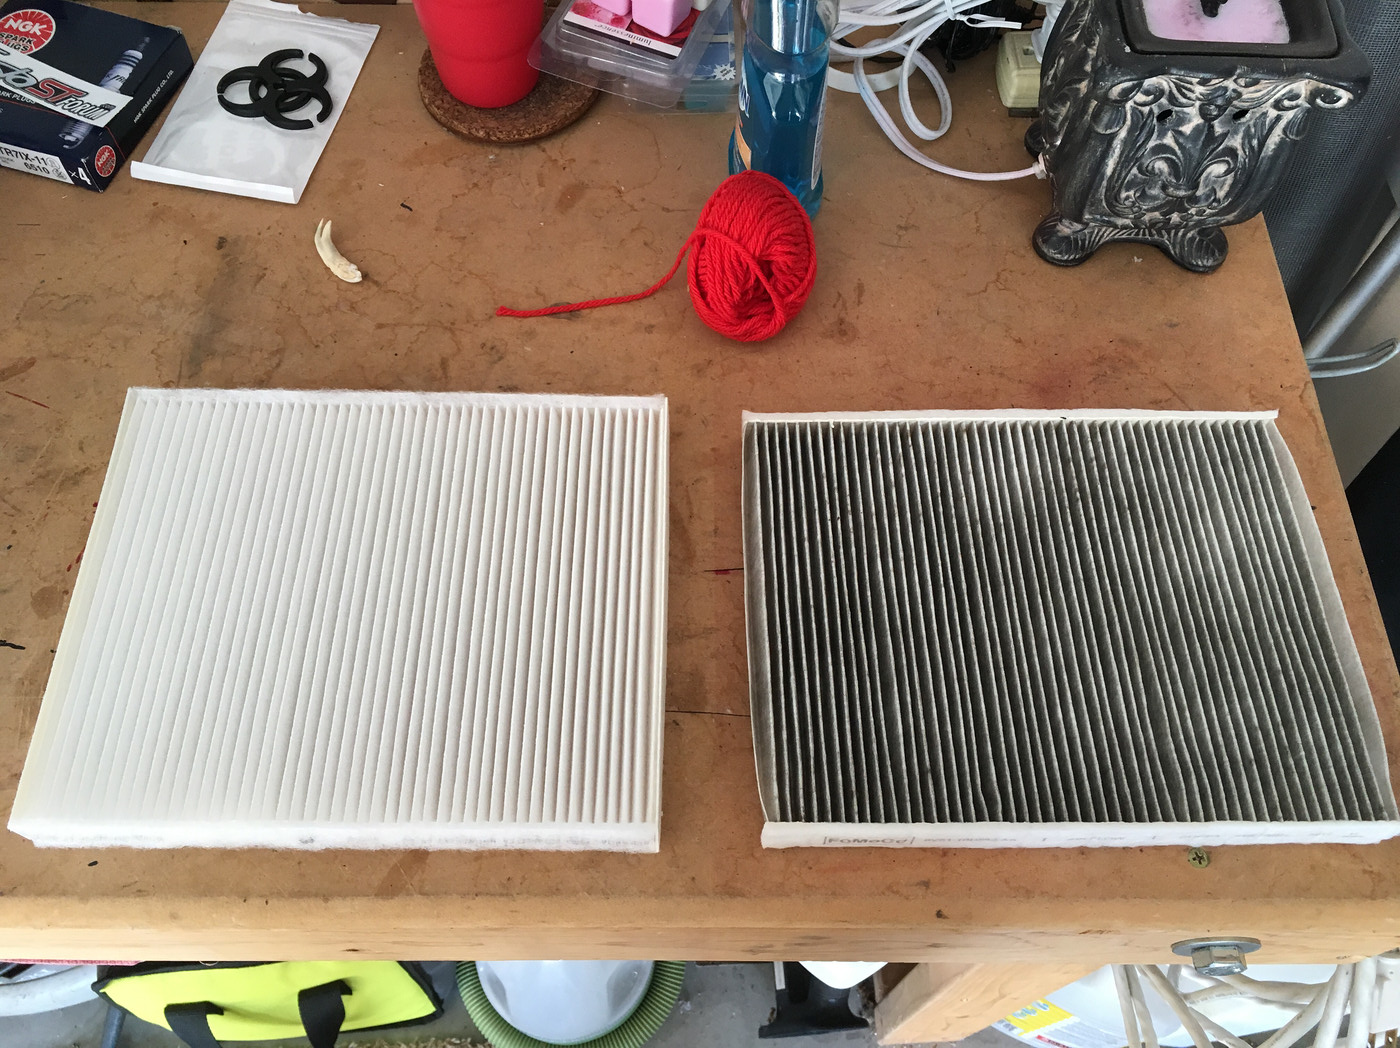
So it's true...it exists...the unicorn that is the Fiesta ST Cabin Air filter! What's hilarious about it, is I bought my FiST in 2013 and tried to buy a spare cabin air filter at the dealer....they told me it didn't have one. Then I went back in 2014 and 2015....same story. Heck even the internet hadn't caught up yet, but thankfully it is true, the car DOES have one and you can change it with some simple tools, a few swear words, and about 20 min....and I'm gonna show you how.
Step 1 the tools:
* flash light
* phillips screw driver
* Torx bit
* trim panel removal tool
Step 2 The filter:
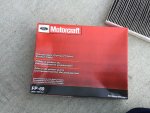
The Filter is a Motorcraft # FP-69
Step 3 Remove the panel
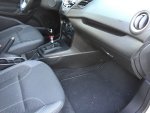
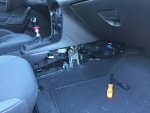
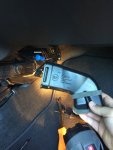
So the filter box is located on the passenger side for us 'Muricans, or the (right side). The long plastic panel on the side of the console, take out the one phillips trim panel fastener and pop the panel straight off.
Step 4 Pull out the air duct and undo the felt under panel
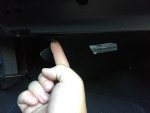
So in order to get the best access for this task you will need to pull the double barreled floor duct out of its home. Just pull. Also its best to undo the trim panel fastener that holds the felt piece under the glove box.
Step 5 Unlock the magic door
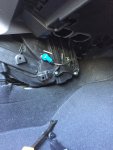
That gains you access to the magic door, which is securely bolted in place protecting against Armageddon with 5 torx bolts.
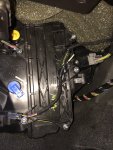
Undo the wire harness, then unscrew the bolts.
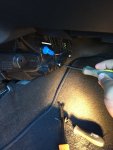
Look!!! There it is!! In all its 44,000 miles of glory!
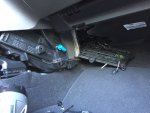
Umm gross.....
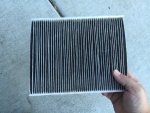
Step 6 putting the new filter in
Pay attention to the filter, it has an airflow arrow, so does the box. You will have to squish the filter to get it in place.
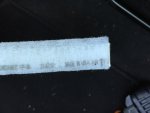
Step 7 put back the magic door
Now put the door back on and hook the wiring harness back up.
Step 8 putting back the stupid double barrel thing
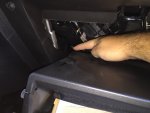
Yeah so that double barrel air duct connects to some nether region waay up inside the dash. You can not see it from under the dash. I got frustrated, smacked my head and finally tilted the glove box down to see where it went. I recommend tilting the glove box down, waaay easier. It goes here:
Step 9 finish line
Put your felt panel back on, put your trim piece back on and BAAAM! you're done.
Step 1 the tools:
* flash light
* phillips screw driver
* Torx bit
* trim panel removal tool

Step 2 The filter:
The Filter is a Motorcraft # FP-69

Step 3 Remove the panel
So the filter box is located on the passenger side for us 'Muricans, or the (right side). The long plastic panel on the side of the console, take out the one phillips trim panel fastener and pop the panel straight off.


Step 4 Pull out the air duct and undo the felt under panel
So in order to get the best access for this task you will need to pull the double barreled floor duct out of its home. Just pull. Also its best to undo the trim panel fastener that holds the felt piece under the glove box.


Step 5 Unlock the magic door
That gains you access to the magic door, which is securely bolted in place protecting against Armageddon with 5 torx bolts.

Undo the wire harness, then unscrew the bolts.

Look!!! There it is!! In all its 44,000 miles of glory!

Umm gross.....

Step 6 putting the new filter in
Pay attention to the filter, it has an airflow arrow, so does the box. You will have to squish the filter to get it in place.

Step 7 put back the magic door
Now put the door back on and hook the wiring harness back up.
Step 8 putting back the stupid double barrel thing
Yeah so that double barrel air duct connects to some nether region waay up inside the dash. You can not see it from under the dash. I got frustrated, smacked my head and finally tilted the glove box down to see where it went. I recommend tilting the glove box down, waaay easier. It goes here:

Step 9 finish line
Put your felt panel back on, put your trim piece back on and BAAAM! you're done.
Attachments
-
430.8 KB Views: 382

